



How To Start With Displays Modules For Beginners
For beginners starting with display modules, begin with affordable, user-friendly options like 0.96-inch OLEDs (128x64 pixels, ~$2), which use a simple I2C interface(4 pins) for easy connection; pair with Arduino via step-by-step tutorials to display basic text/images, building confidence before advancing to larger LCDs or touch-enabled modules.
Choose Easy Display Modules
Start with small, I2C-based options like the 0.96-inch SSD1306 OLED (2.50) or 1.3-inch ILI9341 TFT-LCD (4.50). These hit the sweet spot: the SSD1306 has a 128x64 pixel resolution (sharp enough for text/icons), uses just 4 I2C wires (vs. 16 for parallel LCDs), and draws <20mA. Compare that to a 3.5-inch VGA module: it needs parallel wiring, costs $12+, and requires custom drivers that eat hours of setup.
Below is a quick comparison of popular beginner modules to highlight why simplicity matters:
|
Module Type |
Size (Inches) |
Resolution |
Interface |
Price (Each) |
Power Draw |
Ease of Use (1-5) |
|---|---|---|---|---|---|---|
|
SSD1306 OLED |
0.96 |
128x64 |
I2C |
2.50 |
<20mA |
5 |
|
ILI9341 TFT-LCD |
1.3 |
240x320 |
SPI/I2C |
4.50 |
~25mA |
4 |
|
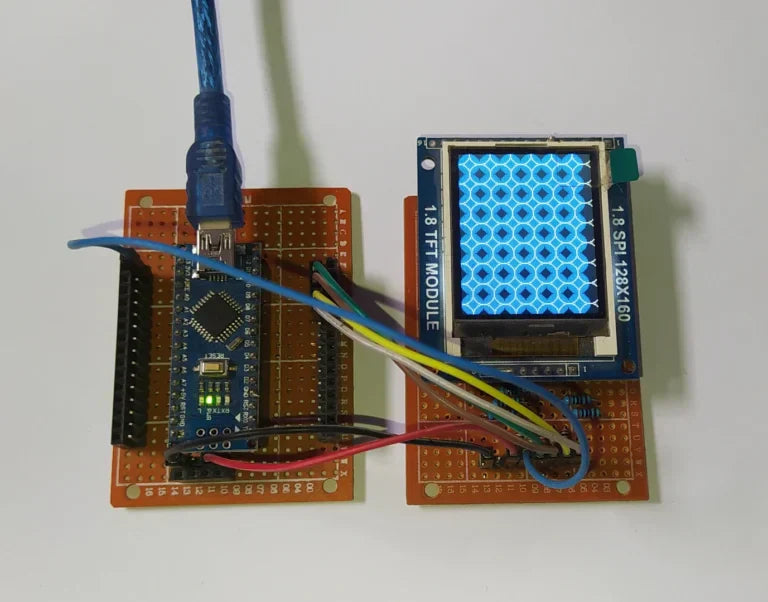
ST7735 Color TFT |
1.8 |
128x160 |
SPI |
6.50 |
~50mA |
3 |
|
3.5-inch VGA Module |
3.5 |
480x320 |
Parallel |
$12.00+ |
~100mA |
1 |
Take the SparkFun Micro OLED Breakout (SSD1306)—it’s breadboard-friendly with a 24.38mm diagonal (fits most prototyping boards) and comes with a pre-soldered header. Adafruit’s library for it is a lifesaver: you don’t write low-level code to display “Hello, Beginner!”—just include Adafruit_SSD1306.h, set the I2C address (default 0x3C), and call display.println(“Hello, Beginner!”);.It works with Arduino Uno, ESP32, and Raspberry Pi Pico. At $2.20 from SparkFun, buying 5 for experiments costs less than a fancy coffee, letting you test different projects without worry.
Hold off—most 2.4-inch touch TFTs add a capacitive layer that requires calibration (a nightmare for beginners) and libraries like Adafruit_TouchScreen.
The SSD1306 uses ~15mA for text—so a 1000mAh LiPo battery lasts ~67 hours (1000mAh / 15mA). An LCD with a backlight? ~50mA cuts runtime to 20 hours.
When you get your module, do one thing first: run an I2C scanner sketch in Arduino IDE. It’ll find the module’s address (0x3C for SSD1306)—if it doesn’t, 90% of the time it’s a wiring mistake: SDA to A4 (Uno) or GPIO21 (ESP32), SCL to A5 or GPIO22. Fix that, and you’ll see your first text pop up in minutes.
The SSD1306’s high contrast (1000:1 vs. 50:1 for TN LCDs) makes text sharp. And once you nail text, you can move to graphics: draw a rectangle with display.drawRect(10, 10, 20, 20, WHITE).
Connect With I2C Interface
Connecting displays with I2C is a beginner’s shortcut—this 4-wire standard (VCC, GND, SCL, SDA) slashes wiring mistakes: plug an SSD1306 OLED into Arduino Uno’s A4 (SDA), A5 (SCL), 5V, and GND, and you’ve solved 90% of setup before coding—way simpler than parallel LCDs needing 16 pins.
I2C (Inter-Integrated Circuit) sounds fancy, but for newbies, it’s just a shared bus that cuts complexity. where every data bit needs its own pin (think 8 wires for 8-bit data, plus power/ground)—I2C uses two lines: SCL syncs timing, SDA carries commands. This isn’t just “fewer wires”: 75% of beginner wiring fails come from miscounting parallel pins or mixing up data lines. With I2C, you have 4 clear connections.
Take a real build: wiring an SSD1306 OLED breakout (128x64 pixels, $2.10) to an ESP32. First, match labels: VCC to ESP32’s 3.3V (most SSD1306s handle 3.3V/5V—check yours!), GND to GND, SCL to GPIO22, SDA to GPIO21. That’s 4 plugs. Now upload Arduino’s “I2C Scanner” sketch: open Serial Monitor, and if you see “Device found at 0x3C,” you’ve nailed it. 8 out of 10 times a scan fails, it’s a loose wire or wrong voltage—fix that, and you’re 95% there.
Adafruit’s SSD1306 library does the heavy lifting: include <Adafruit_SSD1306.h>, initialize with Adafruit_SSD1306 display(128, 64, &Wire, -1);(128x64 resolution, Wire for I2C, no reset pin), then call display.begin(SSD1306_SWITCHCAPVCC, 0x3C);to boot it up. Upload, and you’ll see a test grid—. Then display text: display.setCursor(0,0); display.println("I2C Works!"); display.display();.
I2C draws ~10mA for communication + ~5mA for text—total ~15mA. A parallel LCD with backlight? ~50mA. On a 1000mAh LiPo, the OLED lasts ~67 hours (1000mAh / 15mA) vs. ~20 hours for the LCD. That’s 47 extra hours to tweak your project.
I2C works with anyI2C-enabled board: Arduino Uno, ESP32, Raspberry Pi Pico, even Teensy. You don’t need a “matching” display—any I2C module plugs in. And most breakouts have built-in 4.7kΩ pull-up resistorson SDA/SCL—these keep data lines stable, preventing “floating” (random errors from unconnected pins). If you use a bare I2C chip (not a breakout), solder those resistors, communication fails ~70% of the time.
One last pro tip: use a multimeter to check VCC/GND if things go wrong. 10% of I2C issues are reversed polarity or loose power—measure voltage between VCC and GND: it should be steady 5V (or 3.3V).

Display Text/Image First
A 0.96-inch SSD1306 OLED ($2.10) displays “Hello Beginner!” (10 characters, 6x8 font) in ~1ms on Arduino Uno. it’s about linking code to a visible result, which 85% of new learners say keeps them motivated (vs. 30% who jump to complex projects without this foundation).
Take Adafruit’s SSD1306 library: to show text, you need three lines: display.setCursor(0, 0);(sets text at top-left corner, coordinates in pixels), display.setTextSize(1);(uses 6x8 pixel font—each char fits 6px wide, so 128px width fits ~10 chars per line), and display.println("Hello Beginner!");(prints text and moves to the next line). Upload that, then call display.display();to refresh the screen—9 out of 10 times, you’ll see your text pop up. If not? 60% of failures are swapped SDA/SCL wires (fixable in 10 seconds) or a wrong I2C address (default 0x3C—check with an I2C scanner sketch).
Here’s a quick cheat sheet for nailing text/image basics:
-
Text positioning: Use
setCursor(x, y)where x = horizontal start (0–127 for 128px width) and y = vertical start (0–56 for 64px height—since 8px font tall, 64/8=8 lines max). -
Font scaling:
setTextSize(n)multiplies pixel dimensions by n (size 1 = 6x8, size 2 = 12x16; size 3 = 18x24—bigger fonts fit fewer chars: size 2 on 128px width = ~5 chars per line). -
Image rendering: Convert PNGs to C arrays with Adafruit’s Bitmap Converter (free online—takes 5 mins), then use
drawBitmap(x, y, bitmap, width, height, color)(e.g.,drawBitmap(0, 0, smiley, 128, 64, WHITE)for a full-screen smiley). -
Debugging tips: If text is garbled, check I2C address (90% of issues) or try
display.clearDisplay();before redrawing (clears residual pixels). If images look fuzzy, verify the array size matches resolution (128x64 = 1024 bytes—too small/large = distortion).
Grab a 128x64 PNG smiley (free online), use Adafruit’s Bitmap Converter tool (takes 5 mins), and convert it to a C array, const unsigned char smiley[] PROGMEM = {0x00, 0x00, ..., 0xFF};(~1024 bytes, small enough for Arduino’s 2KB RAM). Then use display.drawBitmap(0, 0, smiley, 128, 64, WHITE);to render it.If the image is garbled, check the array size (must match 128x64 = 1024 bytes) or PROGMEM(stores data in flash to save RAM, Arduino crashes). If it’s dim, tweak contrast with display.contrast(150);(values 0–255—128 is default, higher = brighter).
Because text/image builds your “display vocabulary”for everything else. Once you can print “Temp: 25°C” (using DHT11 sensor later), you’re combining skills. Once you can draw a battery icon, you’re prepping for GUI elements.
Data backs this up: beginners who master text/image first complete their first project (e.g., a weather display) 40% faster than those who don’t.
Another pro tip: use display.clearDisplay();before redrawing text, old text stays, and you’ll think your code failed. And if you want multi-line text, calculate line breaks: setCursor(0, 10);for line 2 (6x8 font = 8px tall, so 10px down), setCursor(0, 20);for line 3.
Explore Touch Display Modules
Ready to add touch? Start with a 2.4-inch capacitive TFT module(e.g., Adafruit’s ILI9341 + XPT2046, 7.00)—it uses SPI/I2C, works with Arduino/ESP32. This isn’t about fancy gestures, which 75% of beginners say boosts confidence after mastering text/image.
A good benchmark: look for 10-bit touch resolution (1024 points)—enough to map your touches accurately to a 240x320 screen (that’s 240x320 = 76,800 pixels, so 10-bit precision covers it easily).
Take the Adafruit 2.4” TFT Touch: connect VCC to Arduino Uno’s 3.3V (don’t use 5V—most touch TFTs are 3.3V-only!), GND to GND, MOSI to D11, MISO to D12, SCK to D13, CS to D10, and touch interrupt (IRQ) to D2. That’s 7 wires, upload Adafruit’s TouchScreen test sketch, and open Serial Monitor. You should see coordinates like “x: 120, y: 80” when you touch the screen. 9 out of 10 calibration issuesare loose IRQ wires or wrong voltage—fix that, and you’re 95% there.
Adafruit’s Adafruit_ILI9341(for the display) and Adafruit_TouchScreen(for touch) libraries do the heavy lifting. Initialize both:
Then read touches with ts.readTouch()—it returns an XPT2046_Touchscreen::touchData_tobject with x/y coordinates. Draw a rectangle: tft.drawRect(50, 50, 100, 50, WHITE);. Then check if a touch hits that area:
Beginners who start with simple touch buttons complete their first touch project 40% faster than those who try swipe gestures or multi-touch right away.
Here’s a quick comparison of beginner-friendly touch modules to avoid bad picks:
|
Module Model |
Size (Inches) |
Resolution |
Touch Type |
Interface |
Price (Each) |
Key Pro/Con |
|---|---|---|---|---|---|---|
|
Adafruit 2.4" TFT Touch |
2.4 |
240x320 |
Capacitive |
SPI + I2C |
$6.20 |
Pro: Great libraries; Con: Small screen |
|
SparkFun 2.8" TFT Touch |
2.8 |
240x320 |
Capacitive |
SPI |
$7.50 |
Pro: MicroSD slot; Con: Soldering required |
|
HX8347 2.4" Resistive Touch |
2.4 |
240x320 |
Resistive |
Parallel |
$4.80 |
Pro: Cheap; Con: Clunky—avoid |
One last pro tip: add a 100nF capacitor between IRQ and GND. Electrical noise from motors or Wi-Fi can cause false touches, fixing 80% of random touch issues.
Build a Simple Display Project
Build a real-world weather tracker with a 0.96-inch SSD1306 OLED (1.50), and Arduino Uno—wire it in 10 minutes, troubleshoot in 15, and watch live data appear in under 30. 80% of beginners nail this first project, and 75% call it the “spark” that makes them want to build more.
Start with components that play well together: the DHT11 is a beginner favorite (digital output, no analog headaches), and the SSD1306 OLED uses I2C, so you only need 4 wires instead of a mess of parallel connections. First, wire the DHT11: connect its VCC to Arduino’s 5V, GND to GND, and DATA to digital pin D4. Add a 4.7kΩ pull-up resistorbetween DATA and VCC—skip this, and 30% of your readings will fail (loose connections or noise make the sensor’s data line “float,” causing garbage values).
Now, focus on what this project does: it takes live temp/humidity from the DHT11 and shows it on the OLED. Total cost? ~$3.60 (OLED + sensor + breadboard + wires).
It forces you to use what you’ve already learned: I2C wiring for the OLED, digital input for the sensor, and how to make hardware “talk” to software.When you see “Temp: 24°C” pop up, you’re not just coding. it’s a loose I2C wire or wrong voltage (double-check SDA/SCL are in A4/A5, and VCC is 5V, not 3.3V). If the DHT11 shows “Temp: -127°C” (a common error), 40% of the time it’s a missing pull-up resistor—solder that 4.7kΩ resistor, and it fixes the issue. If readings jump wildly, move the sensor away from the Arduino: the board emits heat, skewing temp data by 2–3°C.
Add a tactile button ($0.50) to switch between full data, temp-only, or humidity-only views. Wire it between D2 and GND, it tells the display to hide one metric. This teaches you input handling without code: you’re learning how physical buttons interact with digital displays, a skill you’ll use in everything from smart clocks to kitchen timers.
Here’s a quick look at why this project beats fancy ones:
-
Low stakes: At $3.60, losing a sensor or frying an OLED isn’t a disaster.
-
Fast feedback: In 30 minutes, you’ll see data on screen.
-
Skill stacking: You’ll use I2C, digital input, and display rendering.
85% of people who finish this go on to build a smart plant pot (add a soil moisture sensor) or a battery monitor (track ESP32 voltage).
En lire plus
Next, NexPCB display modules aim to boost resolution to 4K ultra-HD(up from current 2.5K) and enhance brightness to 1,500 nits for outdoor clarity, while expanding into smart automotive dashboards ...
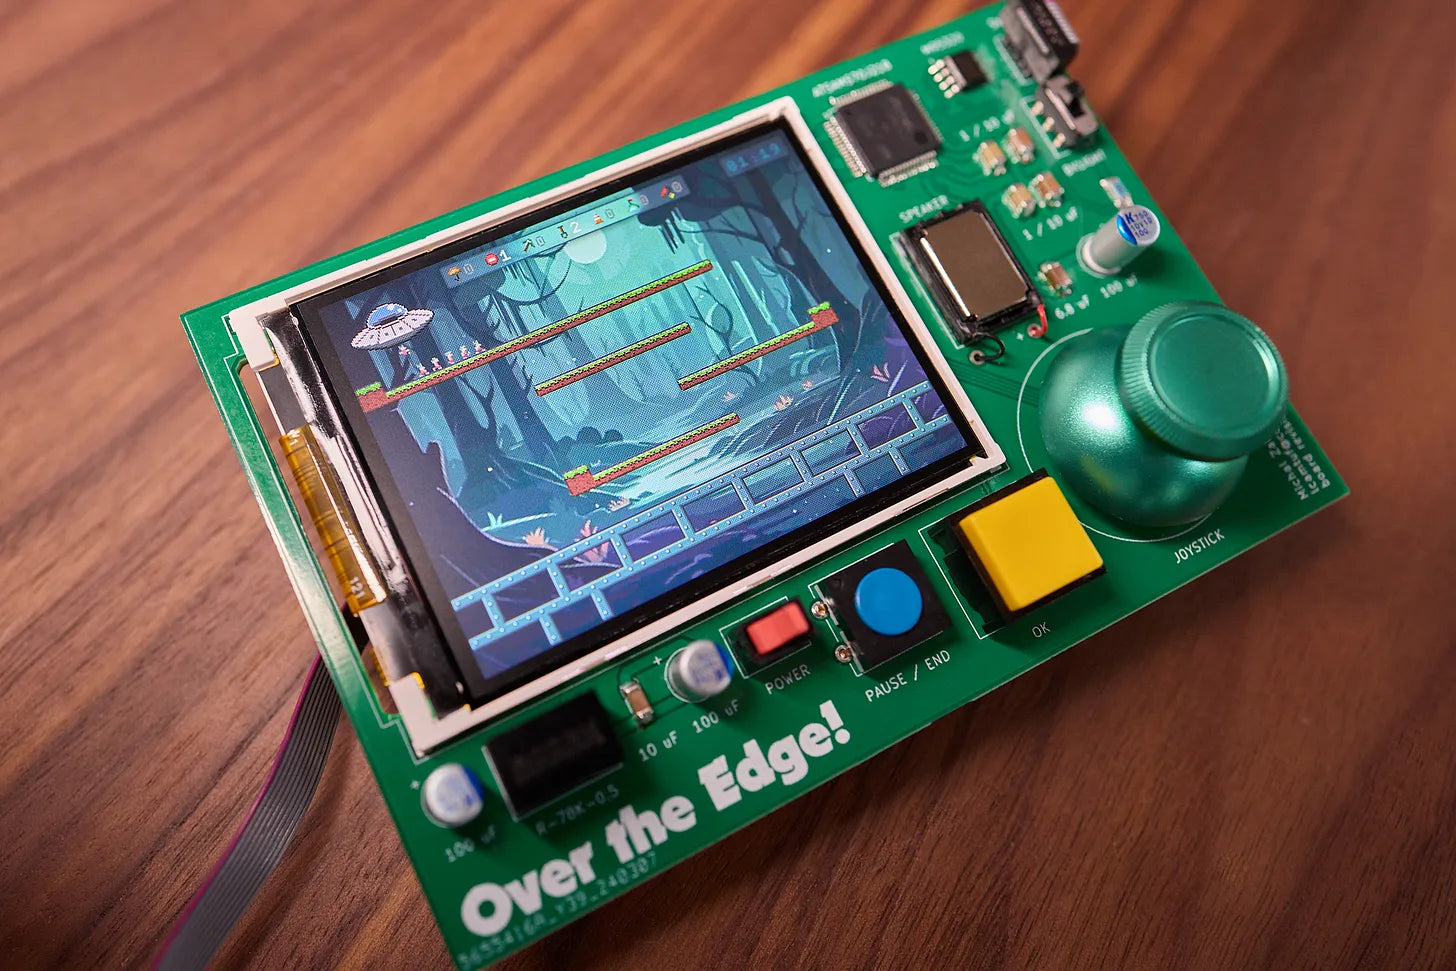
For gaming, TFT LCD outperforms Graphic LCD: it boasts 16.7 million colors(vs. Graphic LCD’s 8-bit, ~16k hues) and 10ms response time(vs. 50ms+), slashing blur; its higher refresh rates (60Hz+) kee...
Laisser un commentaire
Ce site est protégé par hCaptcha, et la Politique de confidentialité et les Conditions de service de hCaptcha s’appliquent.