



How To Upgrade From Character LCD To Graphic LCD
Upgrading from a character LCD to a graphic LCD changes four things at once: the controller, the memory model, the interface protocol and the way the host draws. The wiring is often the easy part. What breaks schedules is the assumption that a graphic module can drop into a character module's socket and firmware — it can share a footprint, but the command set and the display buffer are different.
Is the upgrade actually necessary
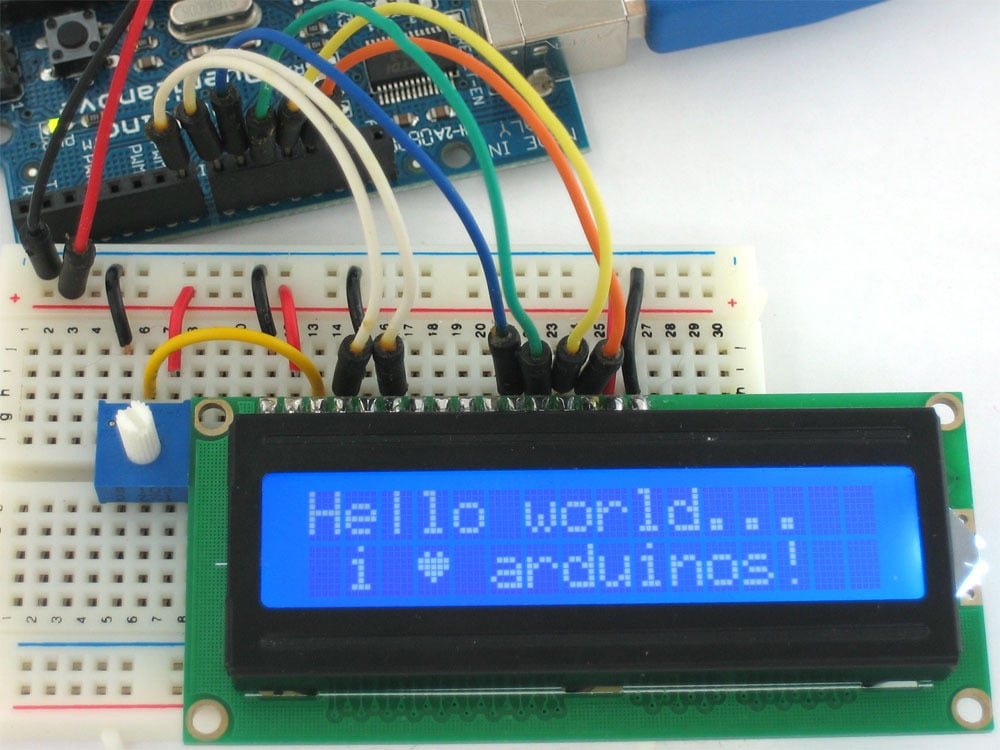
A character module renders a fixed font on fixed character cells. A graphic module addresses individual pixels, which allows custom fonts, icons, charts and variable layouts. If the interface only needs text in a standard font, the upgrade adds cost and firmware work for no user-visible benefit.
The upgrade is justified when the product needs any of four things: non-Latin or custom typography, icons and symbols alongside numbers, graphical data such as a trend line or bar, or a layout that must adapt to content. Otherwise a larger character module is usually the cheaper answer.
Choose the panel and the controller together
Graphic modules come with controllers that differ in resolution support, memory, interface options and built-in font. Two decisions follow. First, resolution: pick the smallest panel that renders the densest screen the interface will ever show, with a margin for character height — a 128×64 panel and a 240×160 panel have very different firmware implications.
Second, controller. A controller with its own display RAM and a fast write path keeps the host's load low; one without forces a full-frame refresh for every change. For a small microcontroller already running other tasks, that difference decides whether the upgrade is feasible at all. Check the controller's command set, because it determines how much driver code has to be written.
The interface rarely maps one-to-one
Character modules commonly use a parallel 6800/8080-style bus or an I²C/SPI expander. A graphic module may offer the same parallel bus, SPI, or both. If the pinout matches, the hardware change can be limited to the connector; if it does not, the choice is between an adapter and a board revision.
Three interface details to verify before committing: the bus width the controller expects, the timing requirements at the intended bus clock, and whether the module needs a reset line and a data/command select line that the old design did not provide. A design that lacks a spare GPIO for the data/command select is the most common surprise.
Firmware: from characters to pixels
This is the part that dominates the schedule. A character library writes a byte per character into a fixed map. A graphic driver needs a frame buffer, a font renderer, and a strategy for updating only what changed.
Four tasks define the work. Allocate the frame buffer in host RAM — a 128×64 monochrome display needs 1 KB, a 240×160 needs 4.8 KB, which may or may not fit the chosen microcontroller. Implement the write path: set an address window, then stream bytes. Build a font renderer for the typefaces the interface needs, preferably from a bitmap table sized to the design. And decide the update strategy: full refresh is simple and slow, dirty-rectangle updates are fast and more code.
Where the old interface had a text-buffer abstraction, keep it. Mapping the existing text API onto a graphic backend isolates the change and lets legacy screens keep working while new ones are developed.
What usually goes wrong after the swap
Three problems appear in the first week. The display is mirrored or rotated, because the segment remap and COM scan direction in the initialisation sequence do not match the panel's wiring — a software fix, but only if the symptom is recognised. The screen flickers during updates, because the host writes to display RAM while the panel is scanning it, which is solved by writing during the blanking interval or by using the controller's double-buffer if it has one.
The third is contrast and temperature: a graphic module's contrast often needs temperature compensation that a character module did not, because the panel is larger and the drive voltage range is wider. A fixed contrast setting that looks right at room temperature can wash out in the cold.
Verification before volume
Check four things on the bench. Render the densest screen at the fastest update rate the product will use, and watch for tearing or flicker. Verify every custom glyph against the design. Run the display at the extremes of the operating temperature range and confirm contrast is still acceptable. And measure luminance and uniformity on a full-white pattern, with the measurement basis standardised in ISO 9241-307[1].
Graphic LCD modules are listed in the graphic LCD collection; character modules for comparison are under character LCD displays, and COG-format graphic panels under COG LCD.

Upgrading from character to graphic LCD is a firmware project with a hardware component. Confirm the upgrade is justified, choose panel and controller together, verify the interface details the old design may lack, and budget for the frame buffer, font renderer and update strategy — those three determine whether the migration stays on schedule.
References
- ISO 9241-307:2008 — Ergonomics of human-system interaction — Part 307: Analysis and compliance test methods for electronic visual displays. International Organization for Standardization. https://www.iso.org/standard/40102.html
En lire plus
If your TFT LCD module isn’t working, check 3.3V-5V stable power (a weak 3.8V battery often causes failure), ensure no loose FPC connectors or oxidized.
Yes, IPS modules can work outdoors effectively: they endure -40°C to 85°C temperature swings, resist dust/water via IP65 rating, and boast 1500 nits.
Laisser un commentaire
Ce site est protégé par hCaptcha, et la Politique de confidentialité et les Conditions de service de hCaptcha s’appliquent.