



Can I Customize NexPCB Displays Modules
Yes. NexPCB display modules can be customized across size, resolution, interface, backlight, touch, cover glass and firmware, as long as the change stays inside what the underlying panel and driver IC can support. The real constraint is not what can be drawn on a specification sheet; it is which glass, driver and connector are already in production and therefore available at a workable cost.
What can be changed
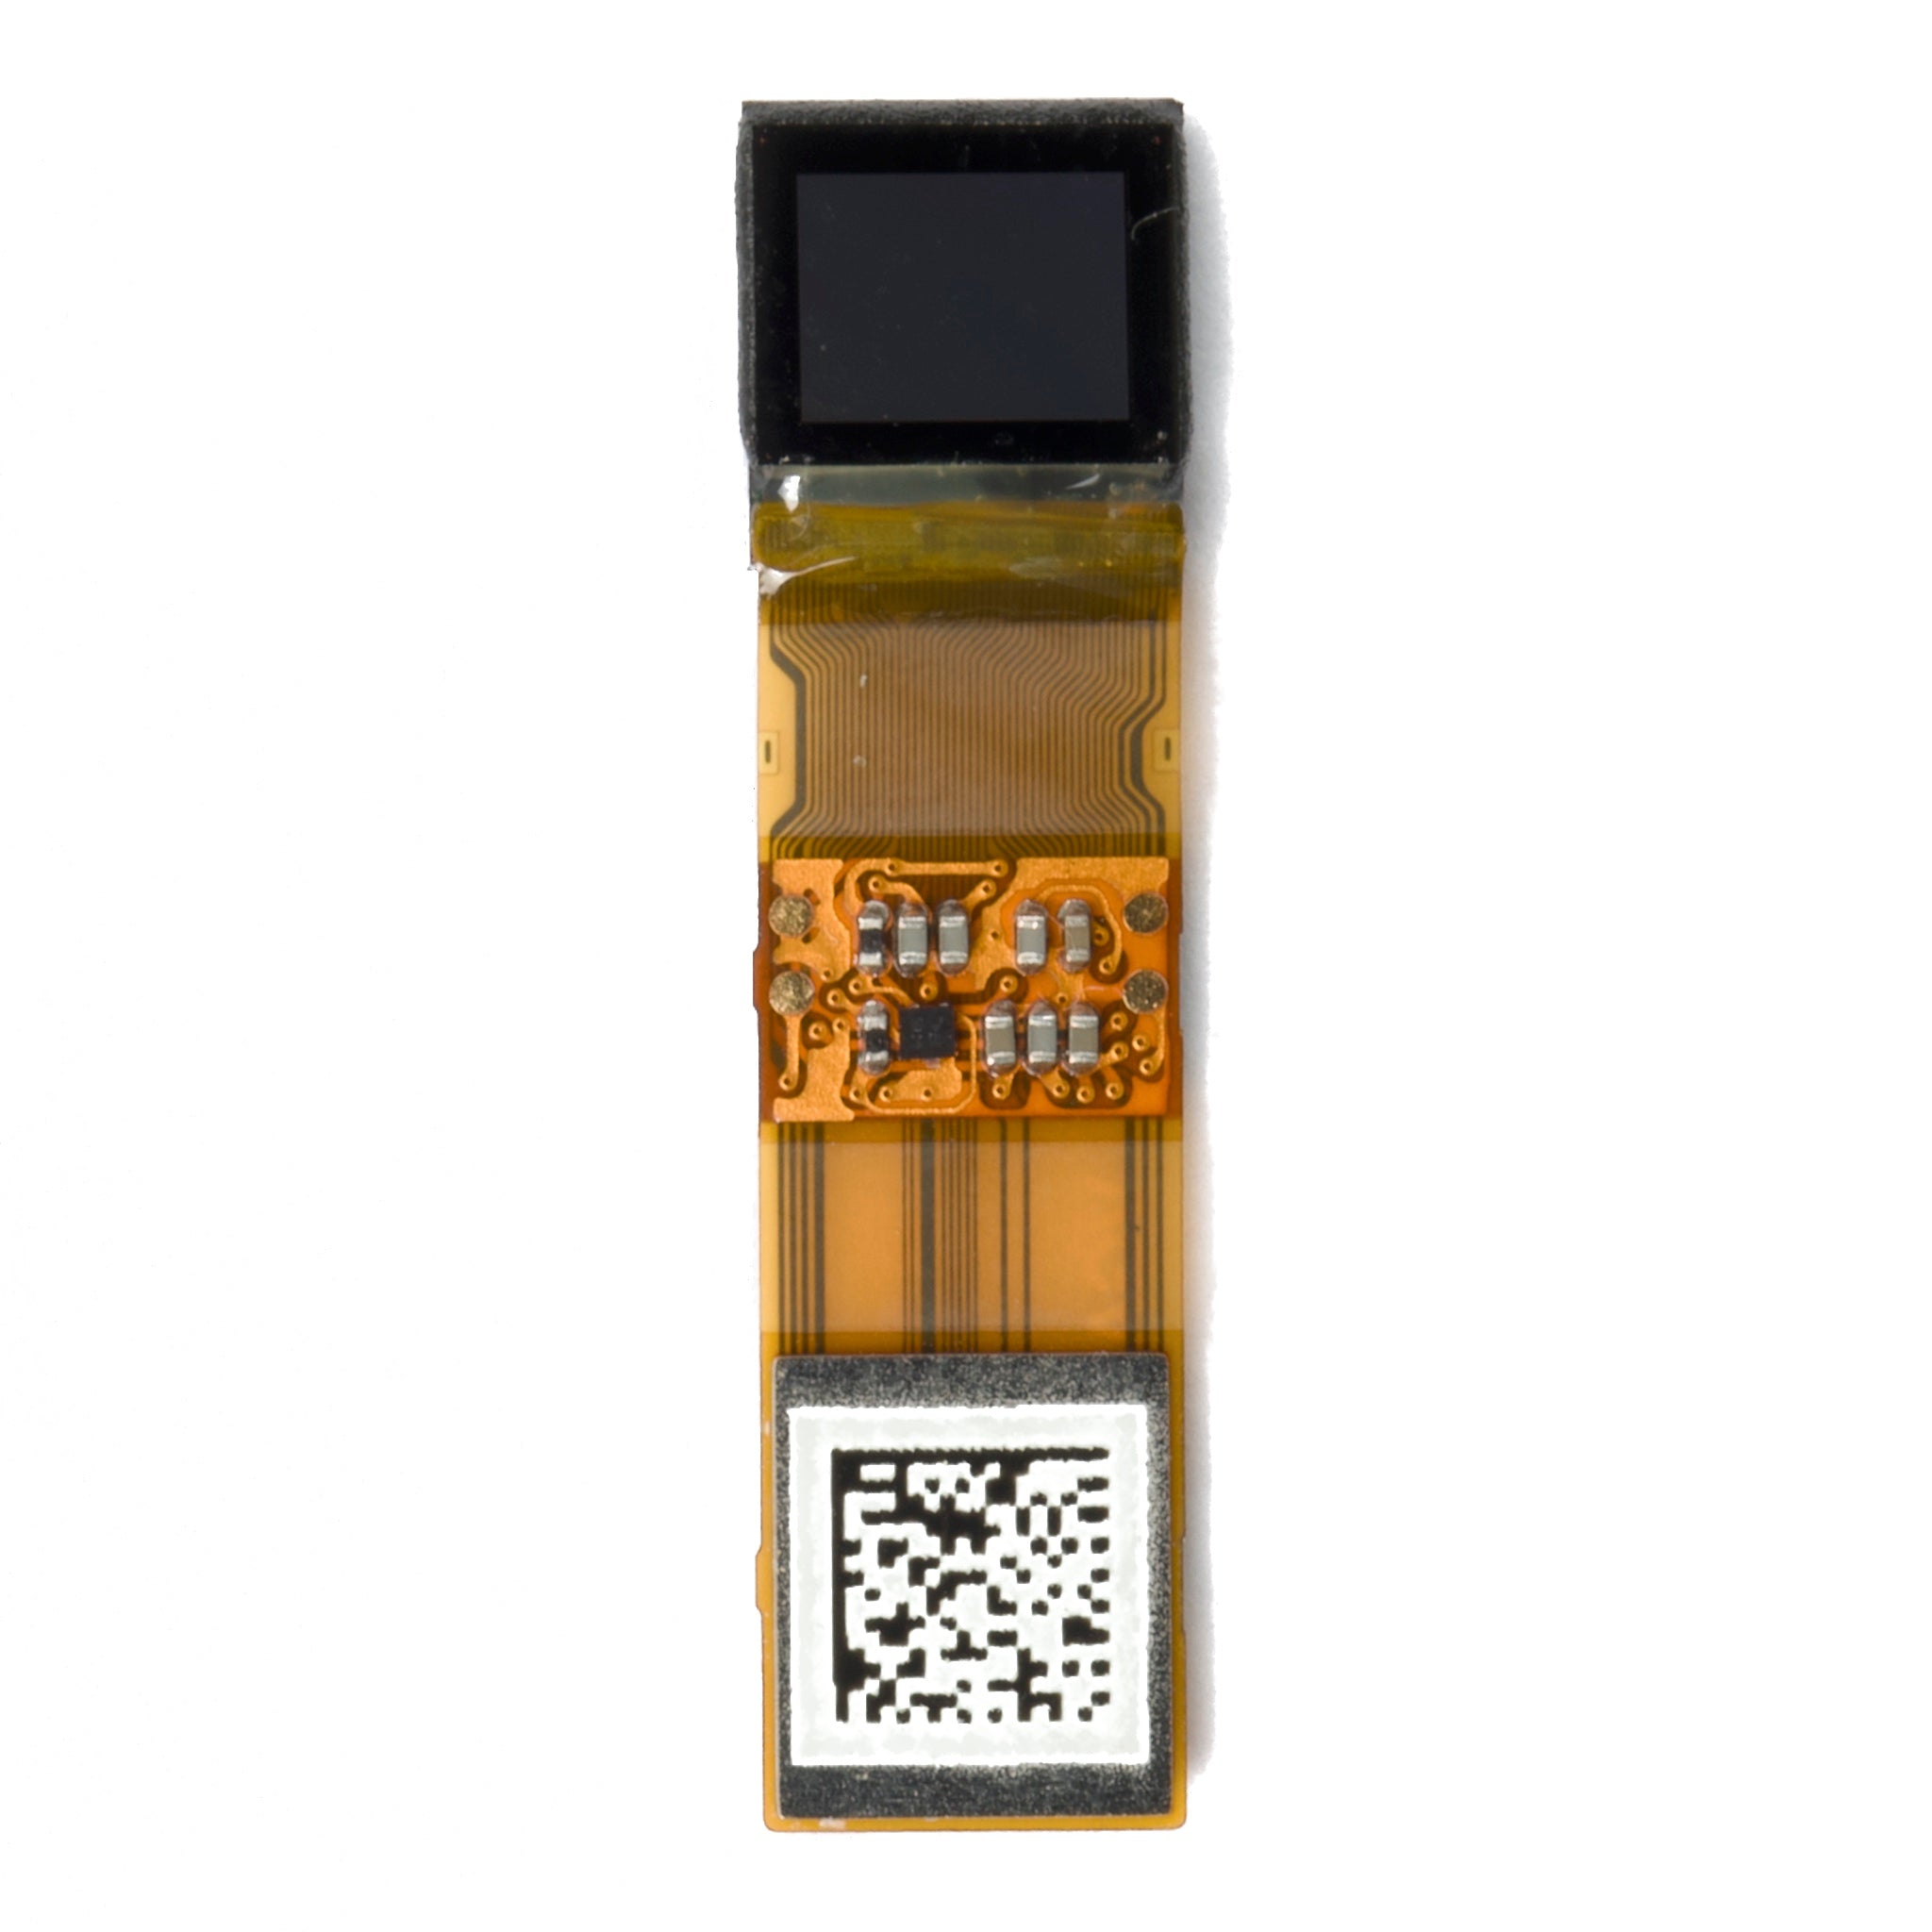
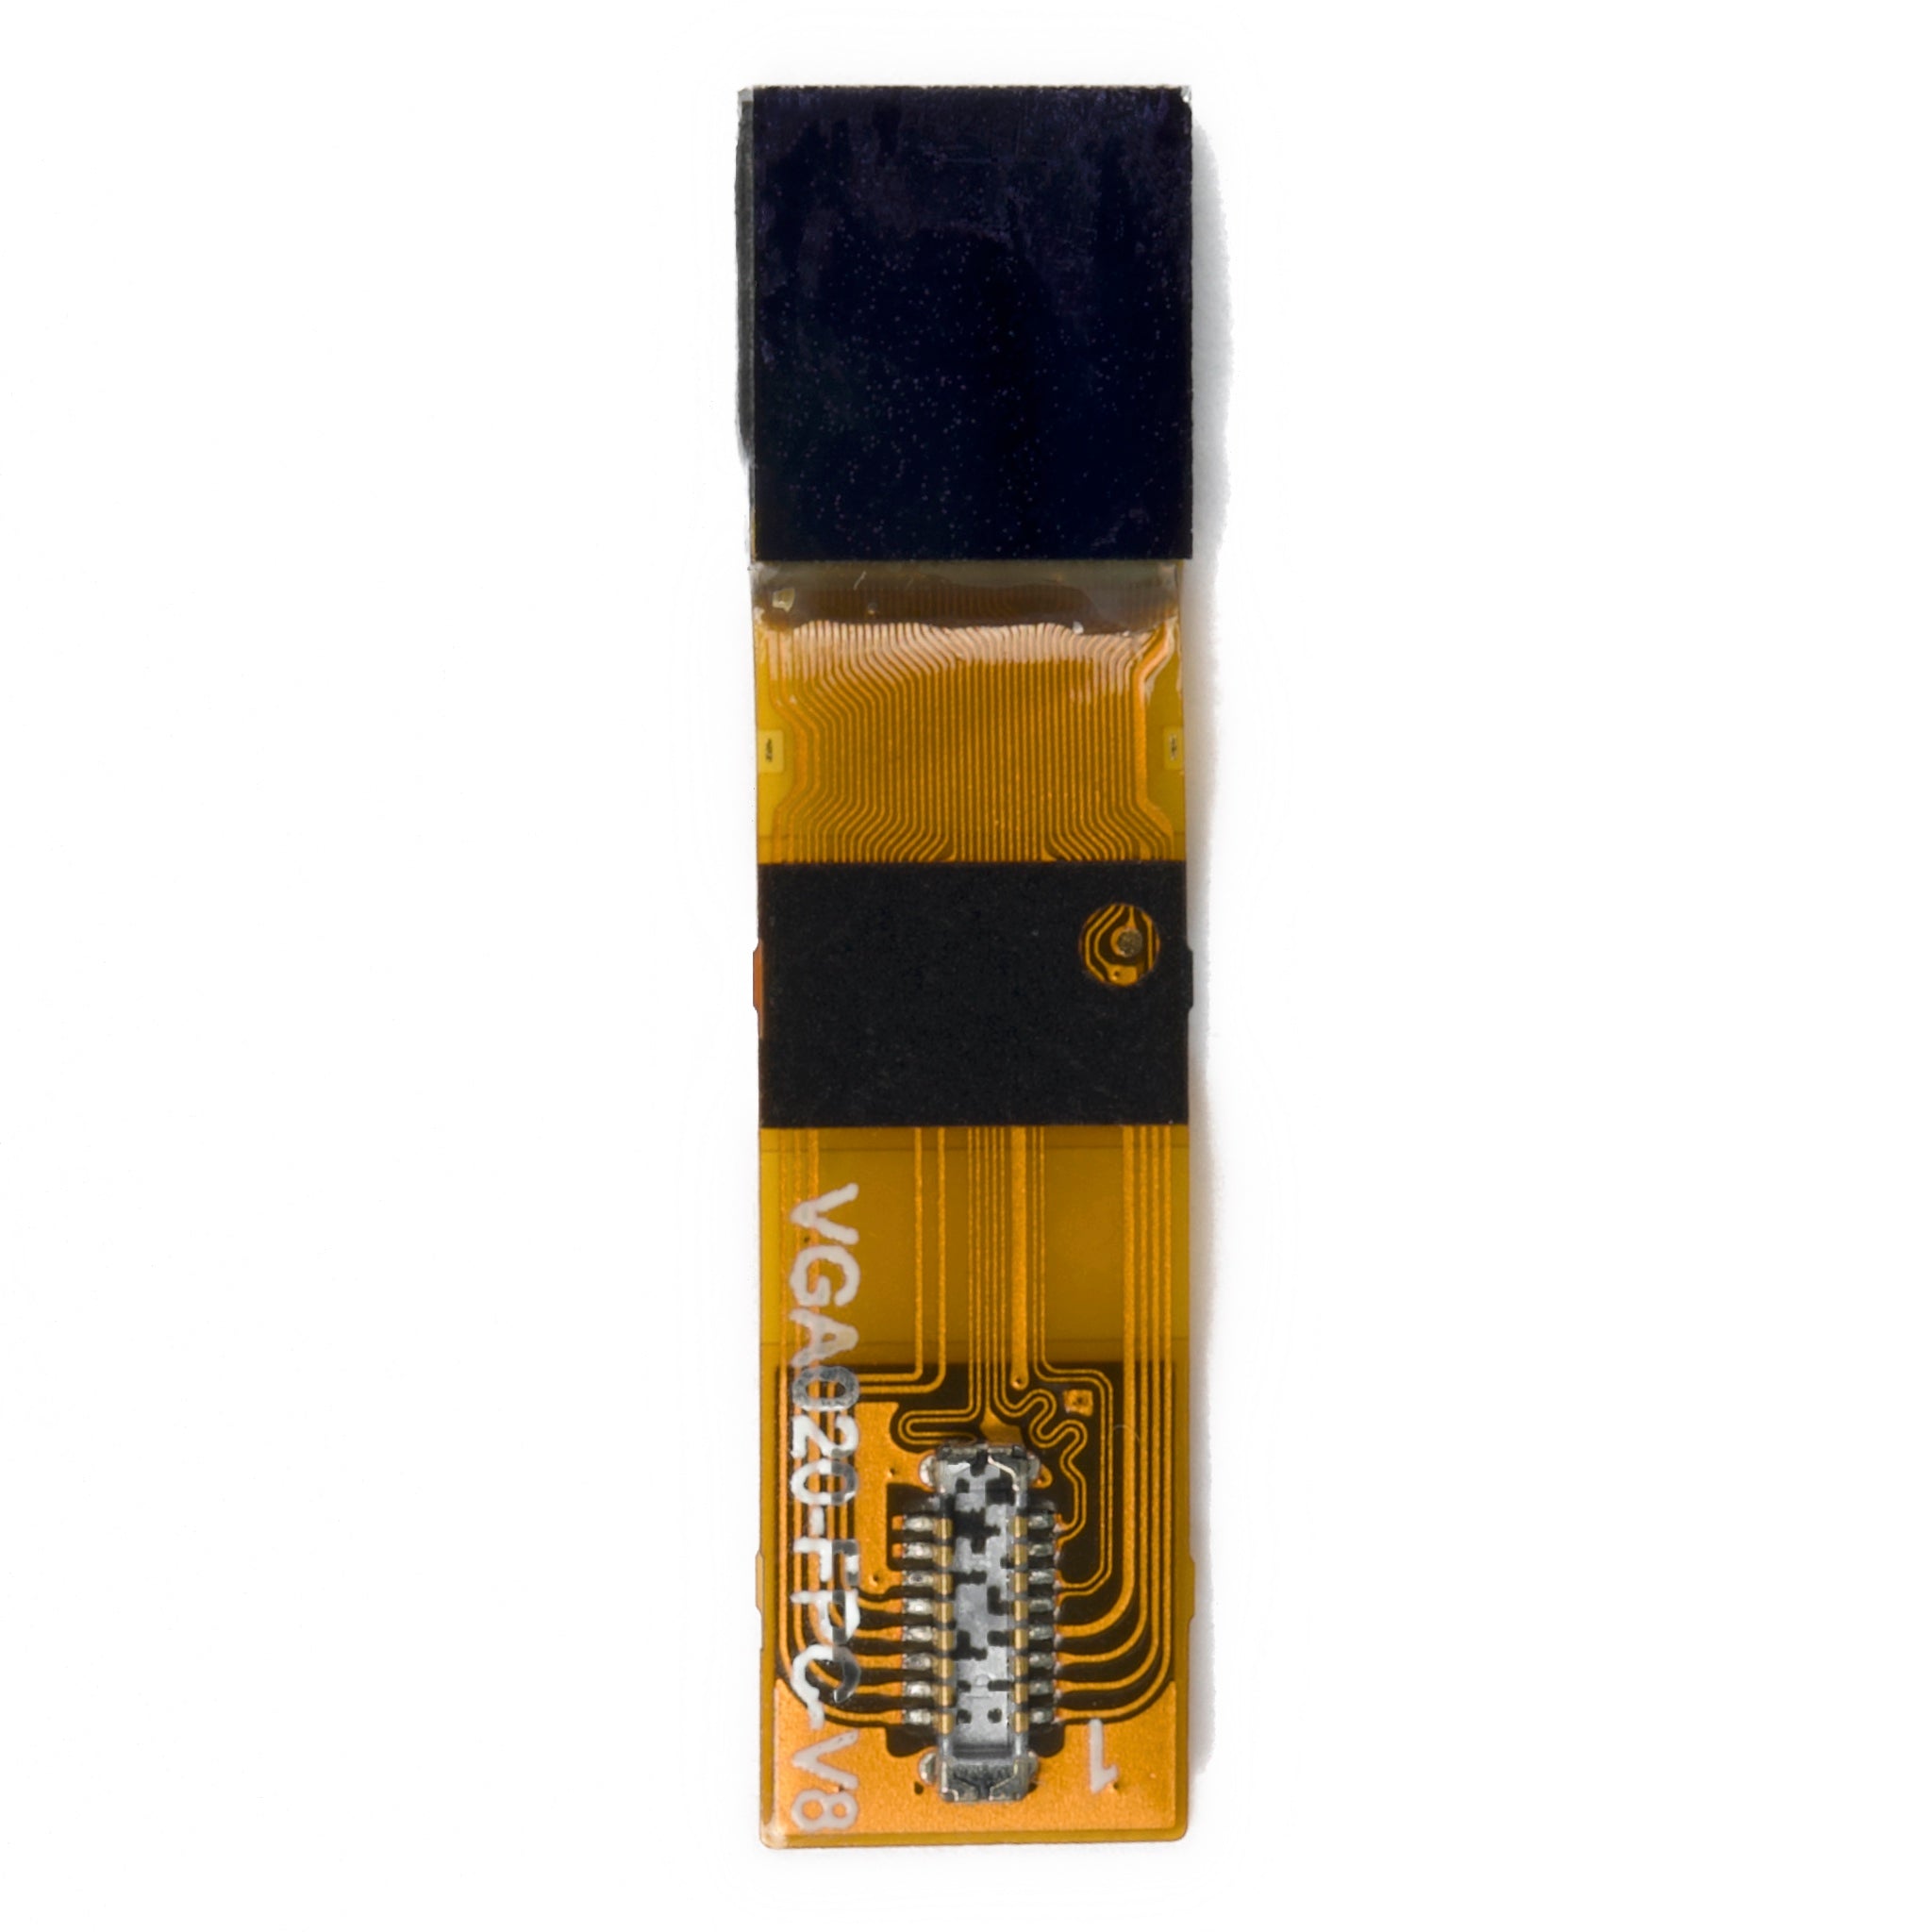
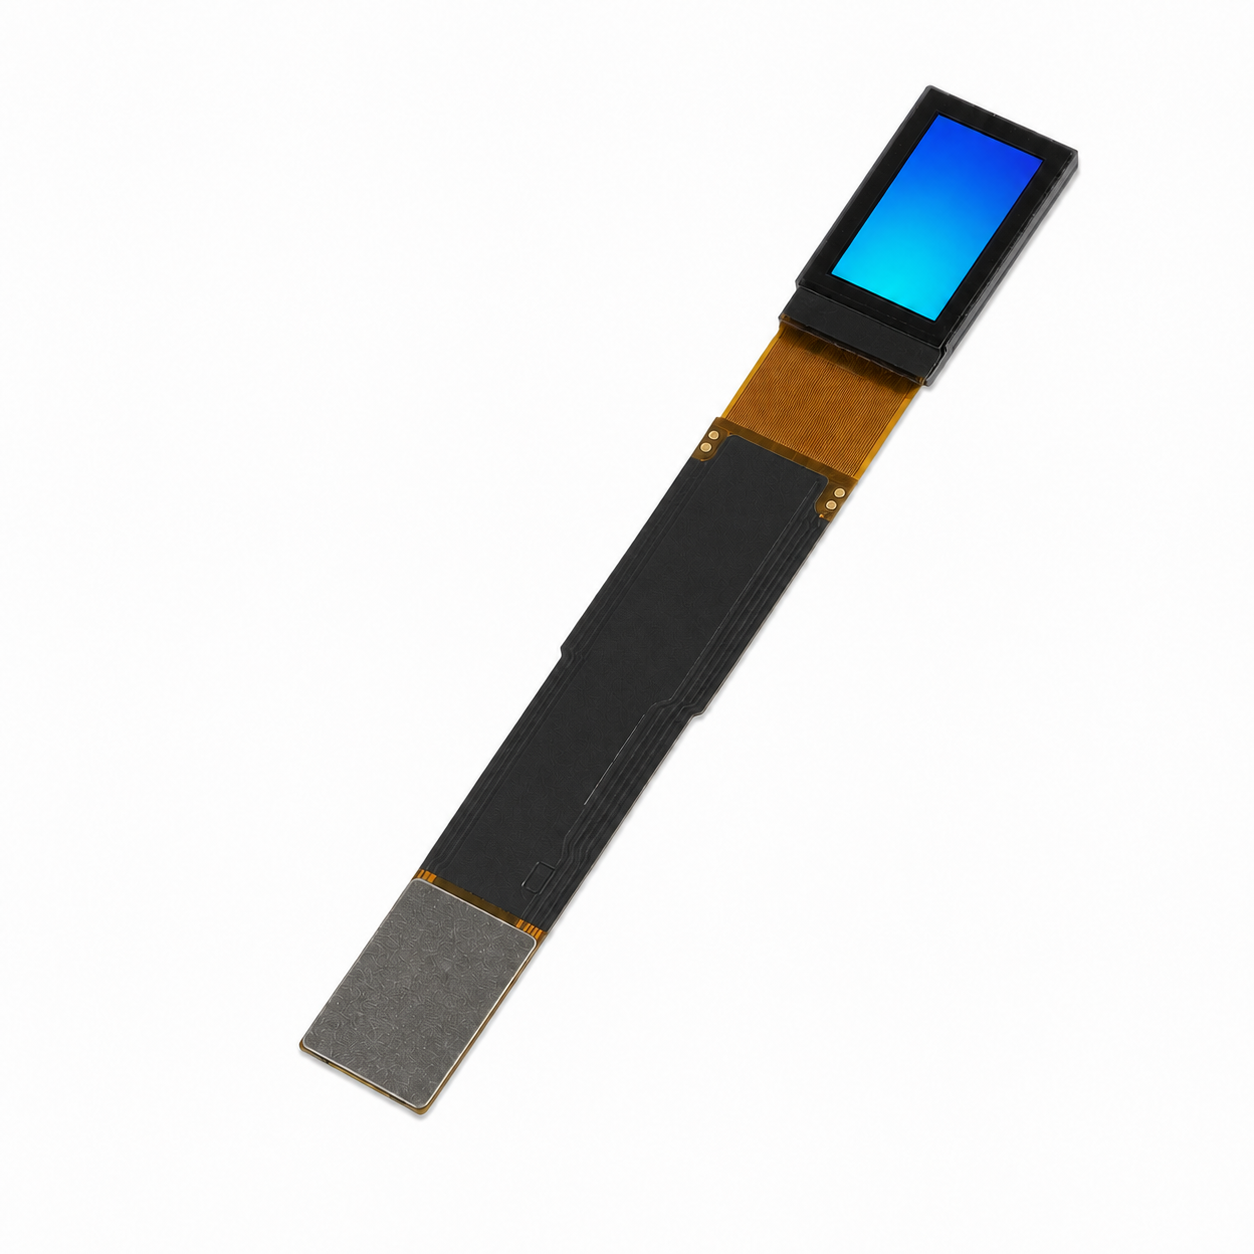
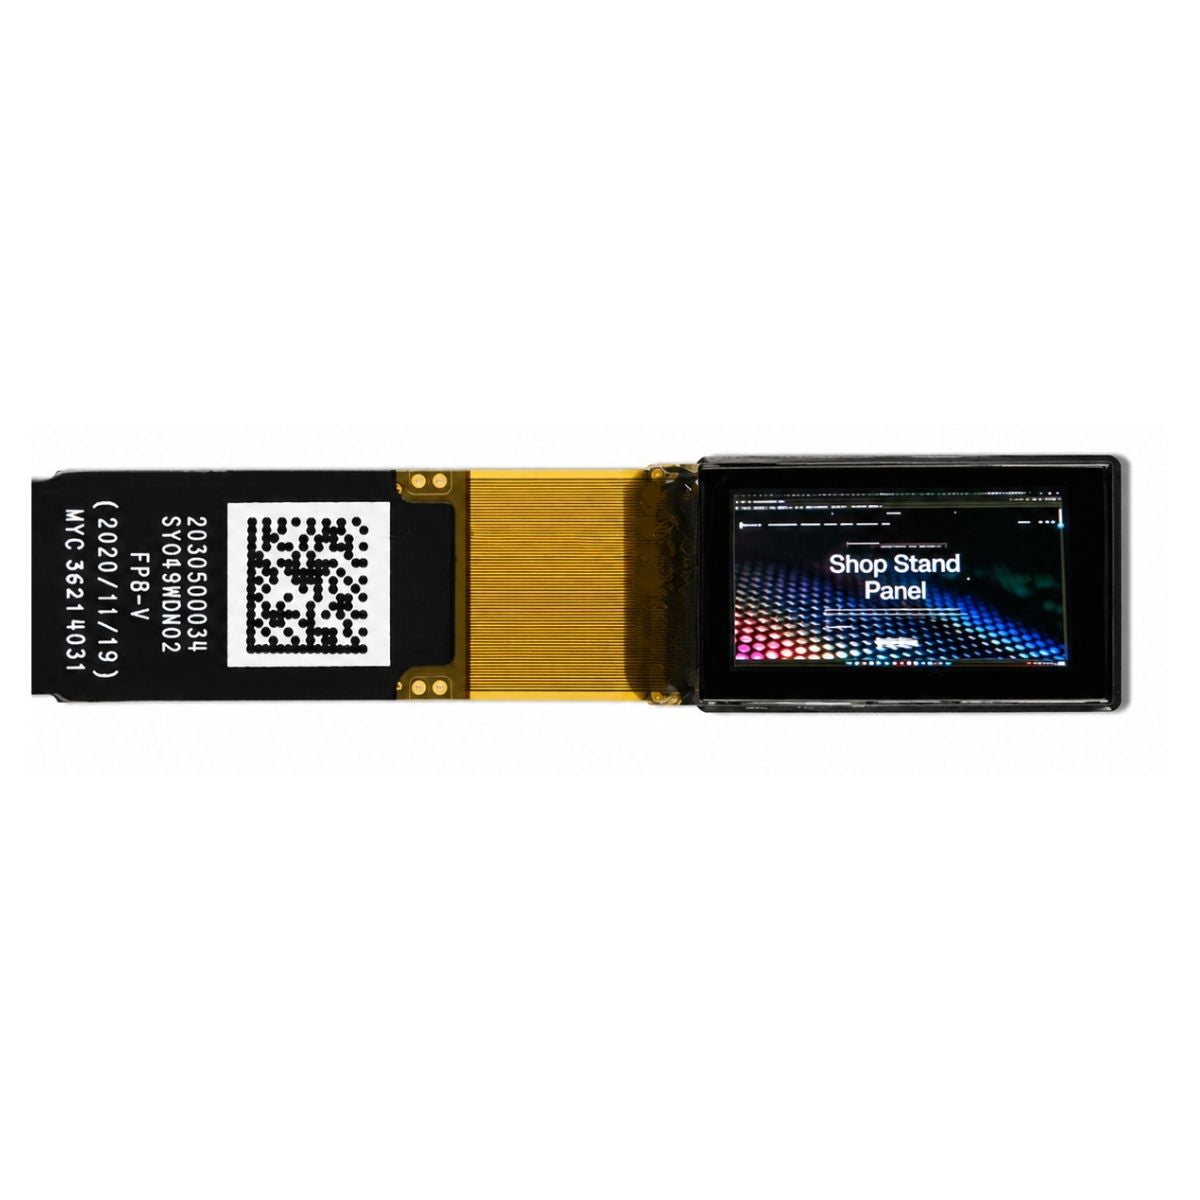
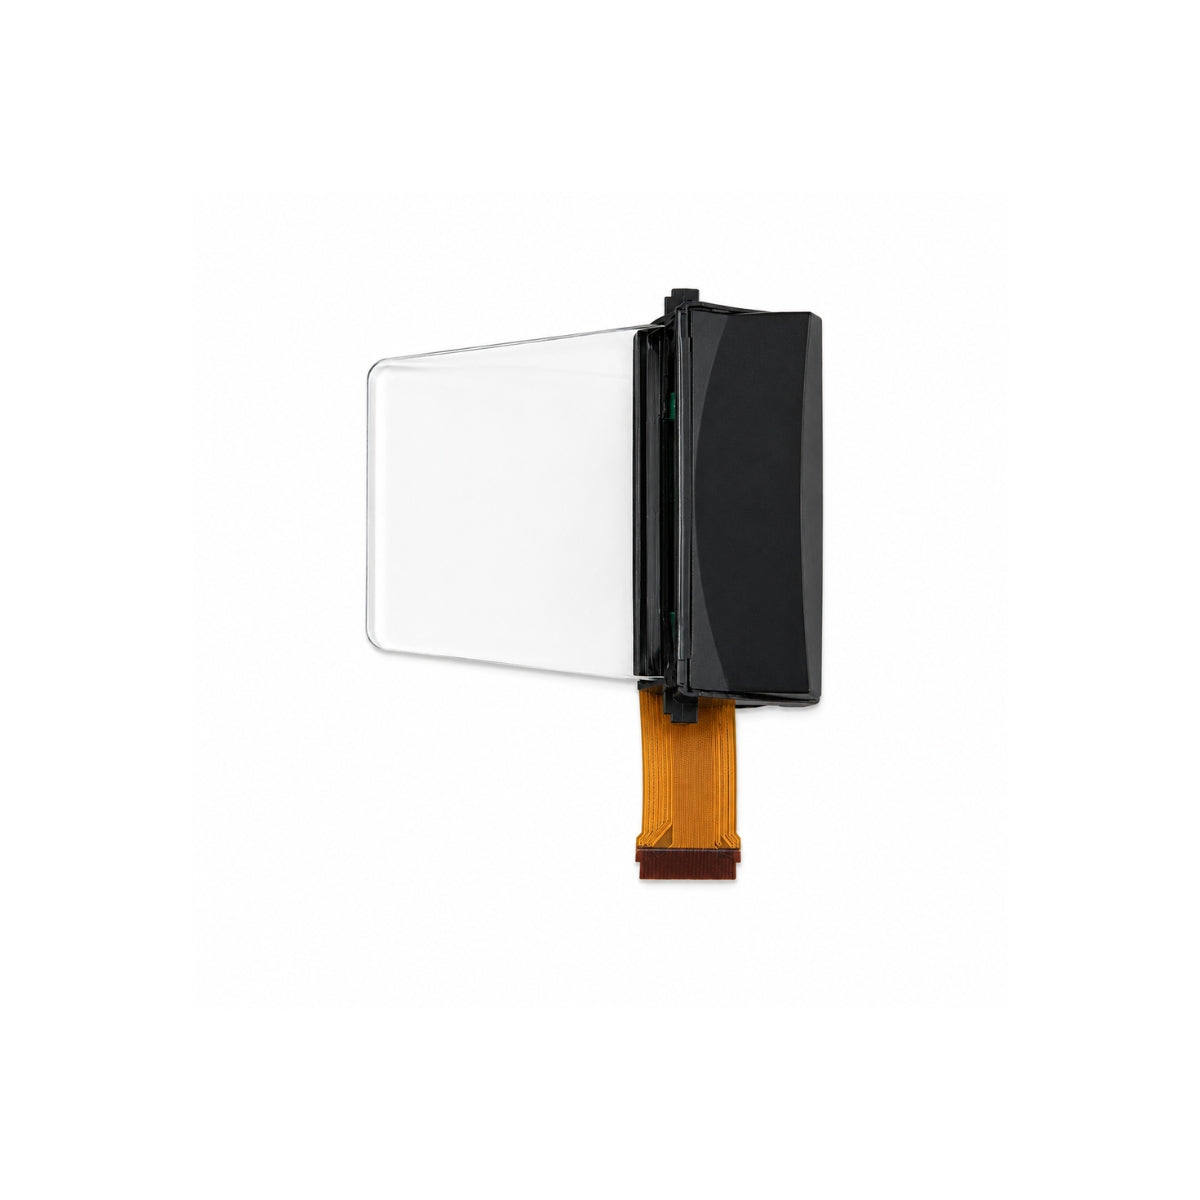
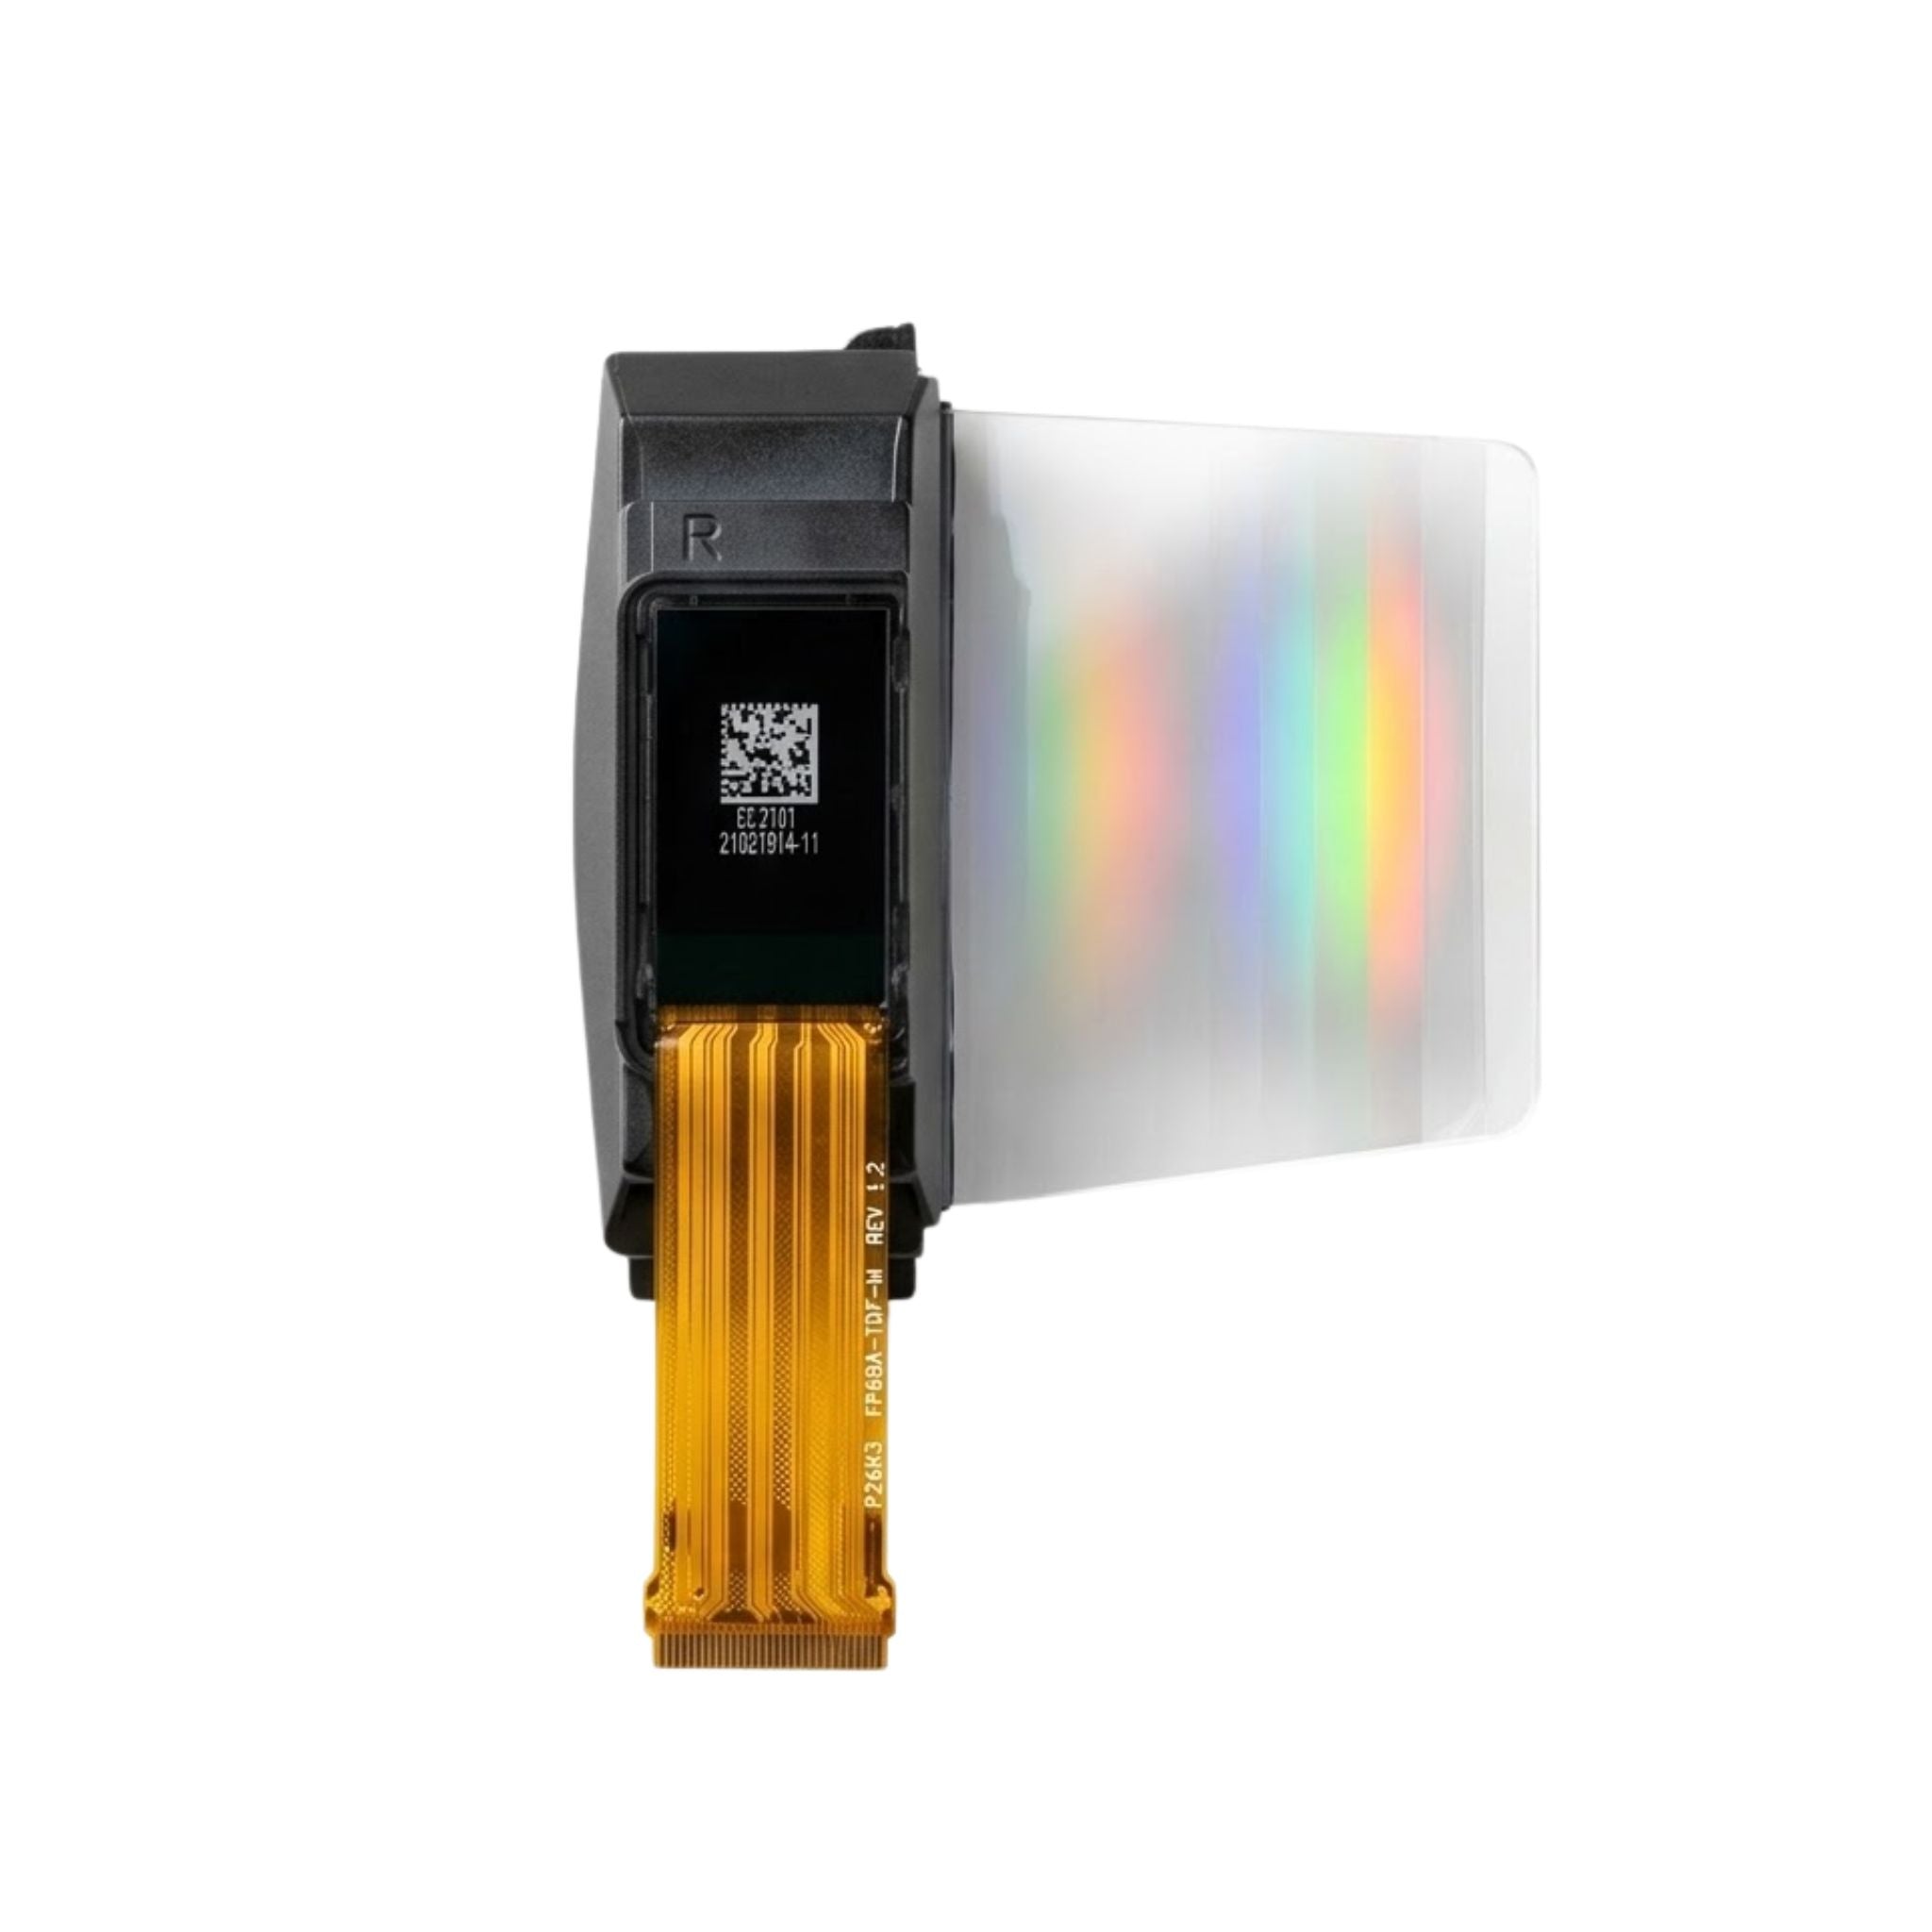
The mechanical and electrical periphery is the most flexible part of a module. Flex tail length, pin assignment, connector type and tail exit position are usually build-to-order, because they are produced from a tooled flex circuit rather than from the panel itself. This is where most custom requests land, and it is where customisation delivers the largest gain in assembly time.
Backlight configuration is similarly adaptable. LED count and arrangement, the diffuser stack and the target brightness can be adjusted, and the resulting change in thickness and power draw is predictable from the optical design. A sunlight-readable variant typically needs a brighter backlight plus an anti-reflection front treatment, and both have to be specified together rather than one at a time.
On the front surface, the options run through cover glass thickness, printing and coatings. Anti-glare, anti-reflection and anti-fingerprint treatments each change the appearance of the black state, so they should be chosen against a stated viewing condition rather than by name. Touch can be added as a laminated or air-gap assembly, and the sensor type — resistive or projected capacitive — is a separate decision from the display itself.

What resists customisation
Active area, pixel pitch and native resolution are fixed by the glass and the driver IC. Asking for a different resolution on the same diagonal usually means a different panel, not a modification, and the new panel brings its own interface, timing and initialization requirements.
The same applies to the driver's channel count. A panel designed for a 16-bit parallel interface will not gain a MIPI receiver because the customer prefers fewer wires; that change happens at the bridge chip, outside the module. Understanding which layer of the stack a request touches is the difference between a two-week flex revision and a full re-qualification.
Interfaces and firmware
Interface selection follows the pixel count and the frame rate you need. SPI is adequate for small panels with infrequent updates; RGB parallel, LVDS or MIPI DSI become necessary as resolution and refresh rise. The bandwidth calculation is straightforward — horizontal pixels × vertical pixels × bits per pixel × refresh rate, plus blanking — but the host's ability to sustain that rate is the part that is often assumed rather than checked.
Firmware is a frequently overlooked customisation. Initialization tables, gamma curves and power-up sequences are panel-specific, and a module supplied with the correct sequence saves days of debugging. If you are moving from a development board to a production processor, request the sequence in writing at the sample stage, because a table that is only embedded in a vendor binary is difficult to port.
Environmental requirements
Operating temperature is a module-level property, not a panel-level one. The liquid crystal mixture, the polarizer and the backlight all have limits, and a wide-temperature build may need a different mixture, a heated backlight arrangement or both. Specify the temperature range you actually need, plus the storage range and the number of thermal cycles, so the supplier can choose a grade rather than guess.
Where the equipment will be washed down or used outdoors, sealing and condensation deserve their own line in the requirement. A gasket around the front bezel and a sealed tail exit are mechanical details that determine whether the module survives, and they are easier to add at the drawing stage than to retrofit.
What to send with the enquiry
- Active area and outline dimensions, with the mechanical envelope and mounting points.
- Resolution, colour depth and whether the format must be native.
- Interface type, lane or bus width, and the target frame rate.
- Brightness at a stated drive condition, and contrast at a stated measurement condition[1].
- Operating and storage temperature range, plus any vibration or drop requirement.
- Touch type, cover glass thickness and surface treatment, if applicable.
- Annual volume, prototype quantity and the date the design must freeze.
A drawing and a photograph of the intended enclosure are worth more than a paragraph of description. Suppliers read geometry; ambiguous prose is what produces a sample that fits nothing.
How a custom build proceeds
The usual sequence is requirement review, nearest-standard proposal, sample, design verification and then production release. The proposal stage matters most, because a good supplier will offer the closest existing panel before quoting tooling for a new one. Accepting that suggestion often shortens the schedule without changing the product's appearance.
Sample evaluation should test the module in the actual enclosure, at the actual viewing distance, under the actual ambient light. Bench evaluation on a white background hides the reflection and uniformity problems that appear in a finished product, and those problems are expensive to fix after tooling is committed.
Lead time and minimum order quantity are quoted per project rather than published as a table, because both depend on panel availability, flex tooling and the test plan. Request them in writing alongside the specification, and ask which assumptions they rest on — a schedule that assumes an in-stock panel is not the same commitment as one that assumes a new glass run.
Where the cost sits
Customisation splits into non-recurring engineering and per-unit cost. Flex tooling, cover glass tooling, test fixtures and any new panel qualification are one-time charges. Per-unit cost rises with panel area, brightness, wider temperature grades and additional optical layers, and falls with volume.
The practical consequence is that changes to the flex and the front surface are cheap to iterate, while changes to the panel are not. Sequence the design so that the cheap variables are settled first. The TFT display collection and the IPS display collection both show the standard builds that most custom requests start from, and the industrial display range covers the wide-temperature and high-brightness variants.
Reducing the risk
Write the requirement before the drawing. State the conditions under which each number must hold, and say which parameters are negotiable and which are fixed by the enclosure. A supplier who knows that the mounting bosses cannot move will propose a different panel than one who is told only the diagonal.
Then keep one variable per sample round. Changing the panel, the interface and the cover glass at once produces a result nobody can attribute, and the schedule lost to a confused evaluation is usually longer than the time saved by combining the changes.
References
- ISO 9241-307:2008 — Ergonomics of human-system interaction — Part 307: Analysis and compliance test methods for electronic visual displays. International Organization for Standardization. https://www.iso.org/standard/40102.html
더 읽기
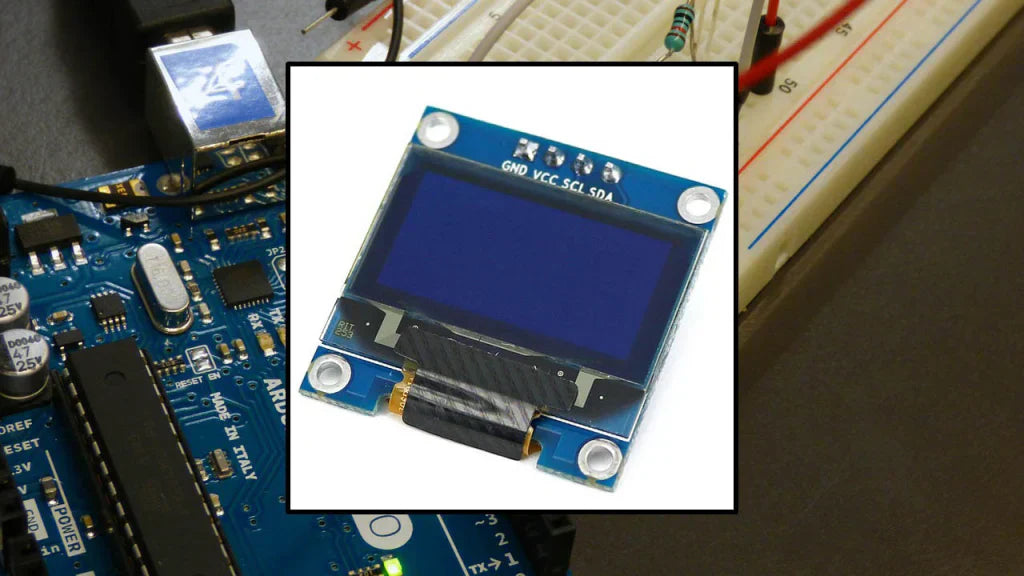
Yes, PMOLED modules prove durable for industrial use: they typically last 50,000 to 100,000 hours (outperforming many LCDs), withstand extreme.
To test an AMOLED display module’s quality, start by checking dead pixels in a dark room—aim for fewer than 3 dead pixels per million to avoid noticeable.
댓글 남기기
이 사이트는 hCaptcha에 의해 보호되며, hCaptcha의 개인 정보 보호 정책 과 서비스 약관 이 적용됩니다.