



COG LCD Modules | Custom Designs, Fast Prototyping & Mass Production
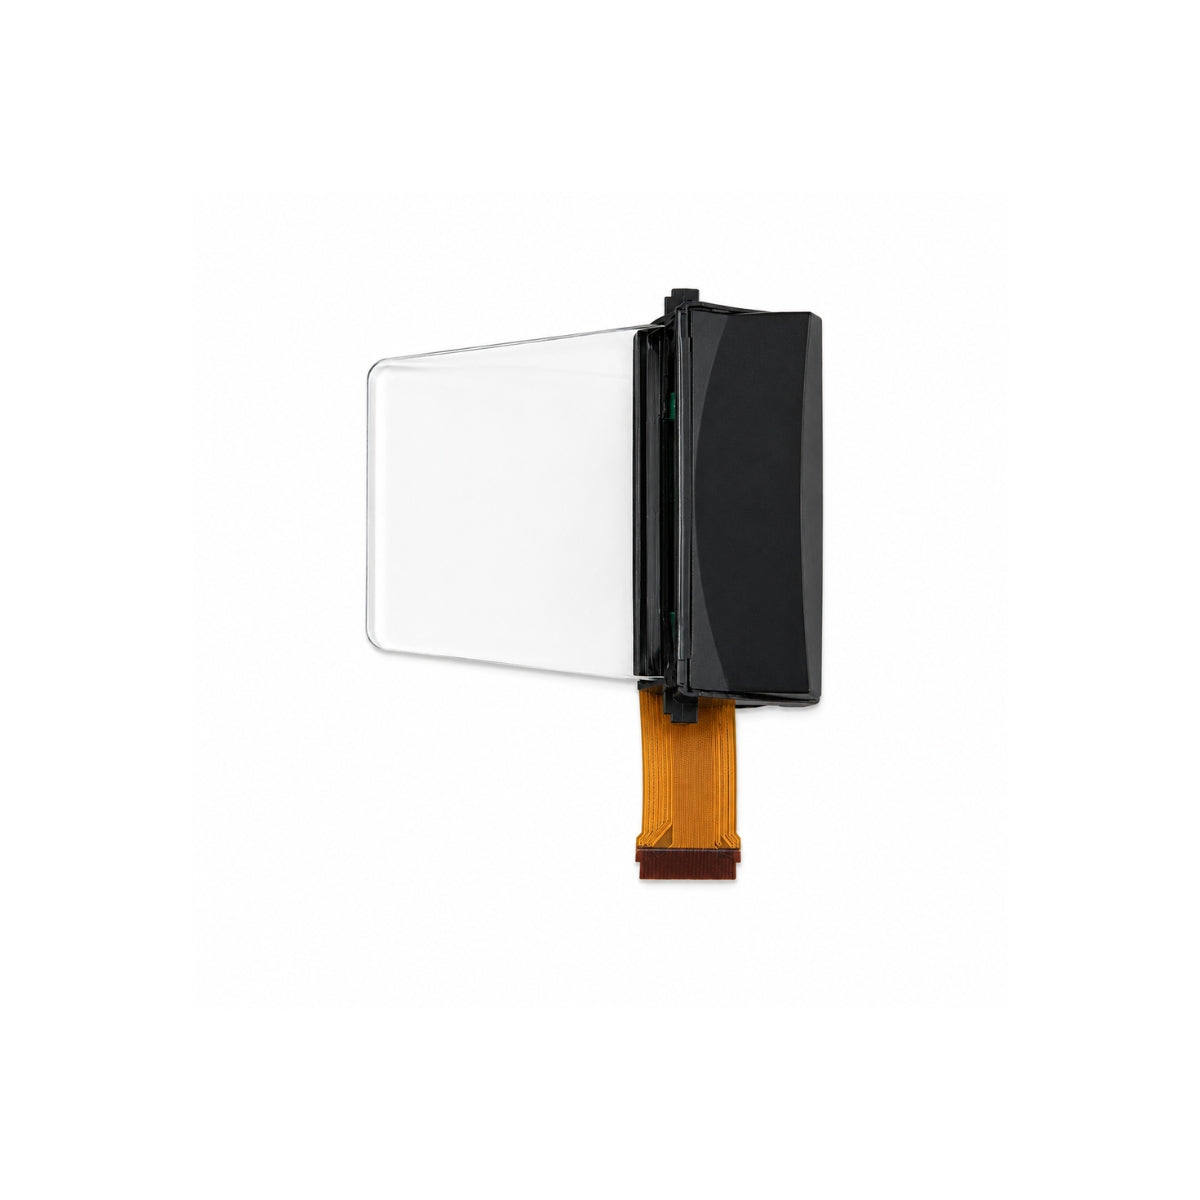
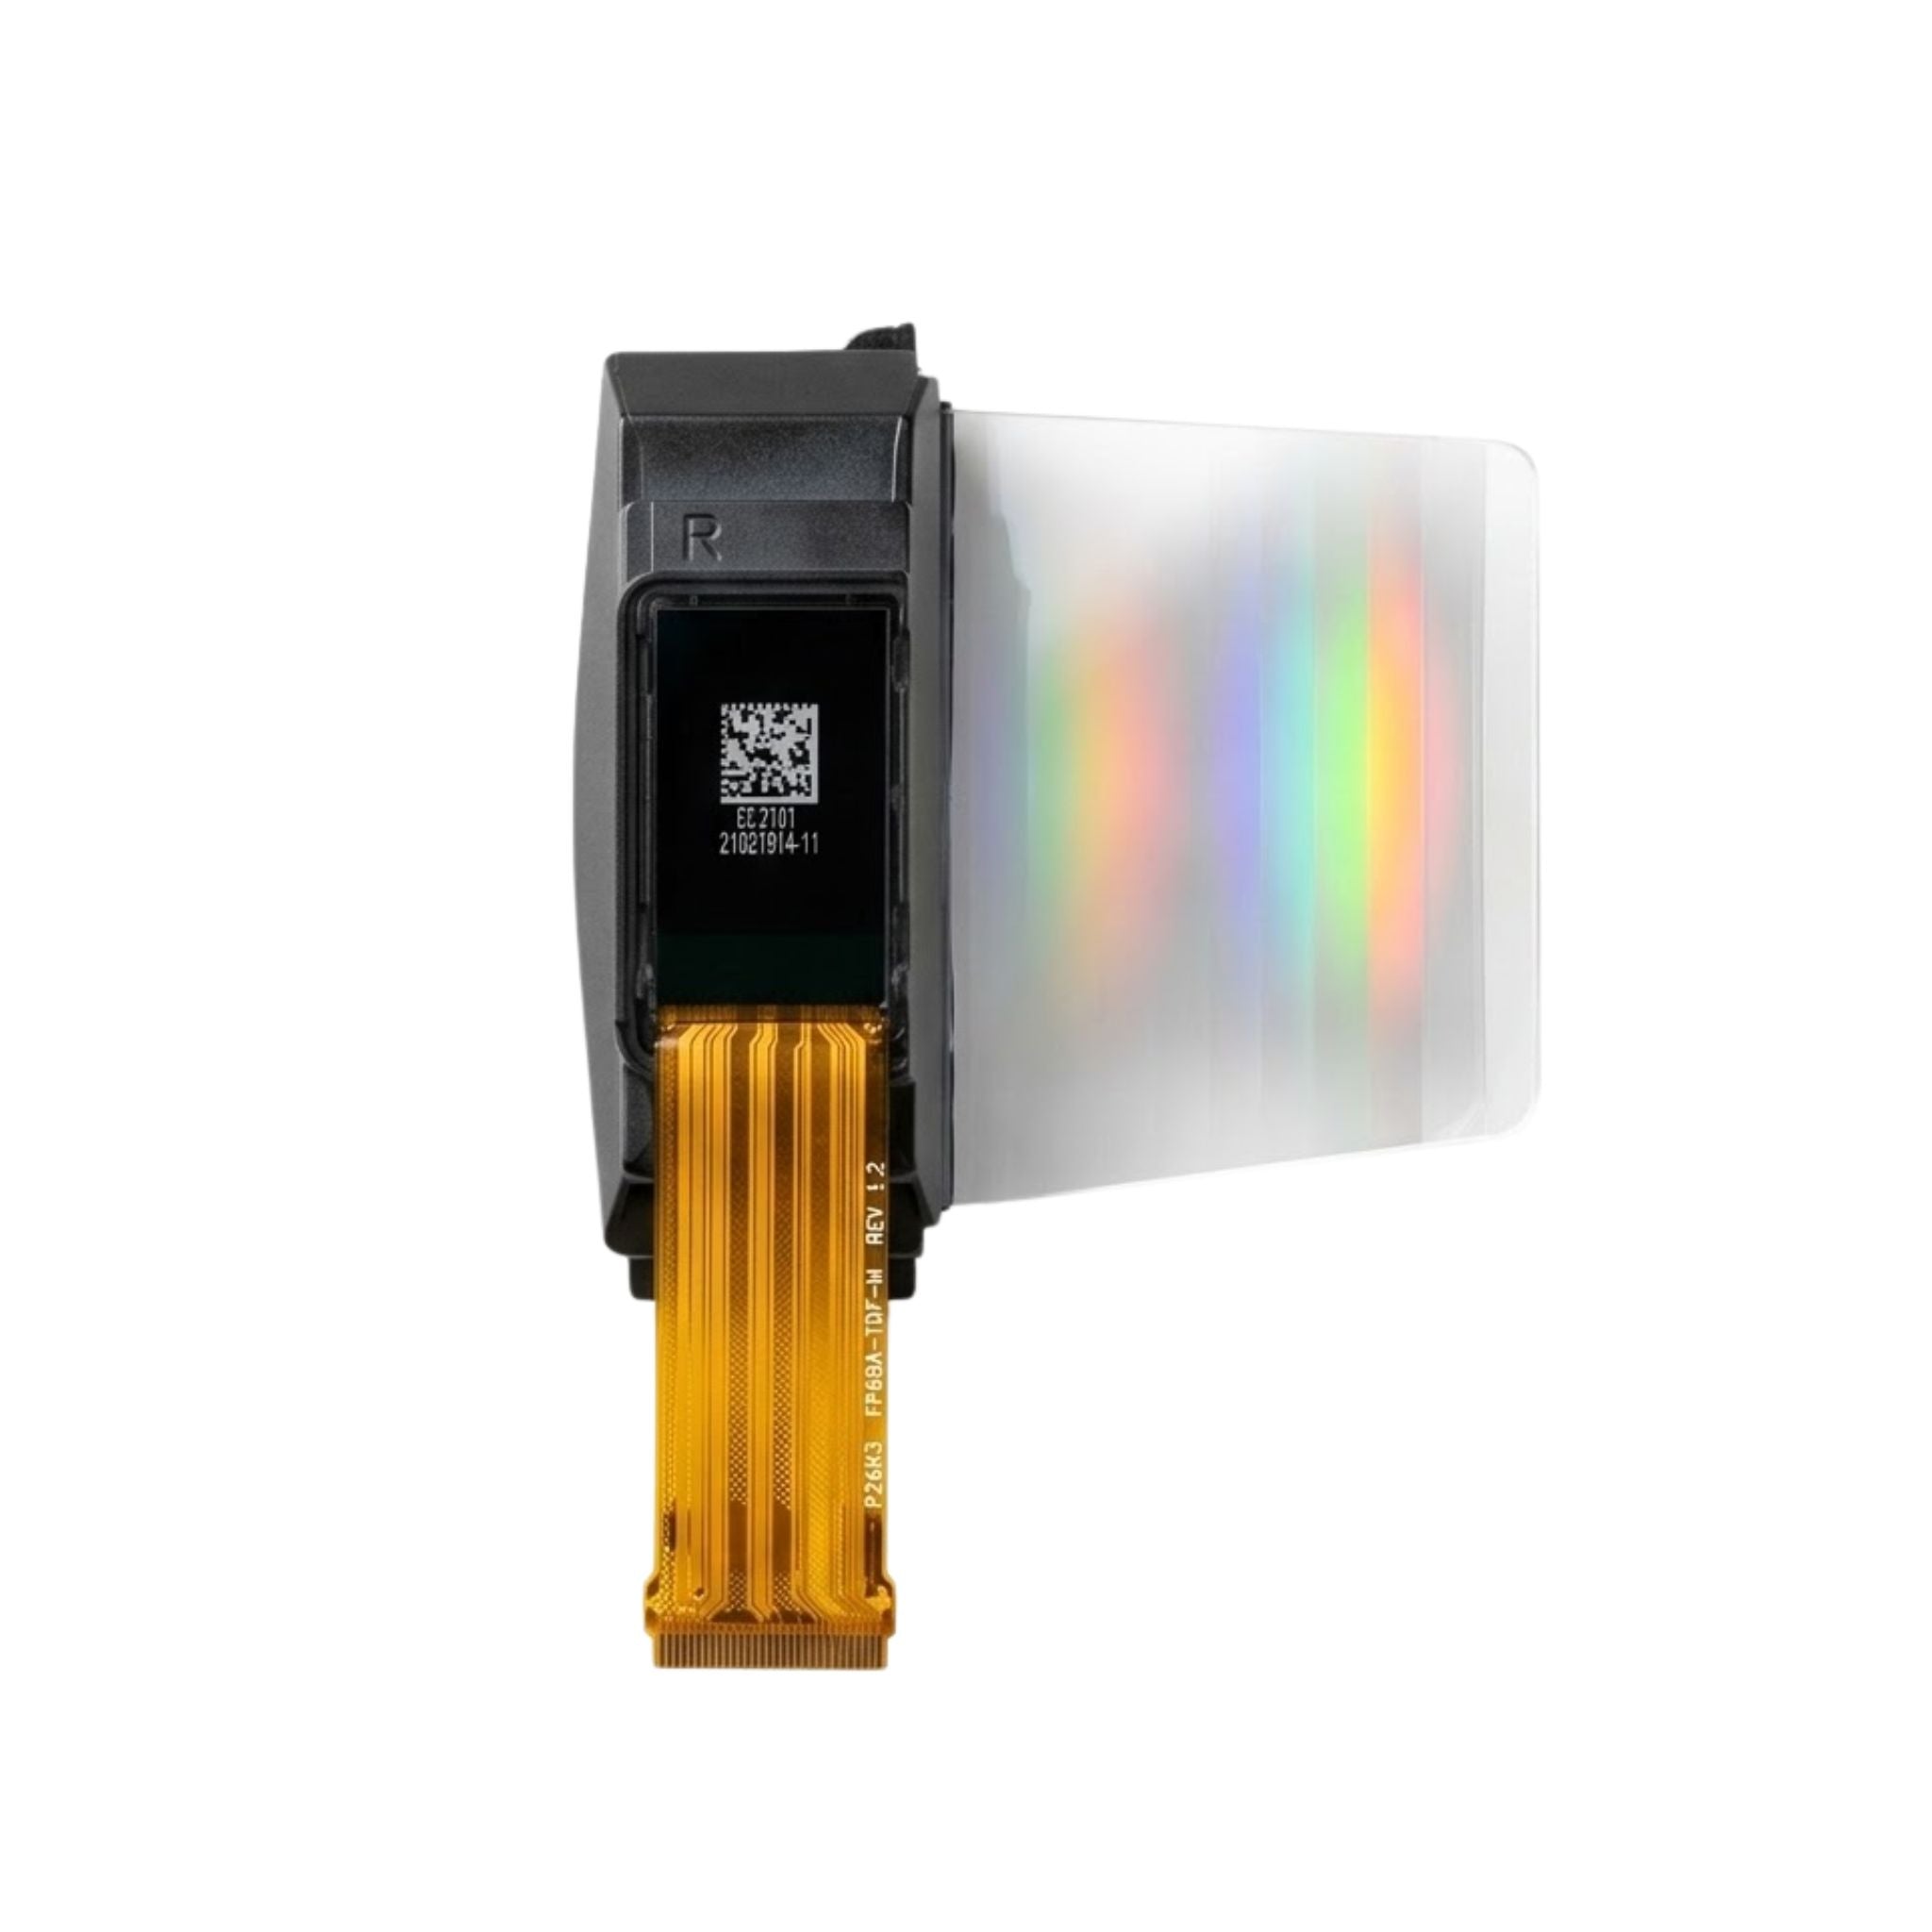
A custom COG LCD module is defined by four decisions: glass outline and resolution, driver IC and interface, FPC shape and pinout, and backlight. Freeze those and a prototype follows quickly, because chip-on-glass assembly needs only a patterned glass cell, a bumped driver die and a flex circuit — no package, no connector on the board, no bulky module frame.
Why COG suits custom work
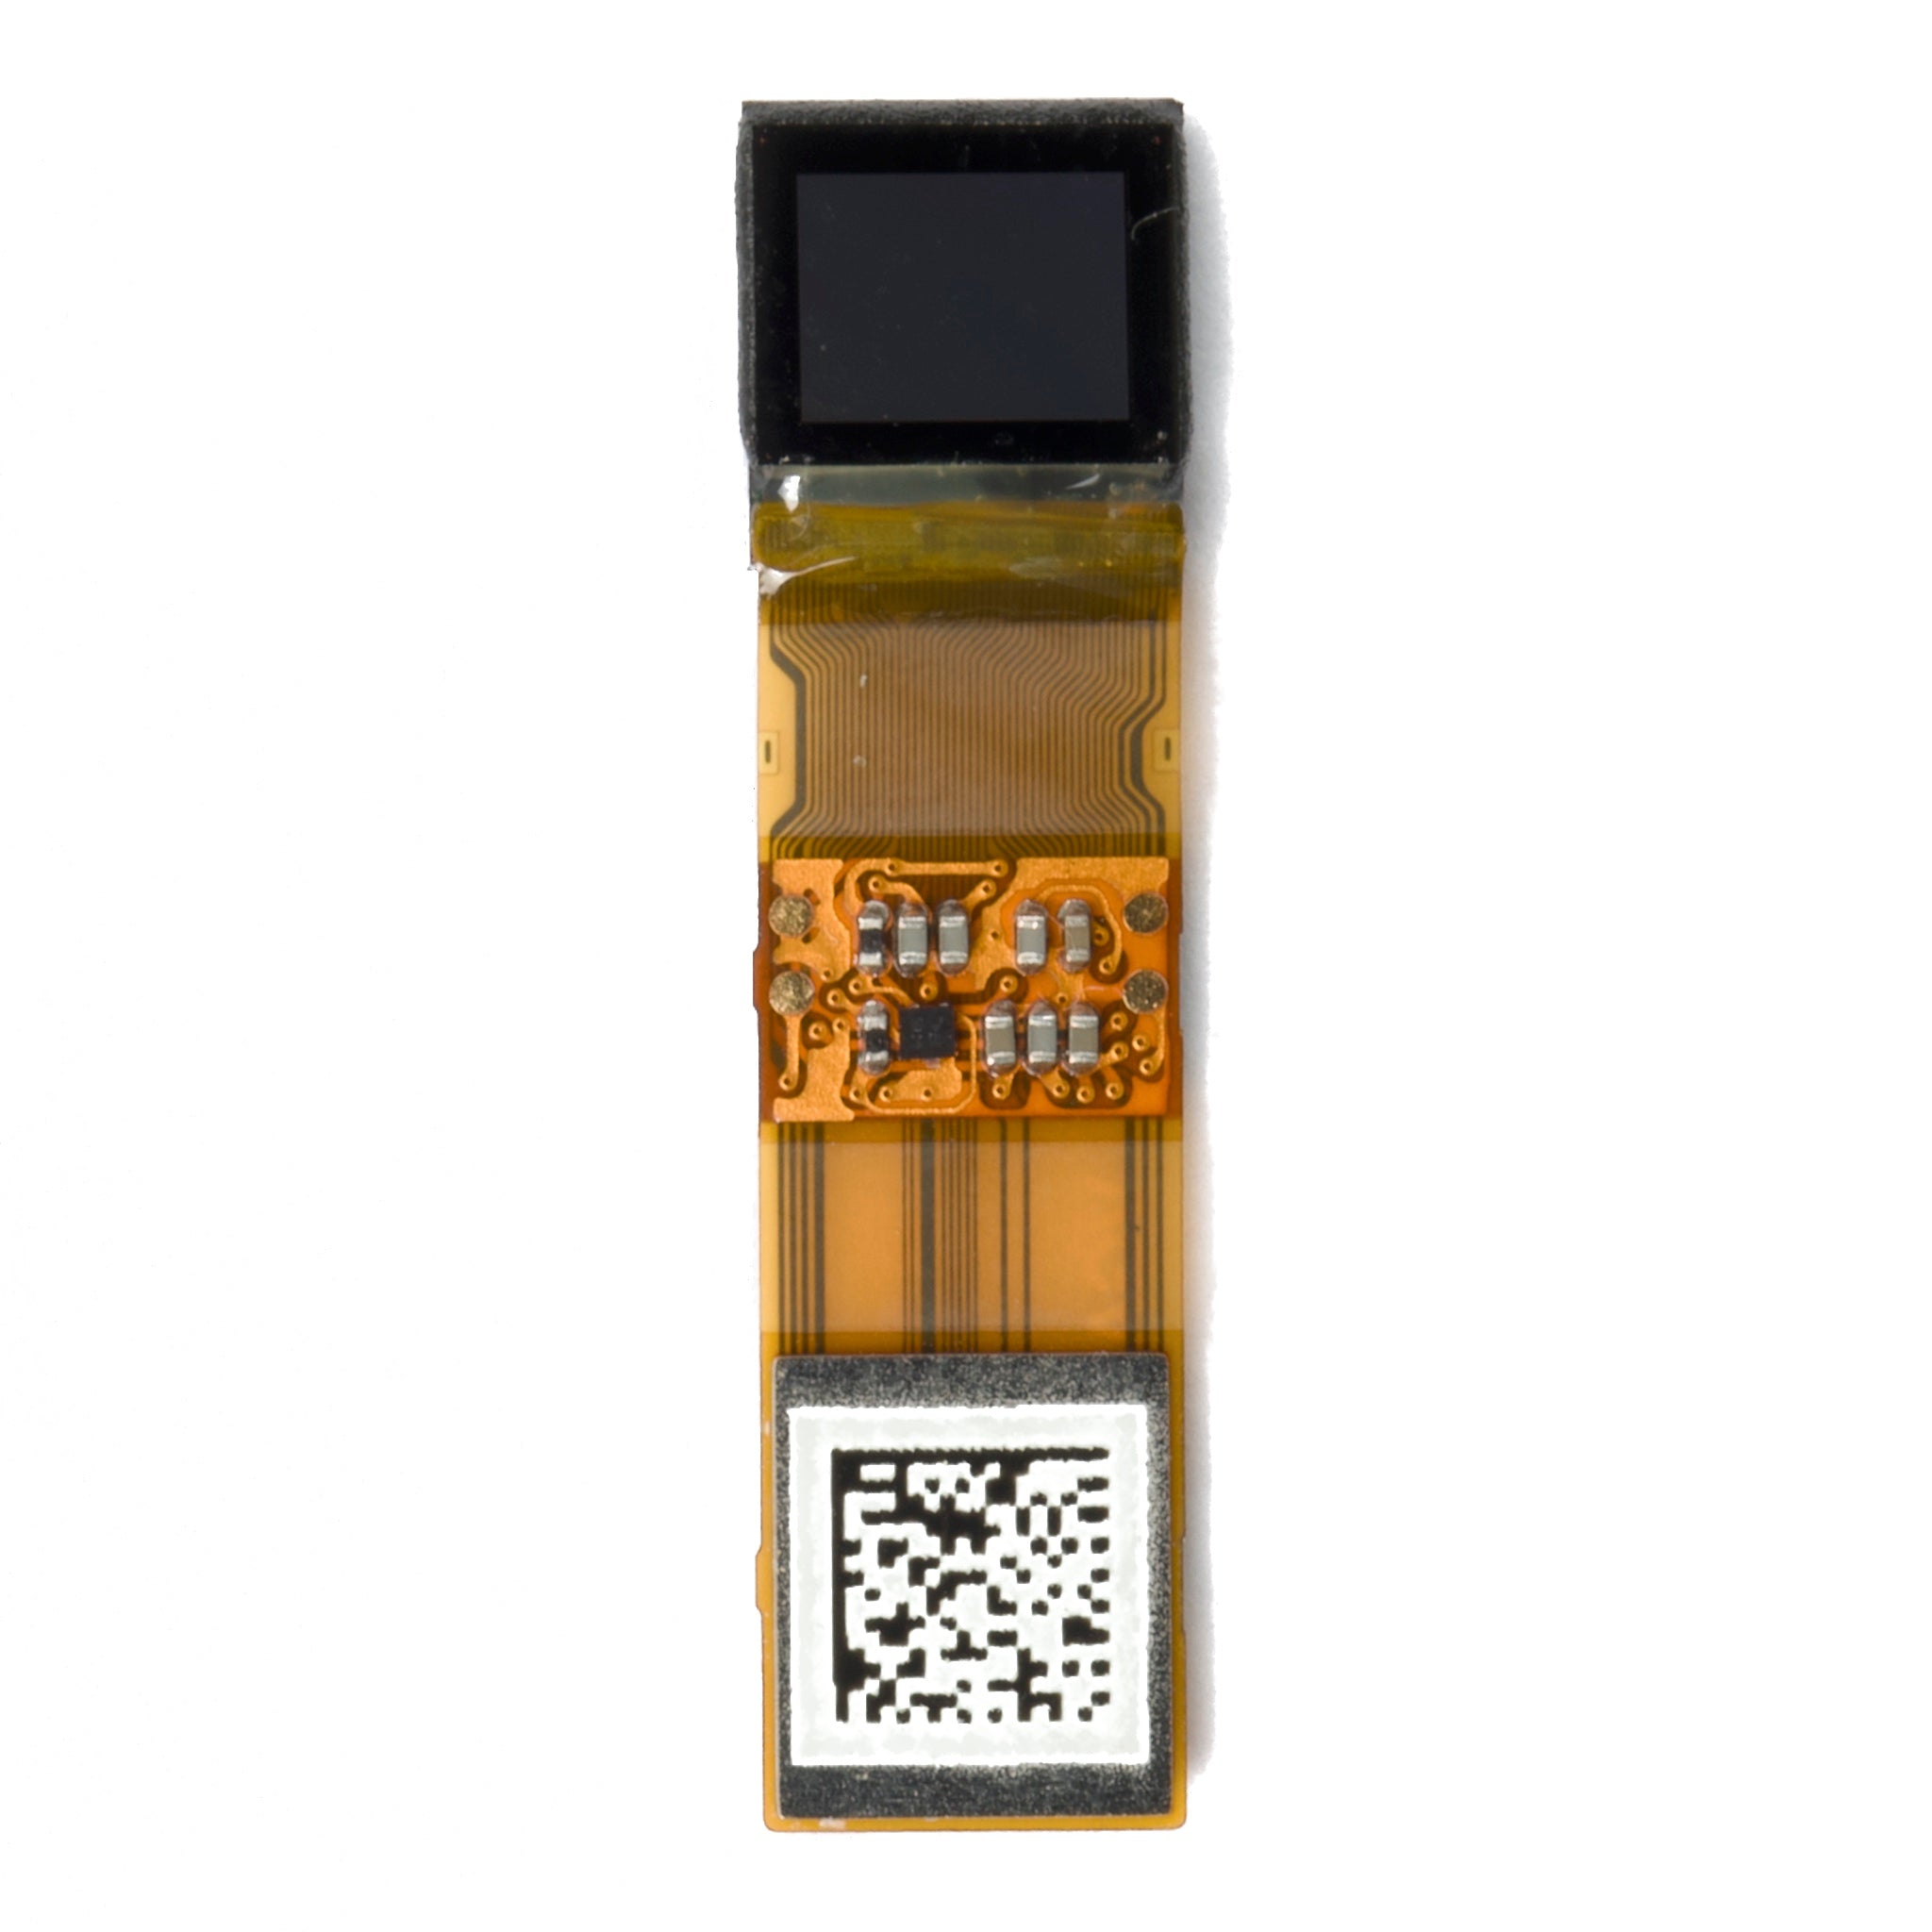
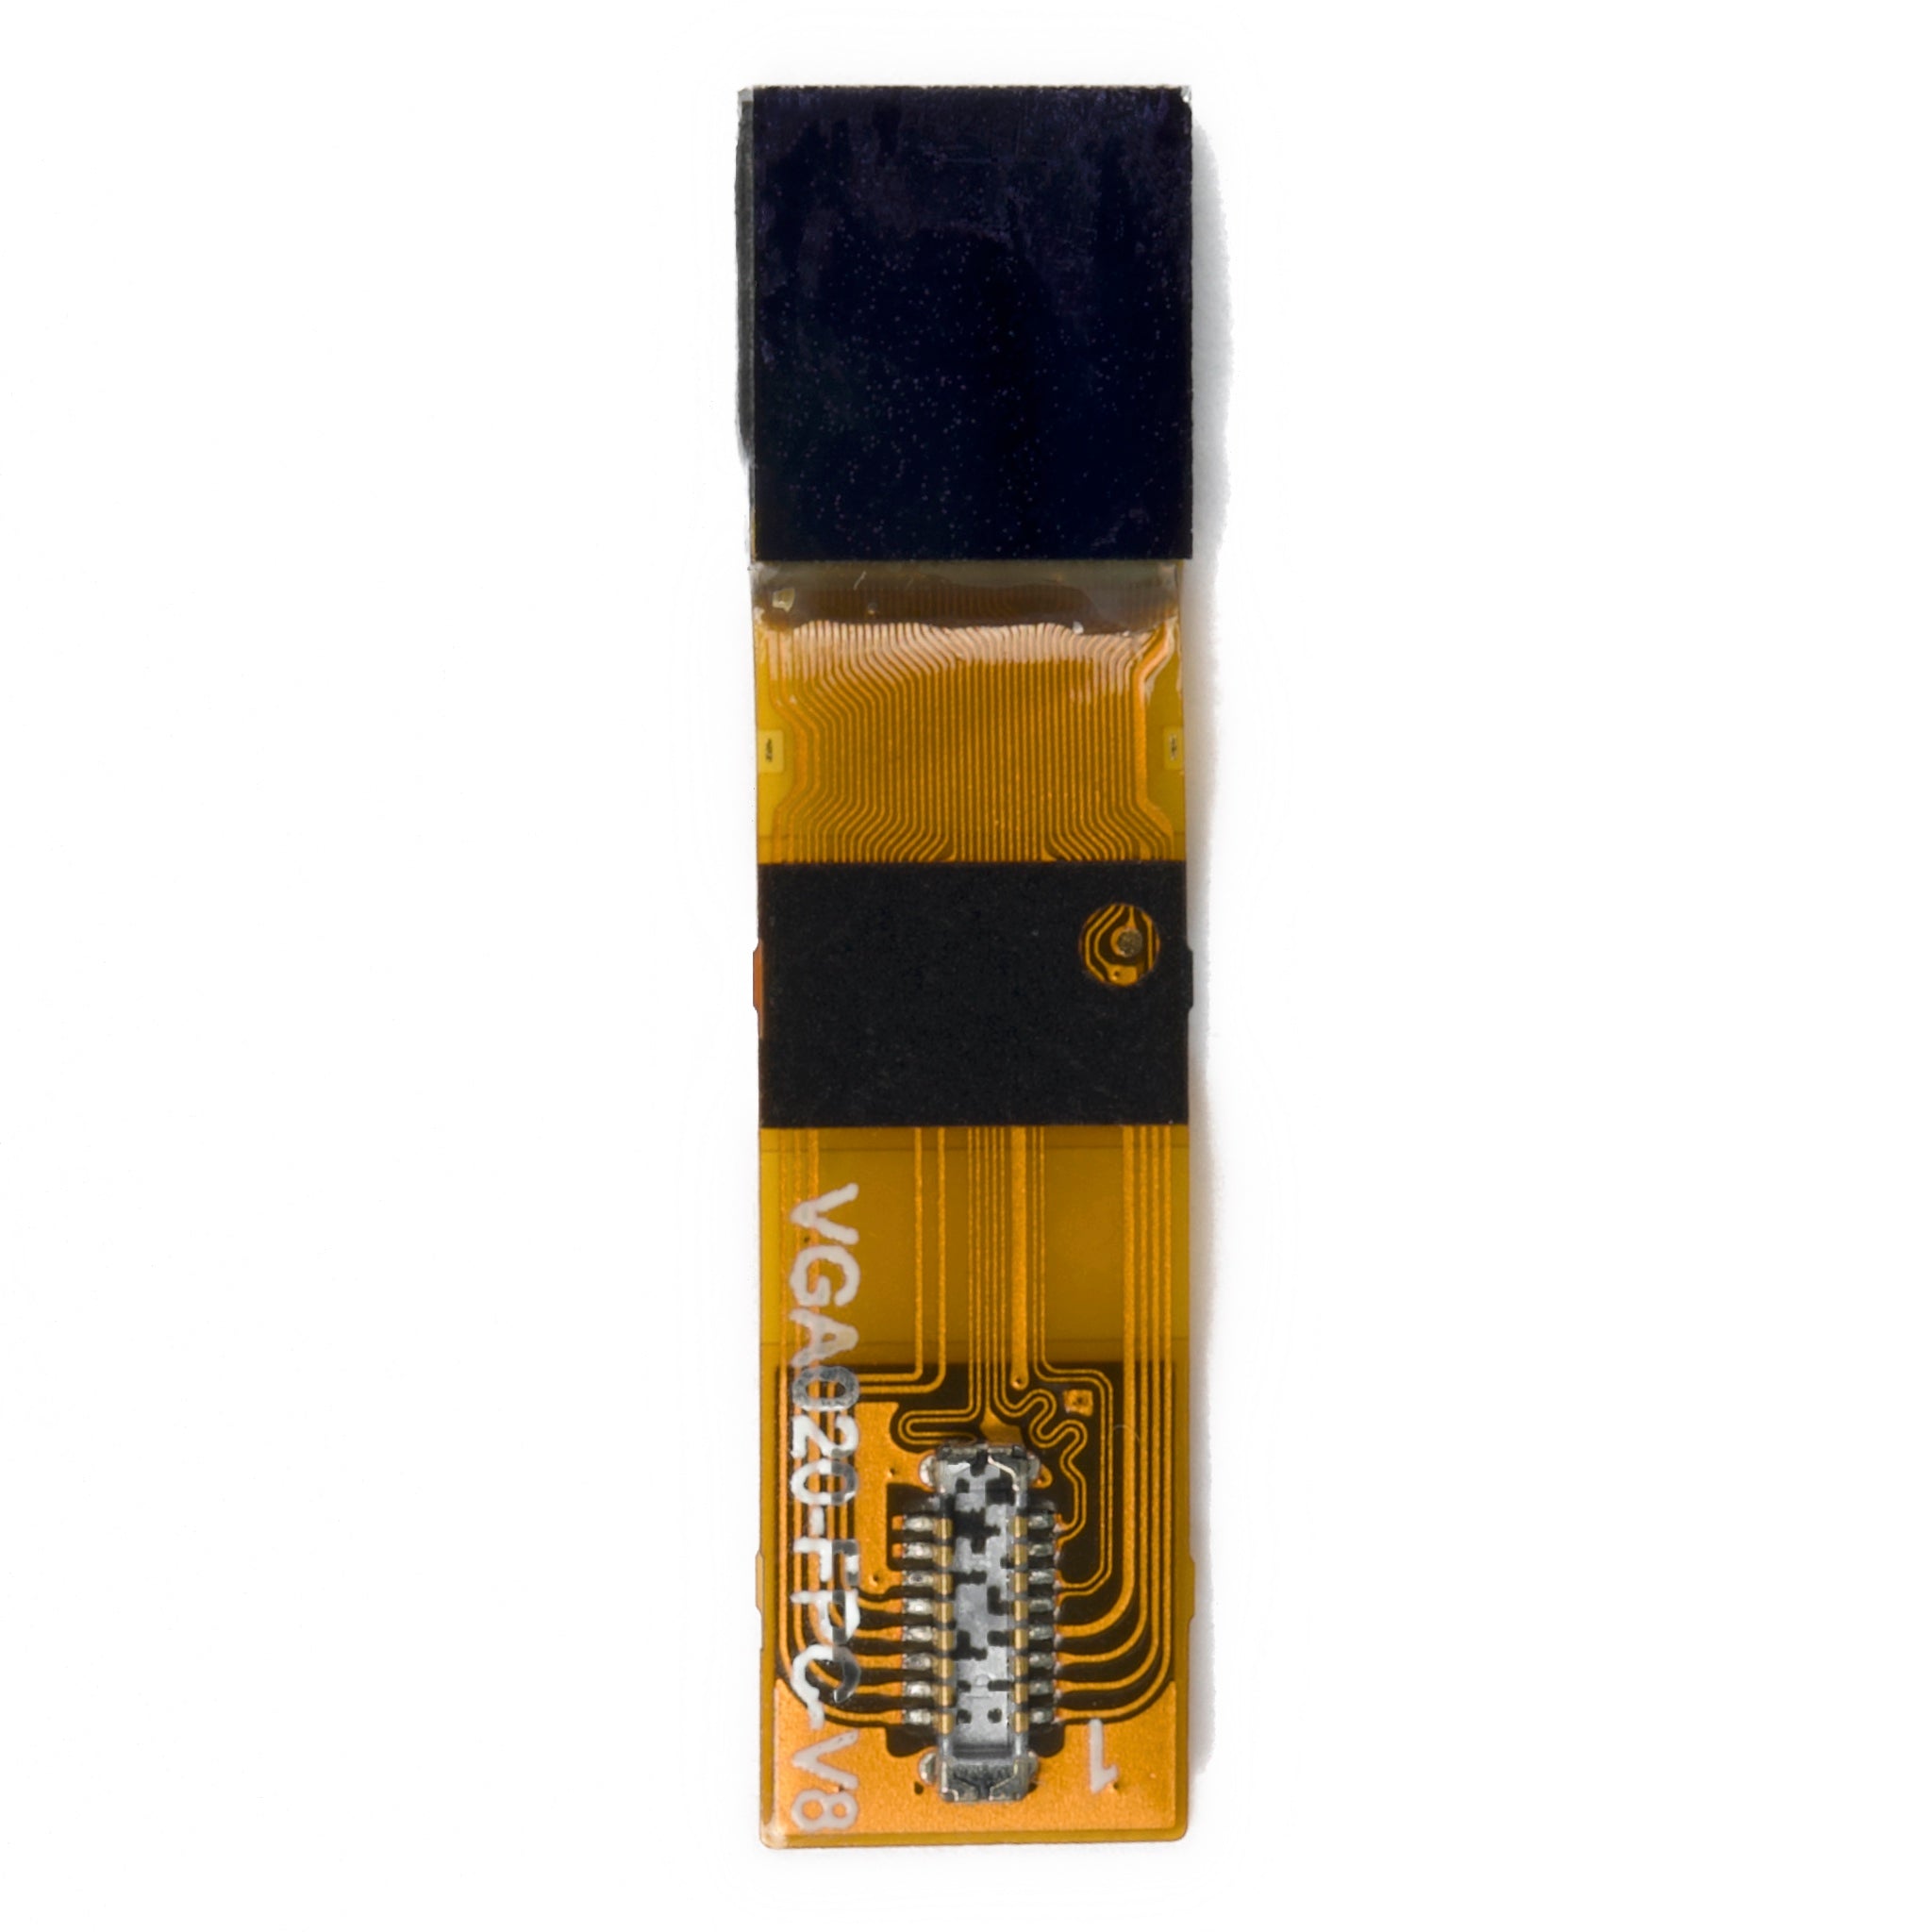
In a COG module the driver IC is bonded directly to the glass, with its input pads connected to a flex tail that carries signals to the host. Removing the packaged IC and its socket is what allows the module to be thin, cheap at low volumes and mechanically simple.
The liquid crystal cell itself does not emit light; it modulates what passes through it, which is why every COG design also has to settle the backlight question[1]. That single fact drives most of the specification work described below.
The approach is also what makes small custom runs realistic. A character or graphic glass design can be tooled for a modest quantity, and the FPC can be revised without retooling the cell.
What has to be frozen
Start with the viewing requirement, not the part number. Character count and line count for a character module, or pixel matrix and active area for a graphic one, set the glass. Then the controller follows: an ST7066-class part for character formats, an ST7567 or similar for graphic panels, each with its own command set and RAM limits.
Next, the electrical envelope: logic supply, LCD drive voltage, bias scheme, and whether the module generates its own negative rail with an on-board charge pump or expects the host to supply it. A design that assumes an external rail and then discovers the host has none is a common cause of respins.
Finally the mechanical envelope: glass outline, viewing direction, polariser type, backlight thickness, and how the module is retained in the enclosure. These are cheap to change on paper and expensive to change after tooling.
FPC and pinout
The flex circuit is where most custom value sits, because it absorbs problems that would otherwise land on the main board.
- Pin order. If the controller's pin sequence does not match the host connector, the FPC can cross and reorder signals internally, keeping the main board routing straight.
- Tail shape. Length, bend position, exit direction and stiffener thickness all follow the enclosure, not the glass.
- Termination. A ZIF contact needs a stiffener of controlled thickness; a hot-bar solder joint needs pads sized for the process and enough thermal mass.
- Components. Charge-pump capacitors and backlight resistors can usually move onto the flex, which shortens loops and saves board area.
Ask for the FPC drawing as a dimensioned PDF with the stack-up and pad finish called out. A pinout table alone will not catch a mirrored tail.
The prototype route
A prototype build usually runs in this order: specification and drawing approval, glass selection from an existing cell or new tooling, FPC fabrication, bonding and assembly, then first-article inspection with a sample program.
Where time is lost is rarely the bonding itself. It is the loop between a drawing comment and a redrawn flex, and the wait for a sample program that actually exercises every command the product will use. Send the host firmware early, or at minimum the initialisation sequence and the frame-writing method.
For a first article, ask for three things beyond the sample: the measured outline and thickness against the drawing, a photograph of the bonded IC under magnification, and a test report at the specified temperature extremes.
Tooling and cost structure
Custom COG cost has three layers, and it helps to see them separately. There is one-time tooling: photomasks for a new glass design, a stencil or fixture for the flex, and test jigs. There is the flex itself, priced by layer count, area and finish. Then there is assembly, priced by volume and by how much test each unit receives.
NRE is therefore not a single number to shop on. A quotation that bundles tooling, samples and engineering time hides which of them is recurring, so ask for an itemised breakdown and for the ownership terms on any mask or fixture you pay for.
Volume pricing behaves the same way. Below a certain quantity, most of the unit cost is setup and test amortisation; above it, material dominates. That crossover is worth knowing before committing to a forecast.

ACF bonding in production
Mass production turns the prototype into a process problem. The driver die is attached with anisotropic conductive film: the film is placed on the glass, the bumped die is aligned, and heat and pressure collapse the particles only in the vertical direction, so neighbouring pads stay isolated.
Bonding temperature, pressure, time and stage flatness are the four variables that decide joint resistance. Too little energy gives high contact resistance that drifts with temperature; too much cracks the bump or the glass. Both failure modes look fine at first article and fail later, which is why pull and shear tests plus a resistance sample per lot matter more than a single passing unit.
The same logic applies to the flex joint, whether it is ACF, hot-bar solder or a crimped connector. Whichever is used, the process window should be documented and the lot monitored.
What to test before volume
A workable qualification set for a custom COG module covers four areas. Visual and functional: all pixels on, all pixels off, checkerboard, and every character position exercised. Electrical: supply current at a fixed pattern, contrast at the specified drive voltage, and the reset and initialisation sequence at both supply extremes.
Environmental: storage and operating cycles at the low and high ends of the rated range, followed by a repeat of the functional pattern. Mechanical: flex bend and pull on the tail, and a drop test in the actual enclosure if one exists.
Reliability: damp heat for the duration the application justifies, then inspection for polariser staining, seal damage and bond resistance shift. Numbers only mean something when the test conditions travel with them.
Questions for a supplier
The useful questions are about control, not catalogue breadth. Which controller families can be bonded and programmed in house? What is the minimum glass quantity for a new design, and how long does a flex revision take without new glass tooling?
Then: what is measured on every lot versus sampled, and is the data available? Who owns the mask and the test program? What happens if the first article fails — is rework quoted or absorbed?
Our COG LCD modules follow this flow, and the same tooling approach covers character LCD and graphic LCD formats.
Custom COG work is mostly front-loaded: settle the cell, controller, flex and backlight on paper, then let bonding and test scale with volume. Get the drawing right and mass production is a process control exercise, not a redesign.
References
- Hilsum, C. (2010). Flat-panel electronic displays: a triumph of physics, chemistry and engineering. Philosophical Transactions of the Royal Society A, 368(1914), 1027–1082. https://doi.org/10.1098/rsta.2009.0247
더 읽기

The COG process utilizes Anisotropic Conductive Film (ACF) under thermal compression at approximately 200°C to directly bond the driver IC to the glass.

Selection requires matching I2C/SPI interfaces; OLED features a 100,000:1 contrast ratio, LCD targets 500 nits brightness; Confirm 3.3V/5V voltage.
댓글 남기기
이 사이트는 hCaptcha에 의해 보호되며, hCaptcha의 개인 정보 보호 정책 과 서비스 약관 이 적용됩니다.