



How To Check If NexPCB Displays Modules Are Original
You check a NexPCB display module by following three independent trails and seeing whether they agree: the documents that came with the shipment, the physical build of the module, and a measurement taken at the drive conditions on the drawing. A single hologram or serial number proves very little on its own. The documents, the part and the performance have to match each other.
Ask for the paperwork first
Before anything is unpacked, request the documents that a genuine shipment can produce and a copy cannot invent cheaply: the packing list with lot codes, the certificate of conformance tied to those lot codes, the drawing revision the modules were built to, and the panel and controller part numbers behind them.
A supplier who built the modules has these on file and can send them the same day. A reseller moving unknown stock usually has a price list and a photograph.
Check that the drawing revision on the certificate matches the revision you approved. A module built to the previous revision is not counterfeit, but it is also not what you ordered, and the difference will appear as a fit or contrast problem three months later.
Match the label to the drawing
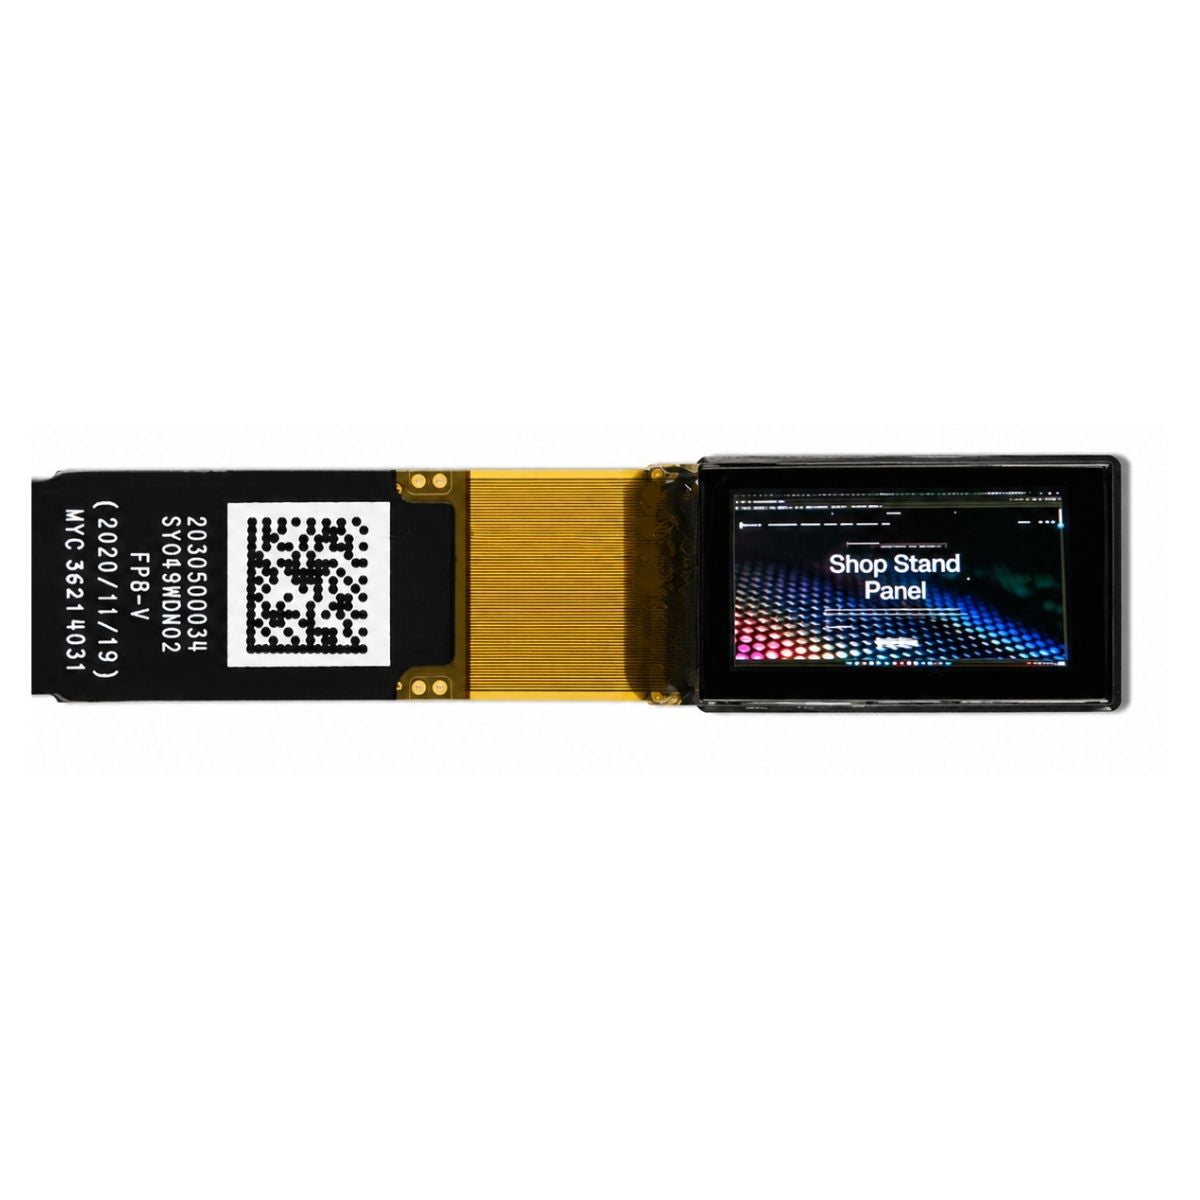
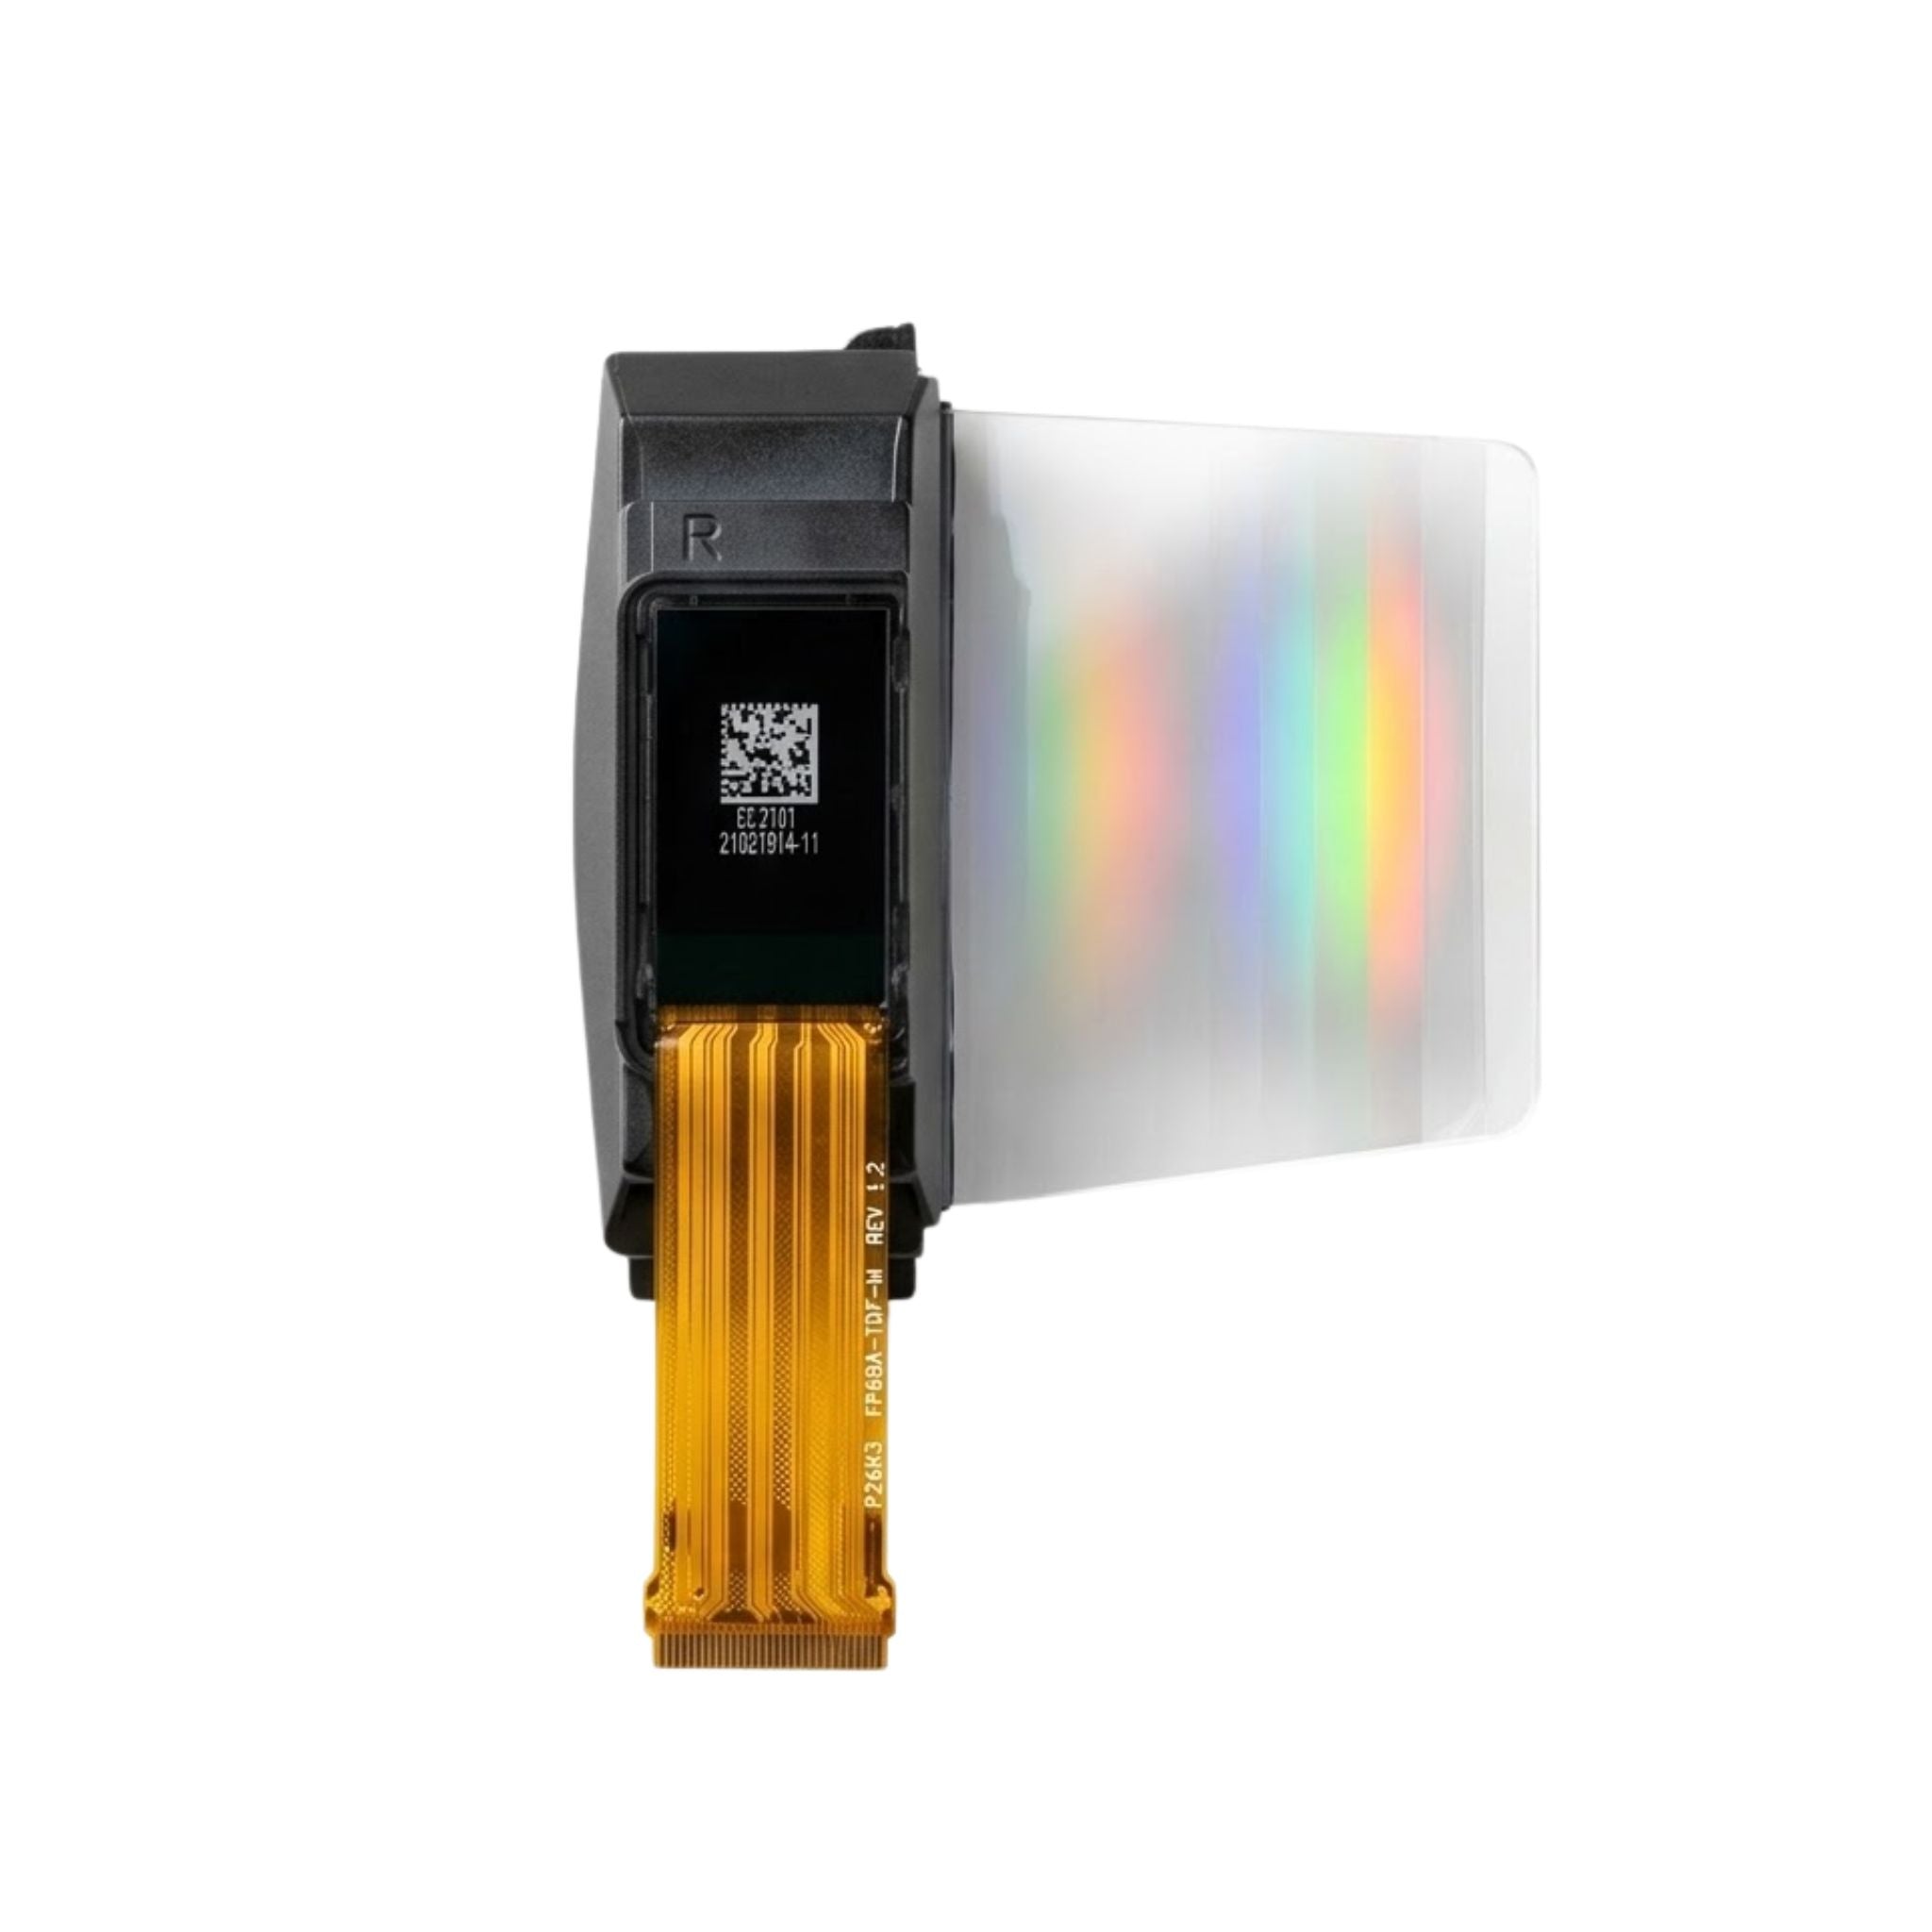
The label is a data record, not a decoration. It should carry the part number exactly as it appears on the drawing, the lot or date code, the quantity, and the country of assembly. Compare character by character; a transposed digit in a part number is the most common way a wrong variant arrives labelled as the right one.
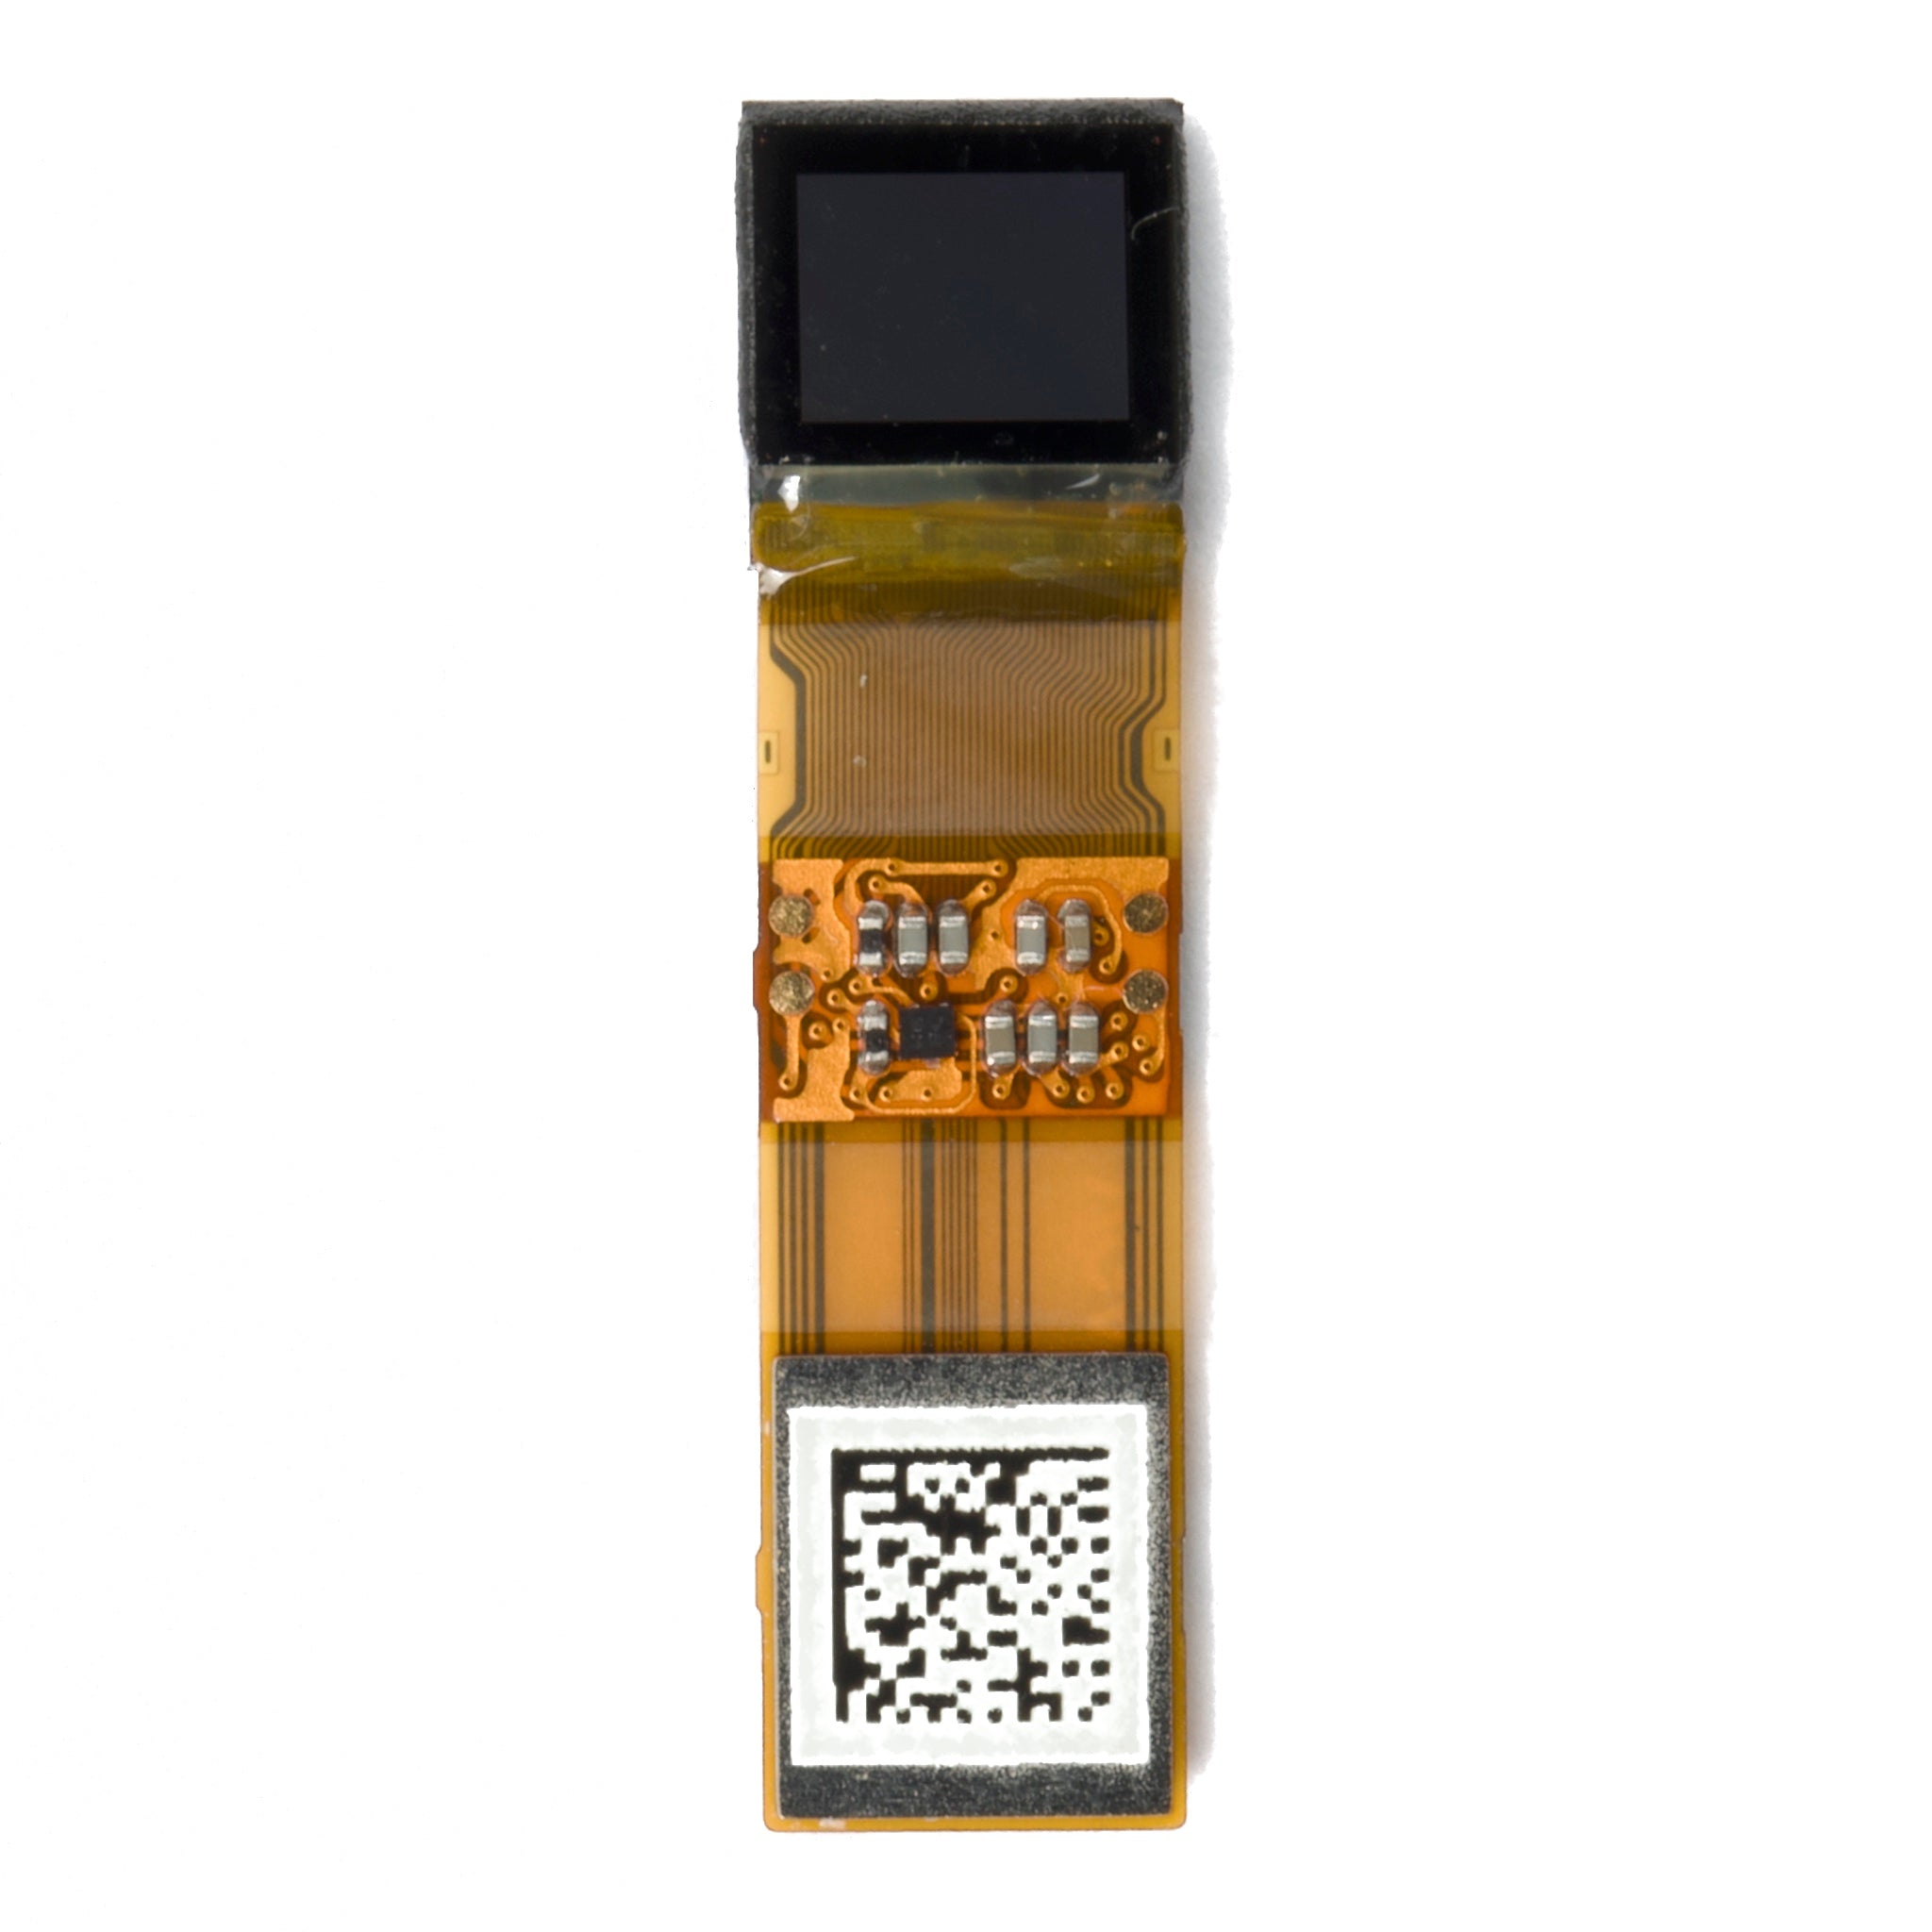
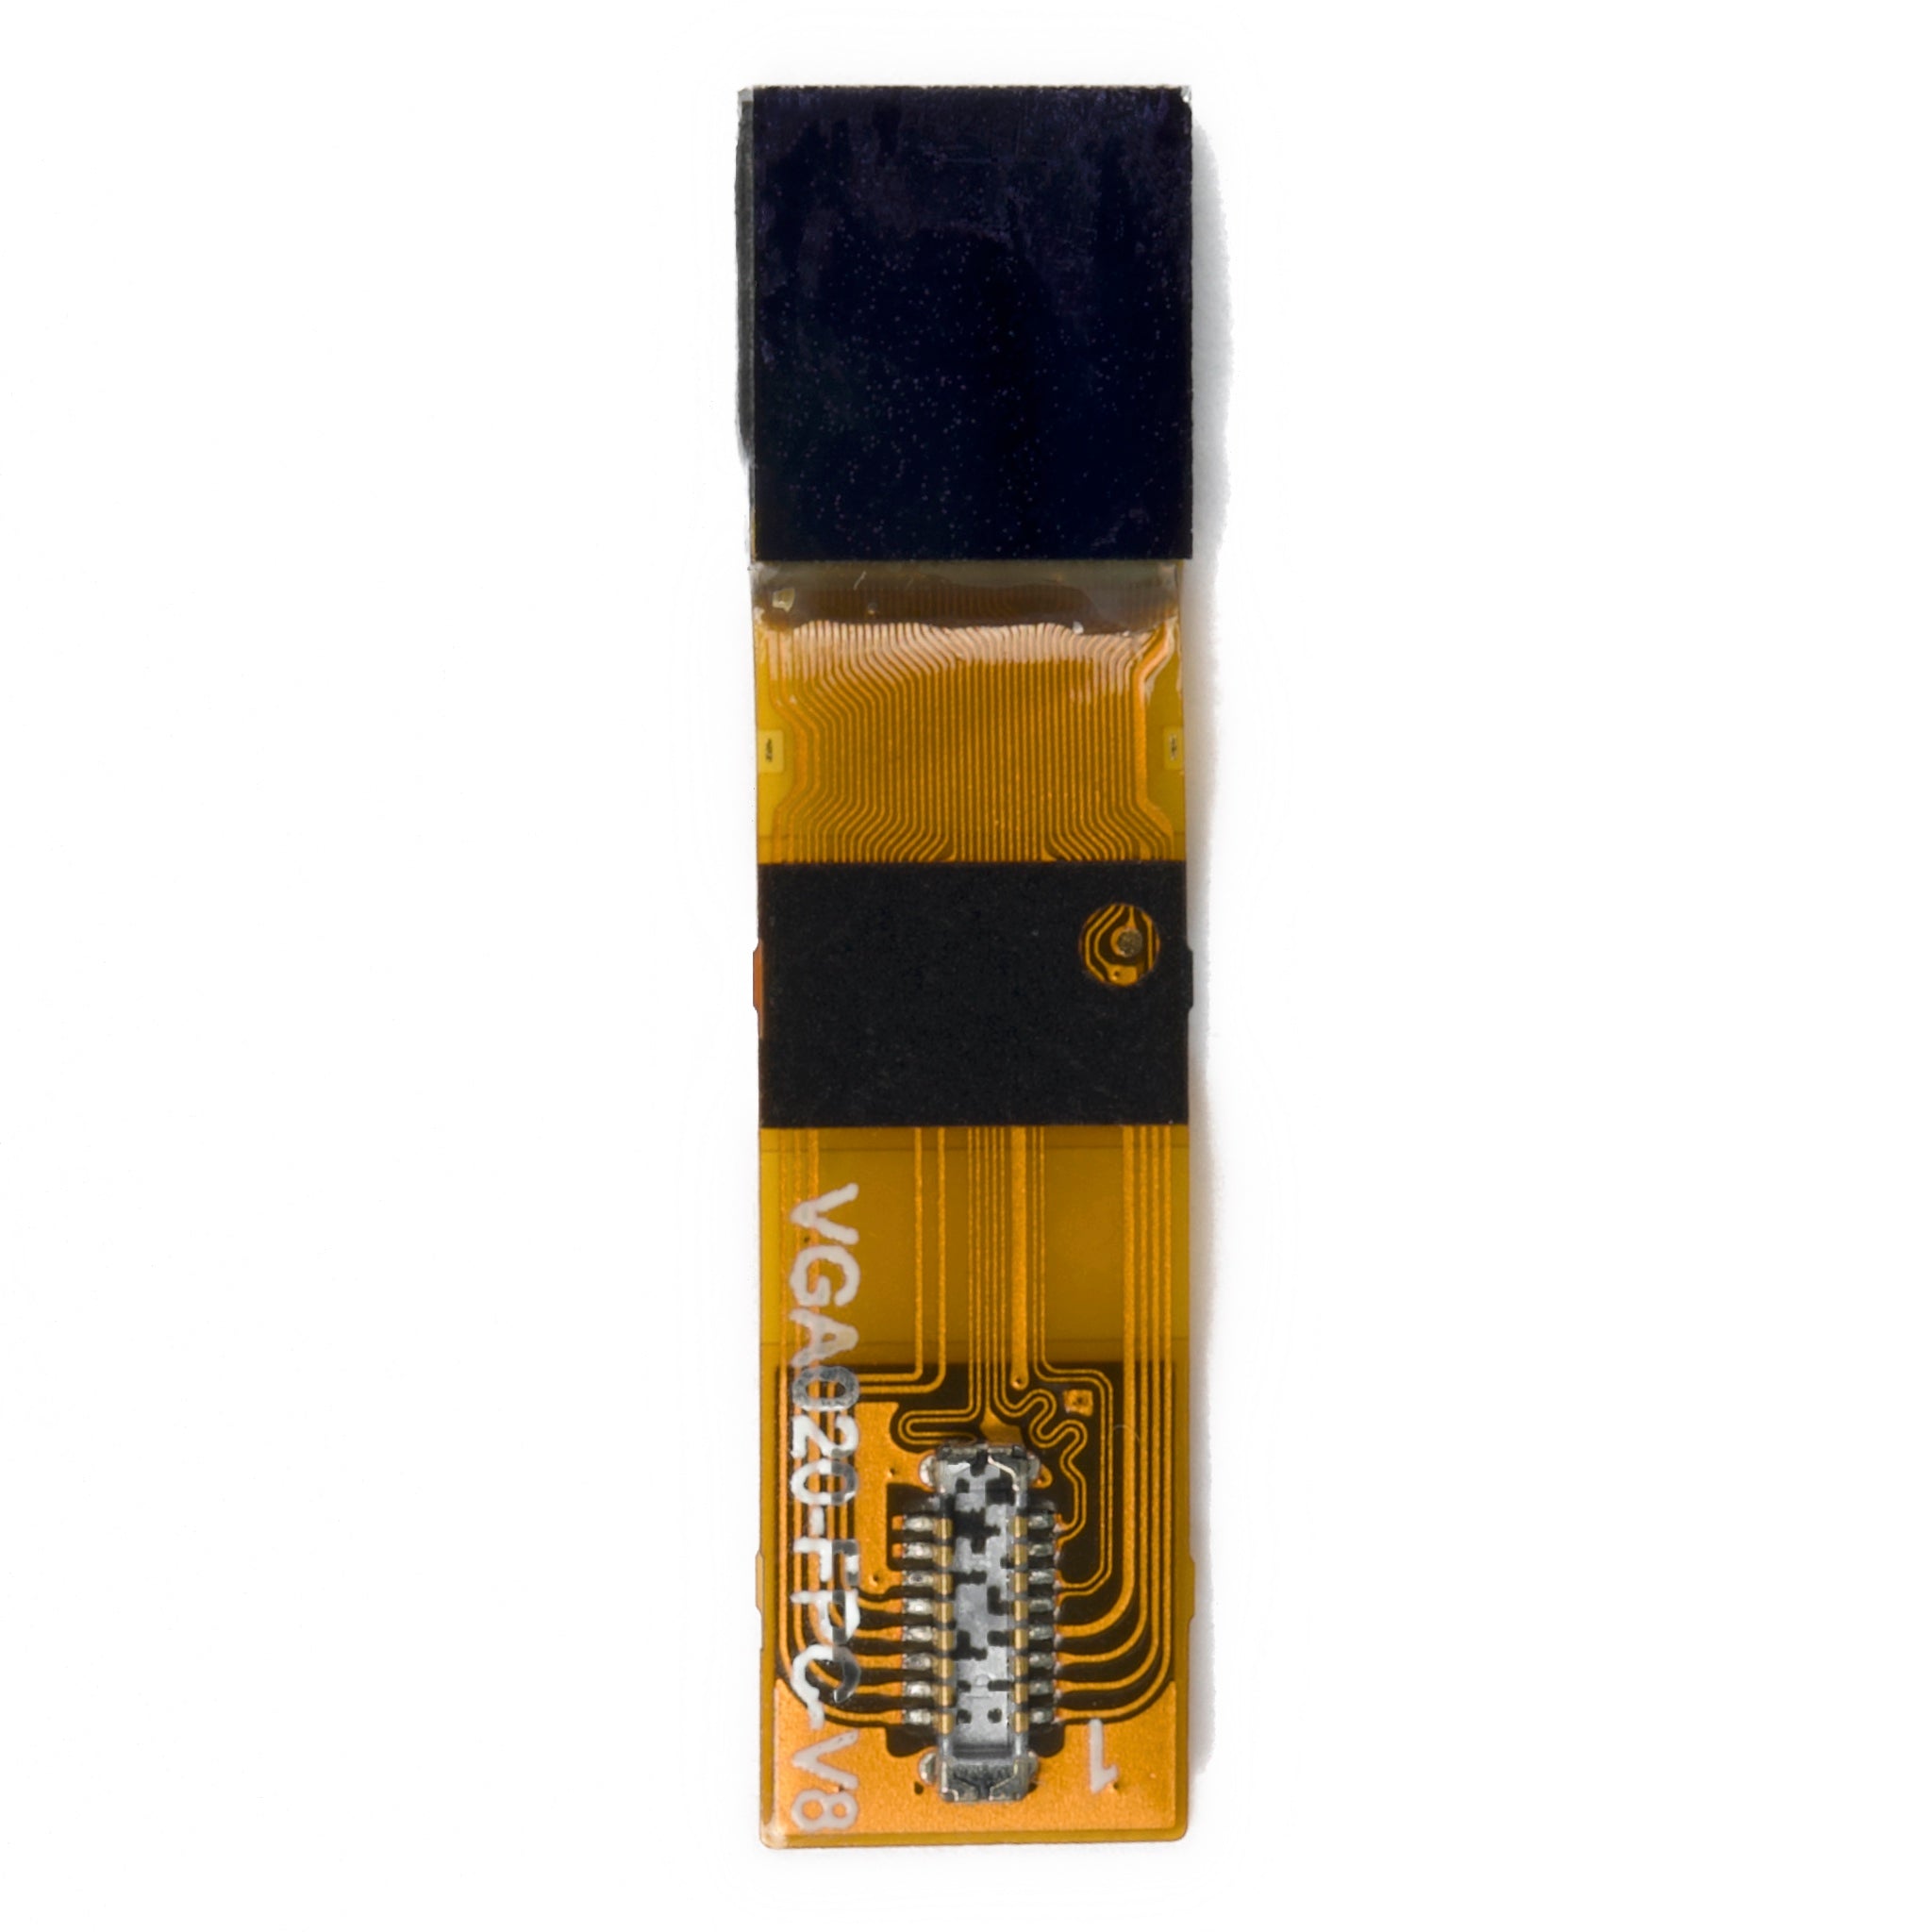
Then compare the label with the module: connector type, FPC length, backlight and touch stack differ between variants of the same size, and all four are visible without instruments.
Print quality is a secondary signal. Laser and thermal-transfer labels stay crisp when rubbed; inkjet labels smudge, and a smudged label was usually applied after the fact.
Inspect the build
Visual inspection follows published criteria rather than opinion. IDEA-STD-1010 sets out acceptance and rejection criteria for component inspection in the open market and is written for exactly this situation, where the provenance of a part is in question.[1]
On a COG module, look at the bond edge under magnification. The adhesive fillet should be continuous along the die, with no lifted corner and no bubble large enough to see at low power. On a module with a soldered connector or a COB driver, the joints should be smooth and fully wetted, with no dull grainy surface and no solder balled above the pad.
Check the polariser for edge lift and for bubbles under the surface, and check the glass edges for chips. A chip inside the seal area is a leak path; a chip on the outer edge is cosmetic. The distinction matters when you are deciding whether to accept a batch.
Look for rework: flux residue around a connector, a discoloured area near the driver, or a flex tail that has been re-inserted often enough to mark the contacts. Each of these suggests a module that failed a test and was repaired rather than one that passed.

Measure instead of trusting
A working display is not the same as a conforming one. Take the module you received, drive it at the voltage and current stated on the drawing, and measure luminance and contrast in the same geometry you will use in the product.
Report the conditions with the number. A brightness figure means nothing without the drive current, the backlight setting, the warm-up time and the meter aperture, and ISO 9241-307 describes how display characteristics are measured and assessed so that two readings can be compared.[2]
The practical version for a receiving bay: one reference module kept from the approved sample, one meter, one fixture, and the same script every time. Compare the new batch against the reference rather than against the datasheet, because the reference already includes your measurement error.
Then verify the things a light meter cannot see. Check the resolution by displaying a one-pixel checkerboard, check the interface by reading back the controller ID over SPI or I2C, and check the viewing direction against the drawing. A panel that is a different grade will pass a brightness check and fail the checkerboard.
Check the shipment, not just the module
The outer packaging carries information the module cannot. Compare the lot code on the inner bag with the lot code on the carton and with the packing list; a mismatch means the units were regrouped somewhere in the chain.
Look at the moisture protection as a record of handling. A desiccant pack that is saturated, or a humidity indicator that has changed colour, says the shipment was stored warm and wet, which is a condition question rather than an authenticity question, but it changes what you should test.
Keep one carton label and one bag label per lot; they are the cheapest evidence if a claim is disputed later.
Use the channel you already know
Serial and lot verification only works through a channel you can trust. Use the domain, phone number or account contact from your quotation, not a link printed on a label or encoded in a QR code, because a QR code can point anywhere and a convincing copy of a verification page costs very little to build.
Ask the supplier to confirm the lot against the order in writing, and ask what the serial or lot format should look like for that part number. A format that changes between orders is worth a question.
If a batch arrives without documents, origin is unverified. Treat it that way, and decide from the risk of the application whether that is acceptable.
Red flags worth acting on
| Symptom | What it usually means | What to do |
|---|---|---|
| Drawing revision not stated | Modules may be built to an older release | Hold the batch until the revision is confirmed |
| Lot code differs between bag and carton | Units regrouped after packing | Ask for the original packing record |
| Label smudges when rubbed | Label applied outside the original process | Inspect the bond edge and the connector |
| Brightness below the approved sample | Different panel grade or drive current | Re-measure at the drawing conditions before rejecting |
| Flux residue near the connector | Local rework after test | Reject the units in that carton |
| QR code points to an unfamiliar domain | Third-party page imitating a supplier site | Verify through your own sales contact only |
| No certificate of conformance | Stock of unknown provenance | Treat origin as unverified |
A receiving checklist
Four checks catch most problems, and all four fit into a single receiving slot.
- Documents agree — part number, drawing revision, lot code and quantity match across certificate, packing list and carton.
- Label matches the part — printed part number identical to the drawing, connector and FPC as specified, print that survives rubbing.
- Build matches the process — continuous bond fillet, fully wetted joints, no rework marks, no polariser lift.
- Performance matches the sample — luminance, contrast and resolution measured at the drawing conditions against a retained reference.
Record the results against the lot number, so the decision can be defended later.
For the modules you buy
Order against a drawing revision, keep a reference sample from the approved lot, and ask for the conformance documents with the quotation rather than after the shipment. The TFT range and the COG LCD range are built to published drawings, which is what makes the label check possible in the first place.
For products where a display failure stops a line or affects a patient, the industrial display range is specified for longer availability, and the accompanying documentation is part of what you are buying.
Originality is a match between paperwork, build and measurement, not a sticker. Ask for the documents before the goods ship, keep a reference sample, and measure every new lot the same way. When the three trails agree, the batch is traceable; when one of them is missing, say so and test accordingly.
References
- IDEA-STD-1010-B — Acceptability of Electronic Components Distributed in the Open Market. Independent Distributors of Electronics Association. https://idofea.org/product/idea-std-1010-b-hard-copy/
- ISO 9241-307:2008 — Ergonomics of human-system interaction — Part 307: Analysis and compliance test methods for electronic visual displays. International Organization for Standardization. https://www.iso.org/standard/40102.html
더 읽기

When buying a standard adapter, prioritize matching voltage/current (e.g., 5V/2A for basic phones, 9V/2A for fast charging) and interface compatibility.

NexPCB ensures display modules ship safely by first sealing them in anti-static bags to block static, then wrapping in thick EPE foam for shock.
댓글 남기기
이 사이트는 hCaptcha에 의해 보호되며, hCaptcha의 개인 정보 보호 정책 과 서비스 약관 이 적용됩니다.