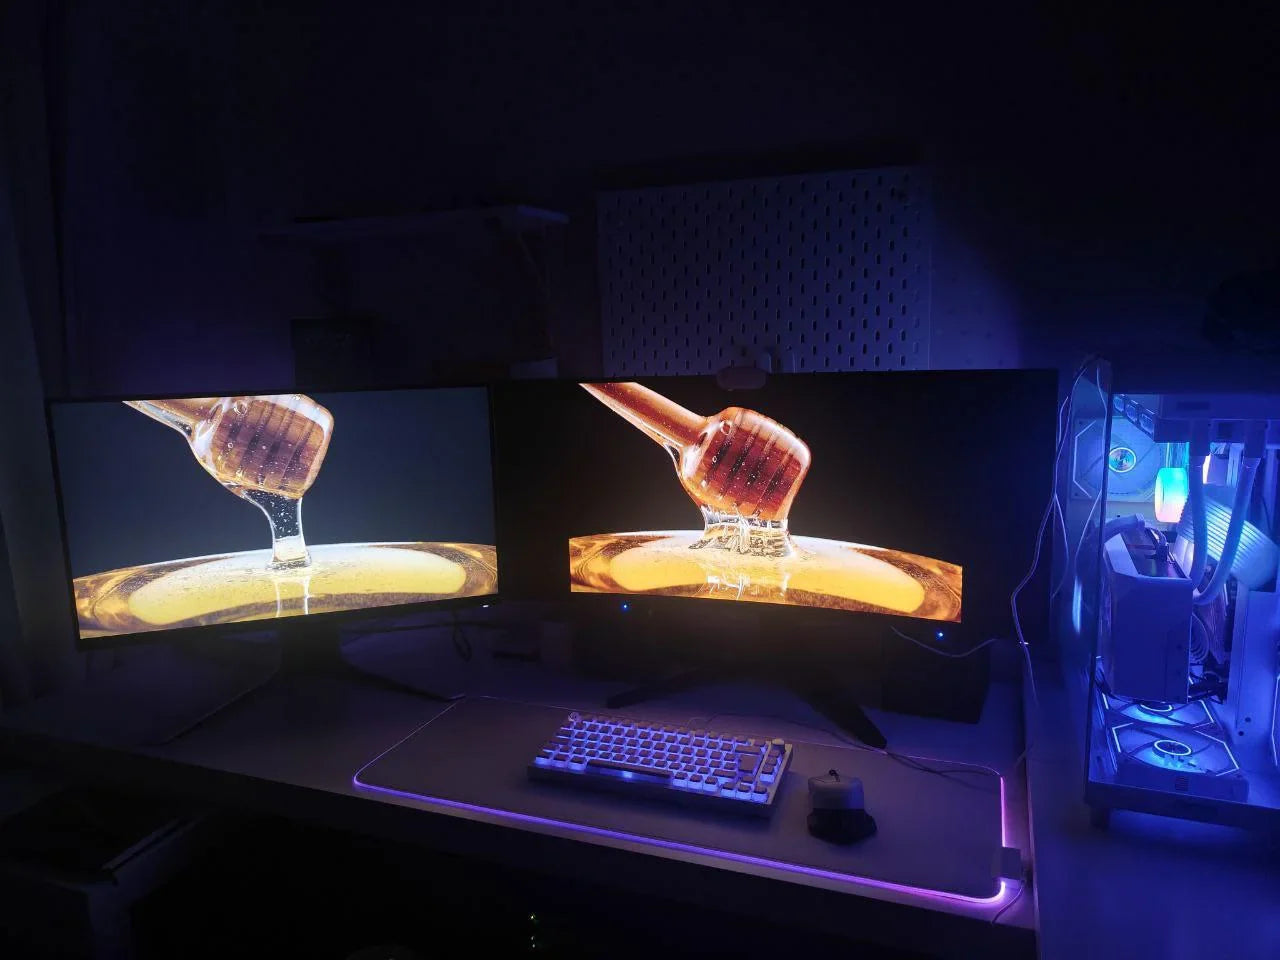
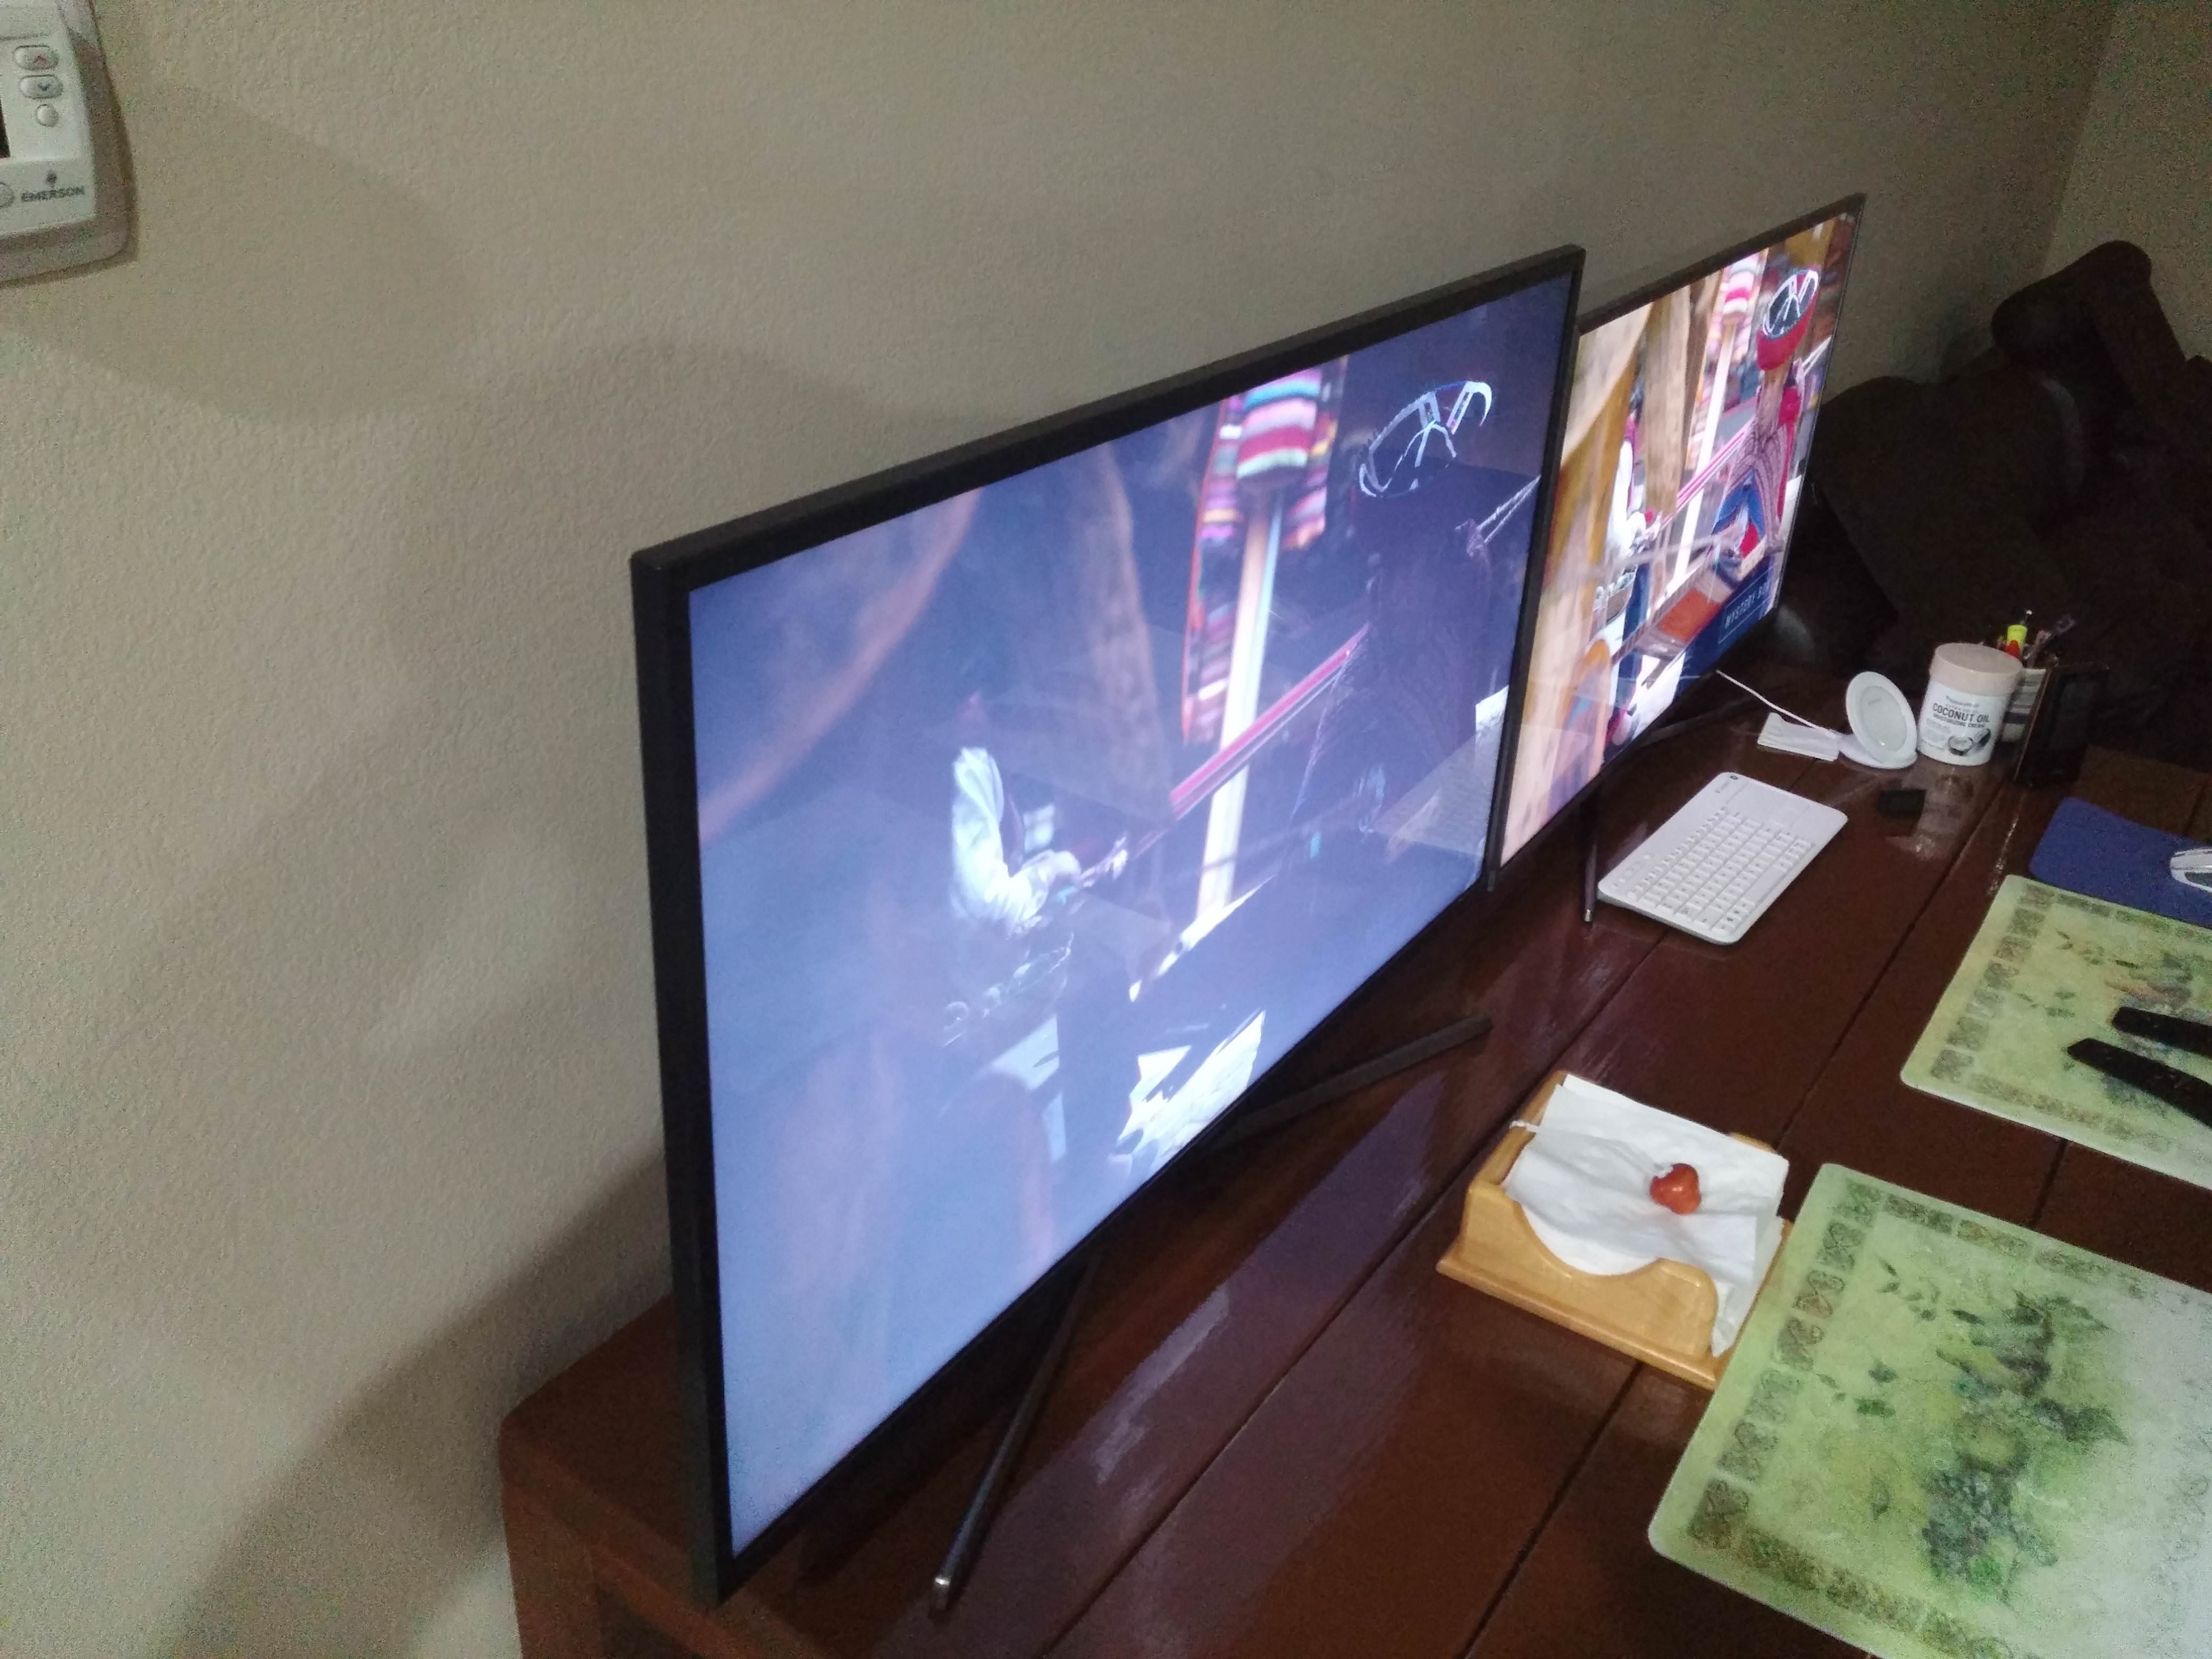
An IPS Display shines for photo editing due to five strengths: it offers 99% sRGB color coverage for accurate hues, a 178° wide viewing angle avoiding color distortion, 1000:1 contrast ratio clarifying shadows, 300 nits brightness ensuring consistent visibility, and 5ms response time reducing blur—key for precise edits.
Color Accuracy Basics
Most entry-level IPS panels hit around 95% of the sRGB gamut (the standard for web and digital photos), but a mid-range IPS used for editing typically covers 99% of sRGB and about 75% of Adobe RGB (which includes more greens and cyans, key for nature or product shots). That 4% extra in sRGB? ,a TN panel (common in budget monitors) might only cover 85% of sRGB, washing out those details.
A Delta E value under 2 means most people can’t tell the difference between the screen’s color and the "true" color; under 1 is professional-grade. A good IPS for editing starts at ΔE < 2 out of the box, but after calibration (using a hardware colorimeter like the X-Rite i1Display Pro, which costs around 250), you can push that down to ΔE < 1. Compare that to a $100 TN monitor: its factory ΔE might be 5–7, meaning greens could look teal or reds too orange without heavy correction.
Even if a display is accurate at 100% brightness, does it stay accurate when you dim it to 50%? A quality IPS will have brightness uniformity across the screen—variations of just ±2% from corner to corner. Cheaper models might have ±10% variation, so the top-left corner looks brighter (and potentially warmer) than the bottom-right, throwing off your perception of exposure. Same with color temperature stability: as you adjust brightness, the white point should stay close to 6500K (the "neutral" white for photos). A well-tuned IPS keeps this within ±50K across all brightness levels; a bad one might swing from 5500K (cool) to 7500K (warm), making skin tones look sickly in one corner and too pink in another.
To sum up, here are the core metrics that define IPS color accuracy for editing:
-
99% sRGB coverage (vs. 85% on budget TN panels)
-
Factory ΔE < 2 (calibrates to ΔE < 1 with tools like X-Rite i1Display Pro)
-
±2% brightness uniformity (vs. ±10% on cheap models)
-
±50K color temperature stability (vs. ±200K on uncalibrated screens)
With Delta E < 1, you adjust based on what’s actuallythere: the lips are already at 95% saturation, so you bump them to 98% for impact, knowing that’ll translate correctly to prints or client previews. Or if you’re editing a product shot of a blue sweater, a 99% sRGB IPS ensures the blue you see is the blue the printer will reproduce—no need to second-guess if the screen’s "blue" is actually cyan.
Wide View No Color Shift
For IPS, the gold standard is 178° horizontal and 178° vertical. Compare that to TN (Twisted Nematic) panels, common in budget monitors, which max out at 160° horizontal/150° vertical—tilt just 20° and their color accuracy drops like a rock. VA (Vertical Alignment) panels, often marketed as “better than TN,” usually hit 170° horizontal/160° vertical—closer, but still not matching IPS.
What really counts is color deviation at those angles, measured in Delta E (ΔE). A ΔE < 3 means the color shift is “perceptible but not annoying”; ΔE > 5 is “unacceptable for professional work.” In lab tests, a mid-range IPS panel (like the Dell U2723QE) maintains ΔE < 3 at 178°—so if you’re sitting next to a colleague and they glance at your screen from the side, they won’t see a drastically different hue. A TN panel? At 160°, its ΔE spikes to >8, meaning greens turn teal and reds look orange.
To put it all together, here’s how IPS wide-view performance stacks up against other panels in key metrics:
|
Panel Type |
Horizontal Viewing Angle |
Vertical Viewing Angle |
ΔE at Max Angle |
Co-Editing Color Consistency (4+ people) |
|---|---|---|---|---|
|
IPS |
178° |
178° |
<3 |
High (no visible shifts) |
|
VA |
170° |
160° |
5–6 |
Moderate (minor shifts) |
|
TN |
160° |
150° |
>8 |
Low (major shifts) |
Imagine you’re editing a group photo in a co-working space: 4 people huddled around a 27” screen, each sitting at a 45° angle from center.With a TN panel, Person A (center) thinks the dress is FF69B4 (hot pink), Person B (left) sees FF85A2 (softer pink), and Person C (right) insists it’s FF9EB5 (blush)—now you’re stuck re-editing for an hour to “fix” a problem that shouldn’t exist.
If you’re retouching on a balcony (sunlight hitting the screen at 120°), an IPS keeps colors stable—ΔE < 4—while a VA panel at the same angle hits ΔE > 6, making shadows look too dark or highlights blown out.
Clear Shadows Bright Pics
Most IPS panels deliver 1000:1 static contrast, meaning a white pixel is 1000x brighter than a black pixel. Compare that to TN panels (common in budget monitors) at 600:1–700:1 or basic VA panels at 2000:1–3000:1.
A quality IPS used for editing typically covers 10-bit color depth (1.07 billion colors) via FRC (Frame Rate Control), up from 8-bit (16.7 million colors) on entry-level models. Lab tests show an 8-bit IPS can display ~64 distinct gray levels in the darkest 10% of the brightness range, while a 10-bit IPS shows ~256 distinct gray levels—that’s 4x more nuance, letting you see texture in shadows (like fabric folds in a dark room) instead of a flat, muddy block.
A pro-grade IPS hits 400–500 nits peak brightness (nits = brightness units), while a budget IPS might max out at 250–300 nits. Here’s why that matters: in a high-dynamic-range (HDR) photo, the brightest highlights might be 10x brighter than the darkest shadows. With a 300-nit screen, you’ll only see detail up to ~200 nits—anything brighter washes out to pure white. With a 500-nit IPS, you can stretch that to ~400 nits before clipping, preserving texture in sunlit clouds or metallic reflections.
On a 300-nit TN panel, the sunset glows white with no detail, and the streetlights are indistinguishable from each other. On a 500-nit IPS, you can lower the highlights to recover the sunset’s warm orange hues (not just white) and raise the shadows to see individual streetlamp globes.
If your screen’s contrast is too low (e.g., 700:1), you might over-sharpen shadows to “make them pop,” but that adds noise. With 1000:1 contrast, you can see exactly where shadows start to lose detail and stop adjusting before it’s excessive. Similarly, a 500-nit IPS lets you edit at lower screen brightness (saving battery if you’re on a laptop) without losing shadow detail—try that on a 250-nit screen, and you’ll crank the brightness to max, washing out highlights in the process.
Quick Response, Sharp Edits
For IPS, the sweet spot for editing is 5ms GTG—faster than basic TN panels (1–2ms, but with poor color) and comparable to VA panels (3–5ms, but with narrower viewing angles).
A 5ms GTG IPS reduces motion blur to ~2 pixels in a 144Hz refresh rate setup (since blur length ≈ response time × refresh rate / 1000). Compare that to a 144Hz TN panel with 1ms GTG. Overdrive is a tech that speeds up pixel transitions, but too much OD creates ghosting—IPS panels handle OD better, keeping ghosting minimal even at 5ms GTG.
Imagine painting a brush stroke across a photo: with a 5ms GTG IPS, the stroke edge stays crisp—each pixel updates just in time to follow your cursor. With a 10ms GTG budget IPS, the stroke blurs by ~4 pixels, making fine details (like hair strands or brush texture) look soft. a 10ms panel blurs the motion, forcing you to zoom in and edit pixel-by-pixel (a huge time waster).
Most editing monitors are 60Hz or 75Hz, but 100Hz+ panels (common in gaming monitors) pair well with 5ms GTG IPS for even sharper motion. At 100Hz, a 5ms GTG IPS reduces blur to ~1 pixel—critical for aligning layers or masking moving elements. A 60Hz IPS with 5ms GTG? Blur jumps to ~3 pixels, which feels “laggy” when you’re trying to sync edits with a timeline.
To put this in perspective, here’s how IPS response time and motion blur compare to other panels in key editing scenarios:
|
Panel Type |
GTG Response Time |
Motion Blur (144Hz) |
Overdrive Ghosting |
Brush Stroke Sharpness (10px width) |
|---|---|---|---|---|
|
IPS (5ms) |
5ms |
~2 pixels |
Minimal |
Crisp edges, no trailing |
|
TN (1ms) |
1ms |
~1 pixel |
Severe (inverse) |
Sharp but with ghosted trails |
|
VA (3ms) |
3ms |
~3 pixels |
Moderate |
Slightly blurred |
|
Budget IPS (10ms) |
10ms |
~4 pixels |
None |
Very soft edges |
With a 5ms GTG IPS, you spend less time fixing motion blur in post (e.g., using “sharpen” tools that introduce noise) and more time getting the edit right the first time.
Read more

IPS panels typically have a lifespan of 30,000 to 60,000 hours of active use—meaning with 8 hours of daily viewing, they’ll last around 10 to 20 years before brightness noticeably dims, making them...

IPS displays usually have a contrast ratio of about 1000:1, while VA panels often deliver 3000:1 to 5000:1 (some high-end ones even higher), meaning VA shows deeper blacks and less grayish darkness...


Leave a comment
This site is protected by hCaptcha and the hCaptcha Privacy Policy and Terms of Service apply.