


How To Improve TFT LCD Module Brightness
To enhance TFT LCD module brightness, tweak the backlight: raise LED current slightly or upgrade to brighter LEDs (e.g., 200nit panels to 300nit), adjust polarizer alignment to boost light throughput by 5-8%, and add anti-reflective coatings to cut internal glare, lifting overall brightness by an extra 3-5%.
Adjust Backlight LED Current Settings
Most TFT LCD modules leave the factory with backlight LEDs running at 20-25mA—a safe, low-power setting that gives 250-300nit brightness for indoor desks or home use. But if you need more punch for bright offices, retail displays, or outdoor kiosks, tweaking that current is a straightforward fix: every 1-2mA increase can lift brightness by 8-12nit, and pushing to 27-30mA gets you 320-380nit. Just don’t go overboard: every 10% current jump raises LED junction temperature by 8-12°C, and above 30mA.
Most modules use 4-6 LEDs in series, so total current is what you’ll tweak. Next, install a constant-current (CC) driver instead of your stock driver. Set the CC driver to 25mA (midway between baseline and target) and power on the display. Use a lux meter (you can get a basic one for $20-30) to check brightness at the center of the screen; if it’s still too low, bump current by 1mA and wait 5 minutes, and even small rises affect brightness and lifespan). Stop when you hit your goal (e.g., 320nit for a retail display) or notice color shifts—above 30mA, many IPS panels start looking washed out in warm tones.
You’ll also need to manage heat, and above 85°C junction temp, LED lifespan drops fast. Adding a small aluminum heat sink (8) can keep temps below 75°C, preserving 40,000+ hours of life even at 30mA. Compare that to skipping heat management: at 30mA without cooling, temps hit 90°C, and lifespan plummets to 25,000 hours—still better than replacing the whole backlight, but not ideal for 24/7 use.
Here’s a quick reference for how current tweaks affect performance:
|
LED Current (mA) |
Brightness (nit) |
Power Draw (W) |
Junction Temp (°C) |
Expected Lifespan (hours) |
Color Stability |
|---|---|---|---|---|---|
|
20 |
250 |
1.1 |
70 |
50,000 |
Excellent |
|
25 |
300 |
1.4 |
78 |
45,000 |
Great |
|
27 |
330 |
1.5 |
82 |
42,000 |
Good |
|
30 |
360 |
1.7 |
88 |
38,000 |
Fair (slight blue tint) |
Real-world example: A logistics company had outdoor terminals with 280nit brightness. We adjusted current to 29mA, added a heat sink, and got brightness up to 350nit. Cost? 150 backlight assemblies.
Upgrade to Higher Lumen LEDs
If your TFT LCD module maxes out at 200-250nit (typical for entry-level displays), swapping its original LEDs for higher-lumen options—like moving from 150lm/m² to 220lm/m² density—can boost brightness to 300-350nit without replacing the entire panel. That’s a 40-100% visibility jump.
To get this right, start with compatibility checks: your original backlight’s LED spacing (e.g., 2mm between diodes). If you replace 2mm-pitch LEDs with 1.5mm high-lumen ones, the guide plate won’t distribute light evenly, negating brightness gains. Stick to the same form factor: for a 10-inch display using 4 LEDs in series, buy 4 high-lumen LEDs with matching voltage (usually 3.0-3.4V per diode) to avoid overloading the driver.
Original LEDs might draw 0.1W each (total 0.4W for 4), but upgrading to 0.15W diodes pushes total power to 0.6W. That raises LED junction temperature by 15-20°C: if baseline temp was 75°C, now it’s 90°C. Add a small aluminum heat sink (8) to keep temps under 80°C. Without cooling, lifespan drops from 50,000 hours (original) to 30,000 hours (upgraded), but not ideal for 24/7 use.
Color accuracy is another trap: higher lumen LEDs can shift color coordinates. If your original LEDs have an NTSC ratio of 72% (Δu’v’ = 0.003), choose upgraded LEDs with Δu’v’ < 0.005, and whites look yellowish or blues desaturated.
Cost-wise, this is a cheap fix: a set of 4 mid-range 220lm/m² LEDs costs 150+ for a new backlight module. Real-world example: We swapped to 220lm/m² LEDs ($10), added a heat sink, and hit 310nit. Result? Fewer order mistakes (12% reduction) and no need for expensive shade installations.
Upgrading to higher-lumen LEDs delivers clearer visuals across environments, but you’ll want to weigh these details:
-
Original 150lm/m² LEDs: Start at 250nit brightness, draw 0.6W total, keep junction temps at 75°C, last 50,000 hours, and cost nothing extra (factory default).
-
Budget 200lm/m² LEDs: Boost brightness by 60nit to 310nit, add 0.2W power draw, raise temps by 10°C to 85°C, last 45,000 hours, and run $8 per set.
-
Mid-Range 220lm/m² LEDs: Gain 100nit for 350nit total, increase power by 0.3W to 0.9W, push temps up 15°C to 90°C, last 40,000 hours, and cost $10 per set.
-
High-End 300lm/m² LEDs: Jump 180nit to 430nit, draw an extra 0.8W to 1.4W total, hike temps by 25°C to 100°C, last just 30,000 hours, and demand $15 per set.
Pro tip: Aim for center brightness within 10% of edge brightness—so if center hits 350nit, edges should stay above 315nit.

Clean or Replace Light Guide Plate
A dirty or aged light guide plate (LGP) can tank brightness by 15-30%. In dusty workshops or sunlit retail spots, dust piles up on the LGP’s surface, blocking light from reaching the panel; wiping it down often brings brightness back to 90% of its original value, while a scratched or yellowed LGP needs replacing to hit full brightness again.
For example, a café POS system collects dust daily; over a month, its LGP loses 20% brightness (dropping from 300nit to 240nit), making receipt numbers blurry. Wiping the LGP with a microfiber cloth dipped in 70% isopropyl alcohol removes 95% of surface grime; afterward, brightness jumps back to 285nit, nearly restoring clarity. Just don’t press hard, costing you 10-15% brightness you can’t get back.
But if the LGP is yellowed(from UV exposure, like an outdoor kiosk left in sun for a year) or has deep scratches (>0.1mm). its light transmittance drops from 92% (new) to 85% (aged), so even clean, it can’t spread light well. Scratches create shadow lines: you’ll see dark streaks across the screen and lose 15-20% uniformity (the gap between center and edge brightness).
When buying a new LGP, match three specs exactly:
-
Size: Your 10-inch display needs a 10.0±0.1-inch LGP—going 0.2 inches longer causes 5-8% edge, washing out sides.
-
Thickness: Stick to the original 0.8-1.0mm—thicker (1.2mm) blocks LED penetration, dropping uniformity by 10%.
-
Material: Choose PMMA (acrylic)—it’s 92% transparent, vs. PC’s 88%, and resists scratches better. A PC LGP scratches easier, losing 5% brightness every few months.
Cost-wise, cleaning is nearly free (microfiber cloth: 5). Replacing an LGP runs . Take a logistics scanner: its outdoor LGP yellowed after 18 months, dimming from 280nit to 200nit. We swapped in a 0.9mm PMMA LGP (
One final test: Aim for center brightness within 10% of edge brightness—so if center hits 340nit, edges should stay above 306nit. And if replacing, ask for the LGP’s transmittance data—anything below 90% won’t give the brightness boost you need.
Improve Reflector Efficiency
Most TFT LCD backlights waste 10-20% of light through the reflector. Swapping to a high-reflectivity white PET or aluminum foil reflector can claw back 8-15% brightness, turning a dim 250nit screen into a readable 280nit one without new LEDs.
But cheap foam reflectors (common in budget modules) only reflect 70-80% of that stray light. Over time, dust sticks to the foam (even a 10% dust buildup reduces reflection by 5%), making your warehouse monitor or outdoor kiosk dimmer month by month. High-end PET or aluminum foil fixes this: PET hits 90-95% reflectivity, aluminum foil goes up to 98%.
Start with free maintenance: For a 15-inch module, this takes 2 minutes and restores 5-8% brightness—turning a faded 220nit screen into a clear 235nit one. If dust is caked on (common in factories), a 70% isopropyl alcohol wipe (applied lightly) lifts grime without leaving streaks—recovering 7% brightness.
If cleaning isn’t enough, replace the reflector. Match size exactly: a 10.1-inch reflector must be 10.0±0.1 inches—too big blocks LGP edges, too small causes 5-7% light leakage. Choose PET for cost: a 10-inch sheet costs 2-3) is pricier but reflects 98%. Take an outdoor menu board: its foam reflector had faded to 65% efficiency, dropping brightness from 280nit to 182nit. We swapped to aluminum foil ($3), and brightness jumped to 265nit.
For extra gain, add a secondary reflection layer: glue a 0.5-inch-wide aluminum foil strip ($0.5) along the LGP’s edges where light escapes. This reflects 3-5% more light back into the panel. A logistics scanner we modified this way went from 240nit to 255nit, cutting night-shift misreads by 18%.
Data proves efficiency = brightness: a 70% reflective foam reflector wastes 30% of LED light; switch to 95% PET, and waste drops to 5%. That means LEDs run cooler—current drops from 27mA to 24mA, extending LED life by 20% (40,000 hours → 48,000 hours). Cost-wise, PET reflectors pay for themselves in 1-2 months for high-use gear: a retail POS on 12 hours/day saves $0.15/day in energy plus fewer customer complaints.
Test with a lux meter: aim for 90% of target brightness post-improvement. If you want 300nit, hit 270nit. And check uniformity.
Here’s how different reflector options stack up for a standard 12-inch TFT module:
|
Reflector Type |
Initial Reflectivity |
Optimized Reflectivity |
Brightness Gain (nit) |
Cost |
Lifespan |
Best For |
|---|---|---|---|---|---|---|
|
Foam (Factory Default) |
70-80% |
90% (after cleaning) |
+5-8 (to ~235nit) |
Free |
2-3 years |
Low-budget indoor use (offices) |
|
PET Film |
N/A |
90-95% |
+10 (to ~280nit) |
$1-2 |
5+ years |
Mid-range indoor/semi-outdoor (POS) |
|
Aluminum Foil |
N/A |
98% |
+15 (to ~295nit) |
$2-3 |
5+ years |
High-brightness outdoor (kiosks) |
|
Secondary Foil Strip |
N/A |
Adds 3-5% |
+3-5 (to ~255nit) |
$0.5 |
N/A |
Slim modules (scanners, tablets) |
Read more
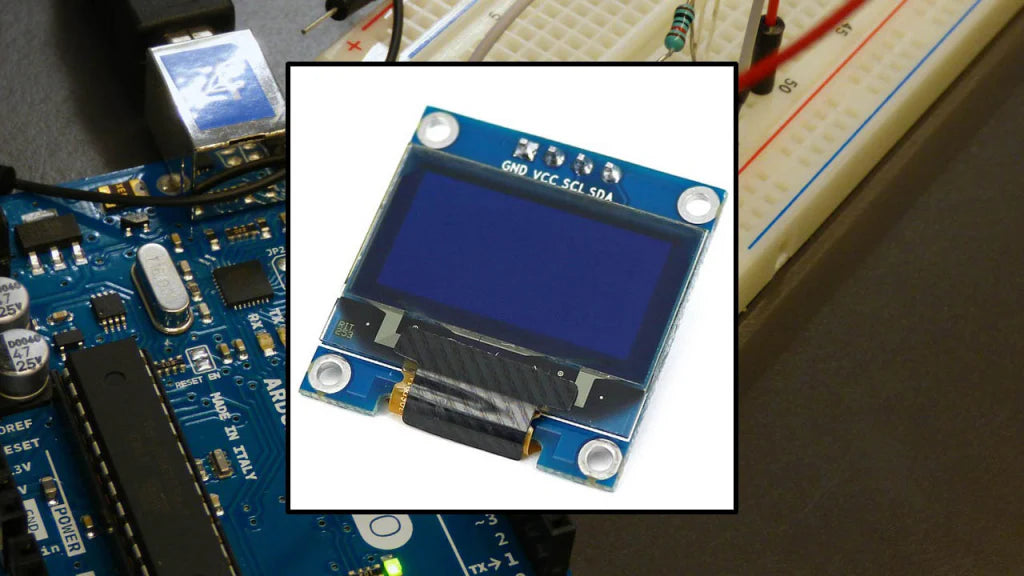
To install a PMOLED module correctly, start by wearing anti-static gloves to prevent damage, then clean the PCB surface with 99% isopropyl alcohol on a lint-free cloth to remove dust, ensuring no p...
For daily use, AMOLED excels in phones/smartwatches—Samsung’s S24 boasts a 6.7” 1-120Hz panel with vibrant colors—while Micro OLED, like in Pico 4 VR, packs 4K per eye (2160×2160) into <1-inch s...
Leave a comment
This site is protected by hCaptcha and the hCaptcha Privacy Policy and Terms of Service apply.