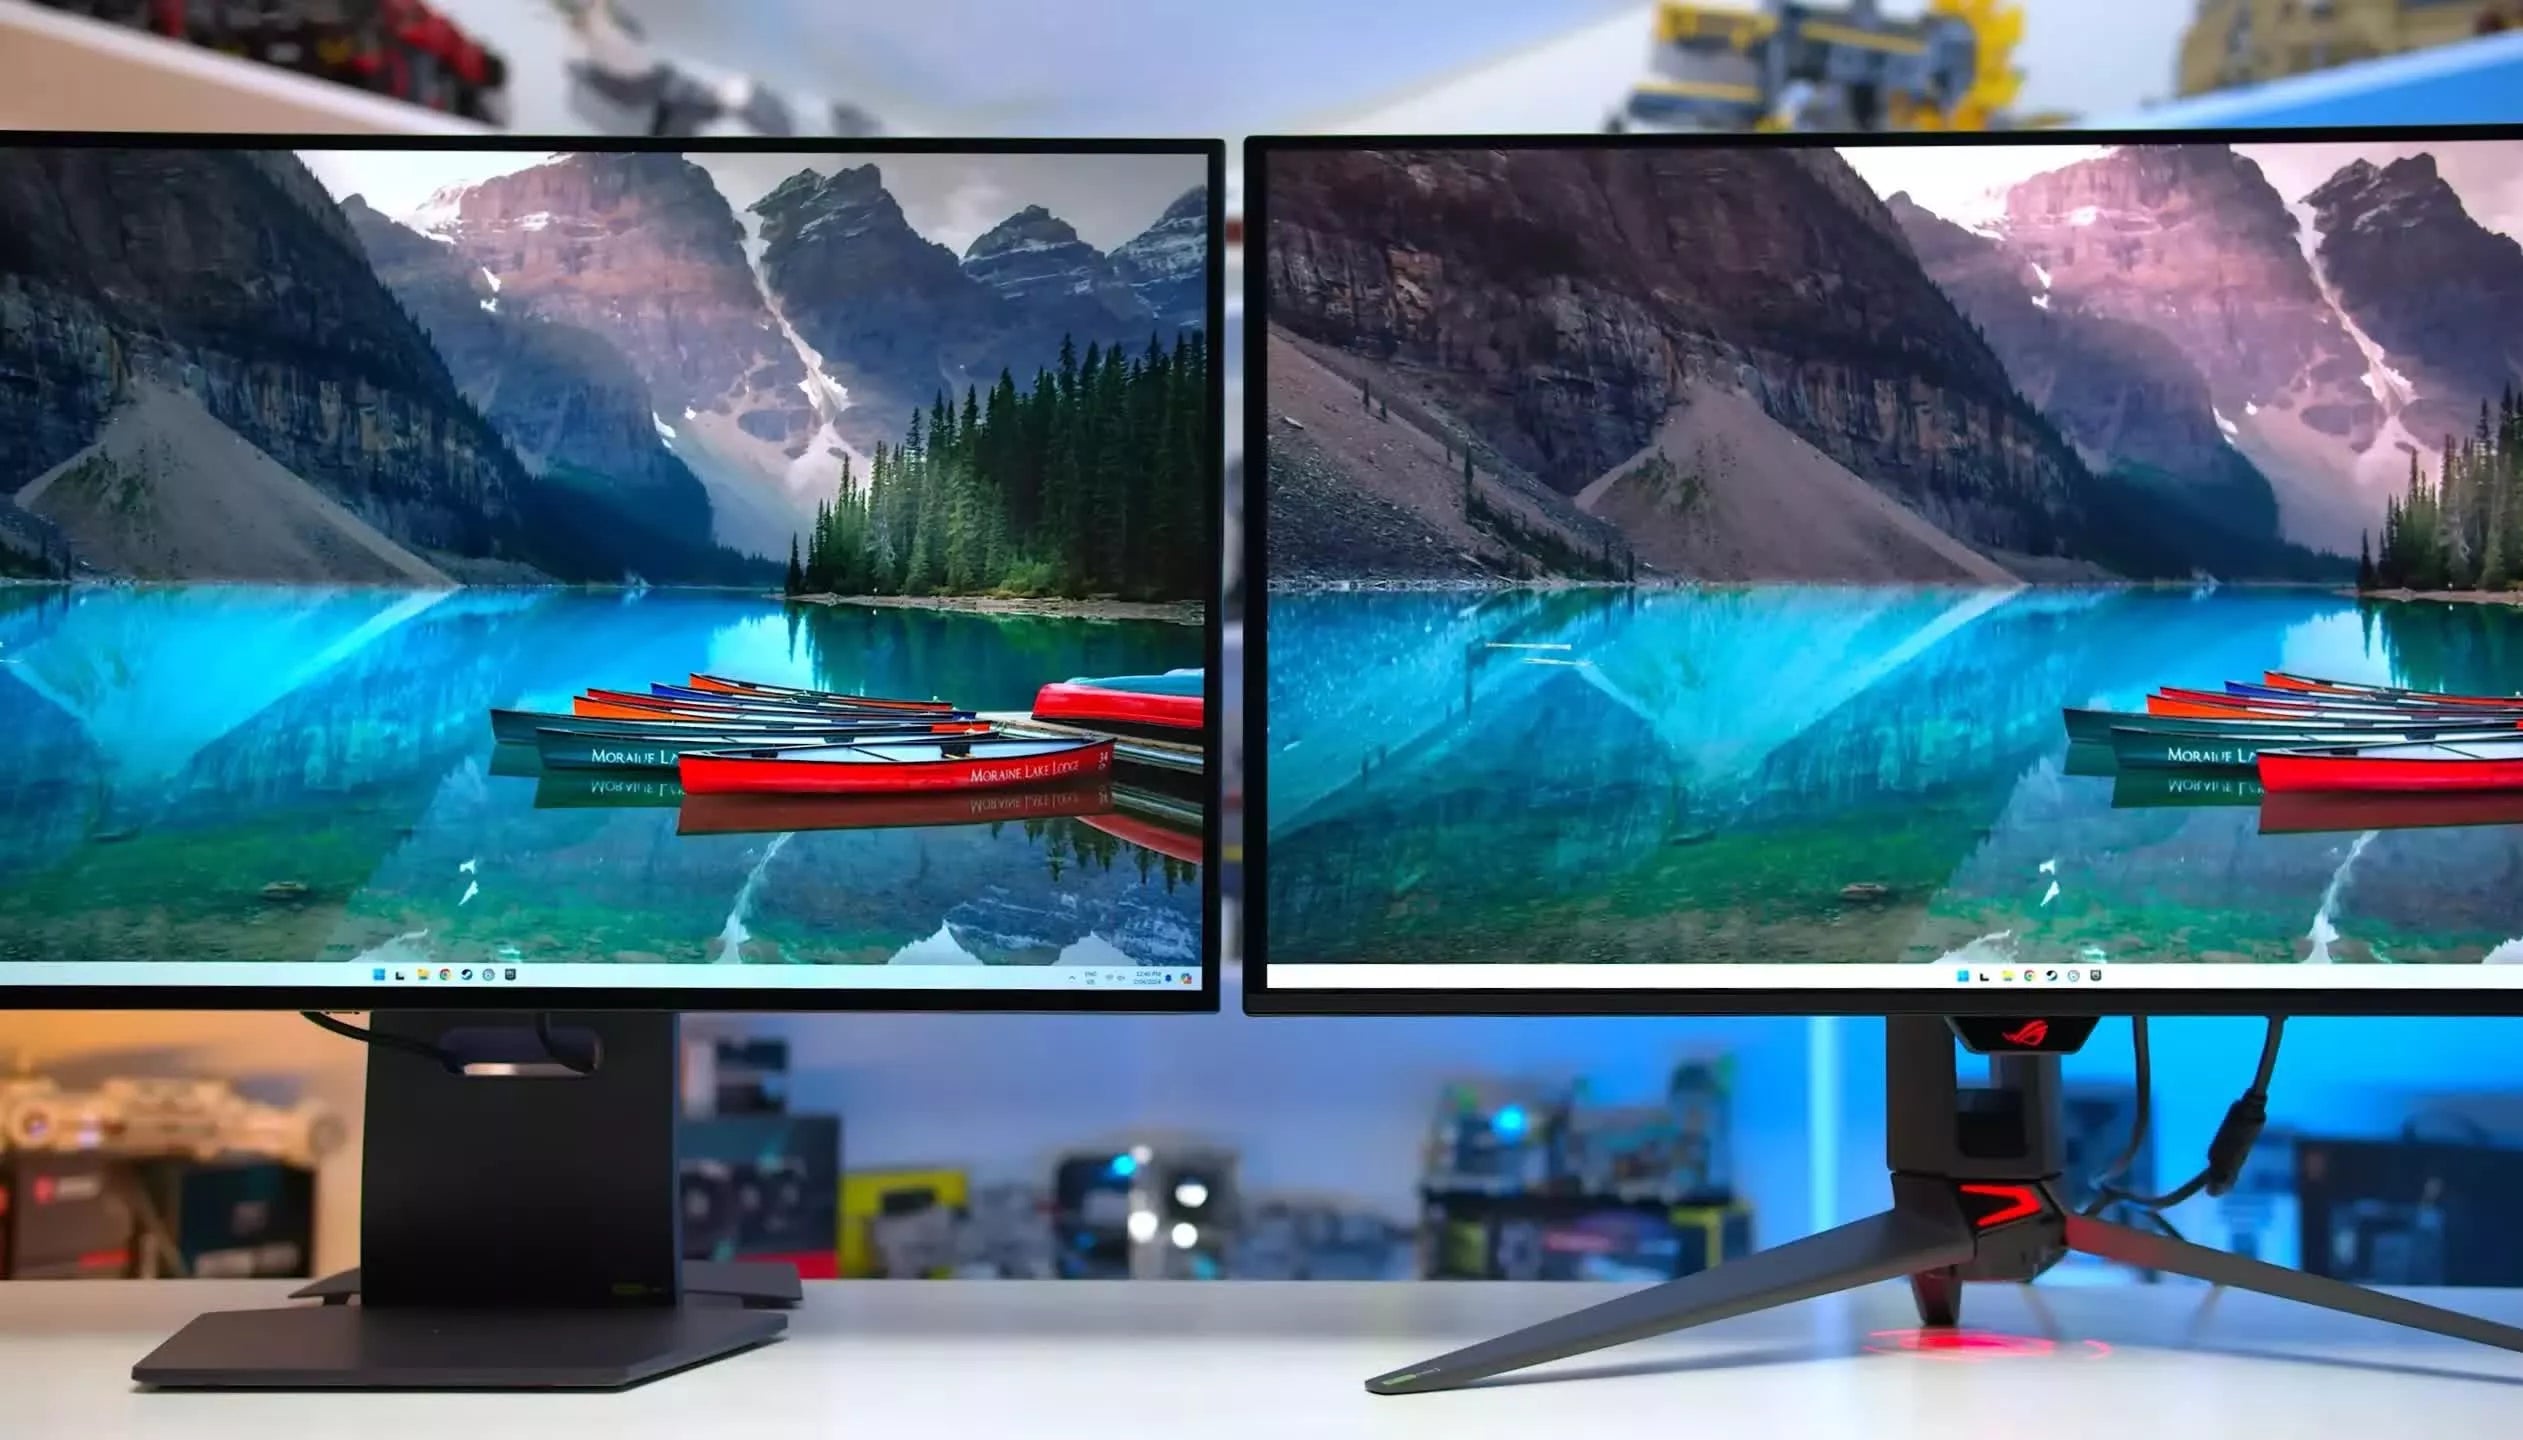
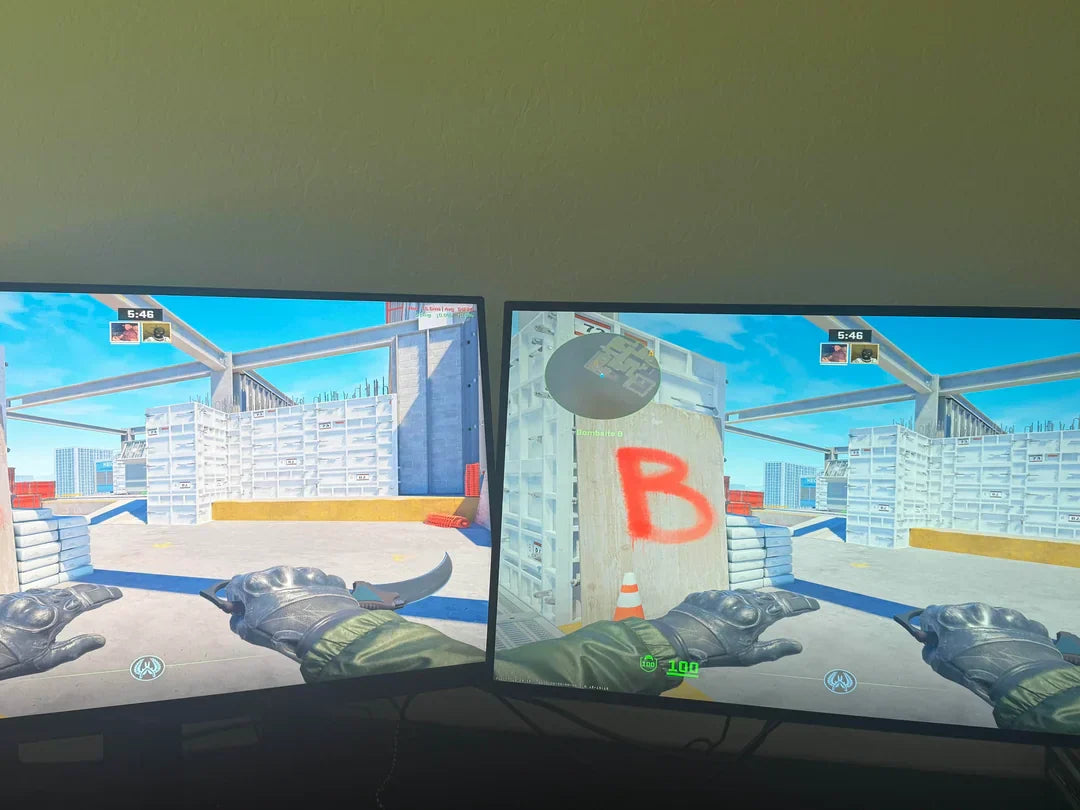
To test IPS panel quality practically, start by checking contrast ratio (target 1000:1 to 1500:1) with black/white images, then measure response time (under 5ms for smooth motion) using fast-moving patterns; assess viewing angles (ideally 178° horizontal/vertical) by viewing from corners, verify color accuracy (cover 95%+ sRGB) with test charts, and finally, scan for dead pixels (zero acceptable) via all-black/white displays.
Check Contrast and Brightness
Most decent IPS monitors sit around 250–350 nits, which is solid for daily office or creative work, but if you’re doing color grading or HDR content, you’ll want something closer to 400 nits or higher. Pro-level displays can even hit 1000 nits for true HDR1000 performance.
A typical IPS screen offers a static contrast ratio of 1000:1. That means the brightest white is 1000x brighter than the darkest black the screen can produce.
How to test properly:
-
Use a test pattern like a black and white checkerboard or a full-screen alternating pattern.
-
Set your monitor to standard picture mode and reset brightness to 100% initially — then adjust based on your ambient light. Ideal brightness for most indoor environments is between 120–150 nits (that’s around 50–60% brightness on many monitors).
-
For contrast, open a pitch-black image and a pure white one. If the black looks washed out, try lowering brightness gradually until you find a good balance without losing shadow detail.
-
Use a tool like Lagom LCD Contrast Test or even free test images from TFTCentral. They help you identify exactly where the screen fails to distinguish between very dark grays and true black.
Keep in mind: Most IPS panels are rated for 30,000 to 60,000 hours of use at standard brightness, but pushing 100% all the time can reduce that lifespan.
A good IPS panel should maintain ≥90% brightness uniformity across the screen, with less than 10% deviation in the corners.
Test Color Accuracy
Most content today is created in the sRGB space, so for general use, ≥95% sRGB coverage is a good starting point. But if you’re working in print or high-end video, you’ll want ≥99% Adobe RGB or ≥95% DCI-P3 coverage. Pro-level monitors often hit 100% sRGB and ≥98% Adobe RGB, but they also cost more—usually starting around $600+.
A Delta E below 2 is considered excellent and indistinguishable to the human eye, while values between 3–5 are acceptable for most users. Anything above ΔE 6 will look noticeably wrong, especially in skin tones or brand colors. Out of the box, many IPS monitors come with a Delta E of <2 after calibration, but some budget models sit at ΔE 4–5—so calibration is key.
Here’s a quick reference for color performance by use case:
|
Use Case |
Target Color Space |
Ideal Delta E |
Minimum Brightness |
Price Range |
|---|---|---|---|---|
|
Everyday Use |
≥90% sRGB |
ΔE < 4 |
250 nits |
300 |
|
Photo Editing |
≥99% sRGB, ≥90% Adobe RGB |
ΔE < 1.5 |
300 nits |
700 |
|
Video Editing |
≥95% DCI-P3 |
ΔE < 2 |
350 nits |
1200 |
|
Gaming |
≥90% DCI-P3 |
ΔE < 3 |
300 nits |
600 |
These devices measure RGB balance, grayscale accuracy, color temperature (which should be close to 6500K for standard content), and gamma (ideally 2.2 for Windows and web use). They also generate an ICC profile that corrects color drift. The whole process takes about 10–15 minutes, and it’s worth doing every 6–12 months since panels can shift over time.
You can also run basic tests without hardware: use test images with known color values (like those from Lagom or EIZO), and check for banding in gradients—especially in skies or shadow areas. Most IPS monitors support 8-bit color (16.7 million colors), but some use FRC (dithering) to simulate 10-bit; true 10-bit panels are more expensive and require a compatible GPU.
A good IPS panel should maintain color uniformity across the entire screen, with less than ±5% deviation in white balance and no visible tinting at the edges.
Look for Backlight Bleed
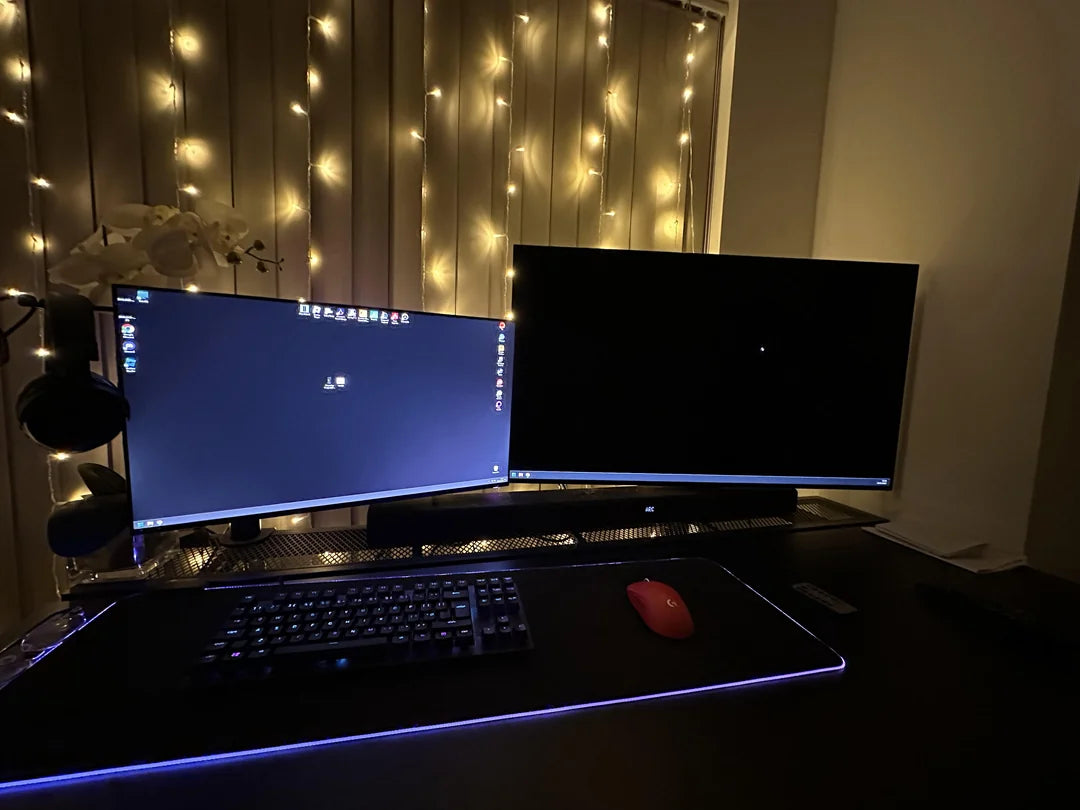
Testing it is simple: set your monitor to 100% brightness, display a pure black image (all RGB 0,0,0), and view it in a dark room (ambient light < 5 lux—about the brightness of a small nightlight). If you see light bleeding along the top, bottom, or side edges—especially in the corners—you’ve got backlight bleed. Quantify it by comparing the brightest leaked area to the center of the black screen: bleed exceeding 5–10 nits (where pure black is ~0 nits) becomes noticeable to most eyes, while >15 nits is considered “severe” and hard to ignore.
Tools like a smartphone light sensor app (set to measure in lux) can quantify it: point the sensor at the bleed area and the center of the black screen; a difference of >10 lux (since 1 lux ≈ 0.0079 nits) means noticeable bleed. Alternatively, use free software like CalMAN or DisplayCAL with a 100 colorimeter to map brightness across the screen—look for peaks in the histogram at the edges.
Bleed worsens at higher brightness: set your monitor to 50% brightness (125–175 nits for most IPS), and bleed might disappear entirely if the BLU is dimmed uniformly. But if you watch movies at 100% brightness (300+ nits) in a dark room, even small bleed becomes distracting. For gamers, fast-paced dark games (like Cyberpunk 2077’s Night City alleys) expose bleed faster than static content—test with a 5-minute loop of a black screen with a single white dot in the center to see if bleed spreads when the panel warms up (panels often bleed more after 20–30 minutes of use as they heat up).
If you’re stuck with a bleedy panel, reduce it by enabling “dynamic contrast” (though this can introduce flicker) or using a bias lighting strip behind the monitor—white LEDs at 50–70 nits make the bleed less noticeable by raising ambient light levels. Just avoid cheap strips: ones with inconsistent color temperature (>±100K) can cast a yellow tint, making bleed look worse.
Bottom line: For casual use, minor bleed (under 10 nits) is tolerable, but for content creation or dark-room media, aim for panels with <5 nits of bleed—or switch to OLED if you can afford it (OLEDs have near-zero bleed but come with burn-in risks).
Assess Viewing Angles
Unlike TN panels that lose color accuracy and contrast at just 10–15° off-center, IPS maintains consistent colors and brightness up to 178° horizontally and vertically (the industry standard for most models). But “up to” doesn’t mean “always.”
To test them properly, position yourself directly in front of the screen (0°), then slowly move left, right, up, and down while keeping your eyes level with the center of the display. Key things to watch for:
-
Color shift: Does white turn pinkish on one side or blue on the other? Good IPS panels keep color deviation under ΔE 3 (human-eye undetectable) up to 160°, but budget models might hit ΔE 5–7 (noticeable tint) by 140°.
-
Contrast loss: Brightness typically drops by 15–30% at extreme angles (e.g., 170°), but the contrast ratio (originally 1000:1) should stay above 500:1 until 160°. If blacks look gray at 150°, the panel’s polarizer or liquid crystal alignment is subpar.
-
Gamma shift: The mid-tone brightness curve (ideally 2.2) can drift by ±0.3 at extreme angles, making shadows look washed out or highlights too punchy.
Here’s how different panel types stack up quantitatively:
|
Panel Type |
Max Viewing Angle (H/V) |
Color Shift (ΔE at 160°) |
Brightness Drop at 170° |
Cost Impact |
|---|---|---|---|---|
|
Budget IPS |
170°/170° |
ΔE 4–6 |
35–45% |
300 |
|
Mid-Range IPS |
178°/178° |
ΔE 2–3 |
20–30% |
600 |
|
High-End IPS |
178°/178° |
ΔE <2 |
10–20% |
1200 |
|
OLED |
178°/178° (near-perfect) |
ΔE <1 |
<5% |
2000 |
A quick DIY test: open a grayscale gradient (0–255) and a color chart (like sRGB or Adobe RGB swatches). View from 45° left/right and 30° up/down. For professionals, check if skin tones in photos stay natural at 150°—bad panels make faces look sickly green or purple.
Cheaper TN-like IPS panels (sometimes called “e-IPS”) might only manage 160°/160° with noticeable flaws.
Bottom line: for shared or flexible seating, prioritize IPS panels with <ΔE 3 color shift at 160° and <25% brightness drop at 170°. Always check multiple review sites for real-user angle performance photos, as marketing specs rarely tell the full story.
Detect Dead Pixels
To test thoroughly, you need a pure black, pure white, and full-color (RGB) test image—all at 100% brightness.Then switch to a white background (RGB 255,255,255): dead pixels look like tiny white voids, and stuck pixels glow unnaturally.
Here’s the hard data:
-
Dead pixel density on modern IPS panels averages 0.1–0.3 defects per million pixels (DPM) for premium models (like 4K 3840×2160 = 8.3 million pixels, so 0.8–2.5 dead pixels theoretically possible). Budget panels (1080p or 1440p) often hit 0.5–1.0 DPM, meaning 1–3 dead pixels on a 27-inch screen isn’t rare.
-
Stuck pixels are more common—1–5 per screen is normal in mass production, and many disappear after a few hours of use or a pixel-fixing video.
-
Size matters: on a 24-inch 1080p screen (1920×1080 = 2 million pixels), one dead pixel is 0.00005% of the total, but it’s still visible if it’s in the center. On a 32-inch 4K screen (8.3 million pixels), the same ratio means ~4 dead pixels could exist before hitting the 1–3 defect threshold.
Use these tools for detection:
-
Dead Pixel Buddy (free Windows app) cycles through colors rapidly to unstick pixels.
-
UDPixel (Windows/Mac) runs a 10–60-minute fix cycle with customizable speed.
-
Online testers like Lagom.nl’s dead pixel test or ScreenTest’s full-screen colors.
For manual inspection:
-
Sit 2–3 feet away (typical viewing distance) and scan the screen in a Z-pattern (top-left to bottom-right, then reverse).
-
Use a magnifying glass or smartphone macro lens (10x–20x) to spot tiny defects near the edges where they’re often hidden.
-
Check all four corners and the center—dead pixels love to hide in low-attention zones, but center defects are unacceptable.
If you find 1–2 stuck pixels, run a pixel-fixing video for 30–60 minutes at full brightness (works ~30–50% of the time). For dead black pixels, there’s no fix—they’re usually physical damage or a failed transistor. Most warranties cover 3–5 dead pixels, but only if they’re in the central 50% of the screen (check your manufacturer’s policy).
Pro tip: if you’re buying online, request a dead pixel report from the seller (some brands like Dell or LG provide this). For in-store purchases, inspect the screen before unboxing if possible—or demand a replacement if you spot defects right away.
Read more

To customize a TFT display module, first set the resolution to 1024x600 pixels (common for basic UIs) via configuration tools, then adjust brightness/contrast (300 nits max) using on-screen menus t...

The IPS Display wholesale price guide shows 24-inch FHD (1920x1080) panels average 80−120, 27-inch FHD units range 100−150, and 27-inch 4K (3840x2160) variants climb to 200−300, with costs rising a...


Leave a comment
This site is protected by hCaptcha and the hCaptcha Privacy Policy and Terms of Service apply.