



How to Choose the Right Adapter OLED/LCD Module | Key Specs, Performance & Suppliers
Choose an adapter module by the problem it removes, not by its datasheet headline. Match the host interface and logic level, confirm the rails and backlight drive it can supply, check that the adapter's pinout matches your connector, and only then compare panels. An adapter that needs a redesign of the main board has failed at its only job.
What an adapter does
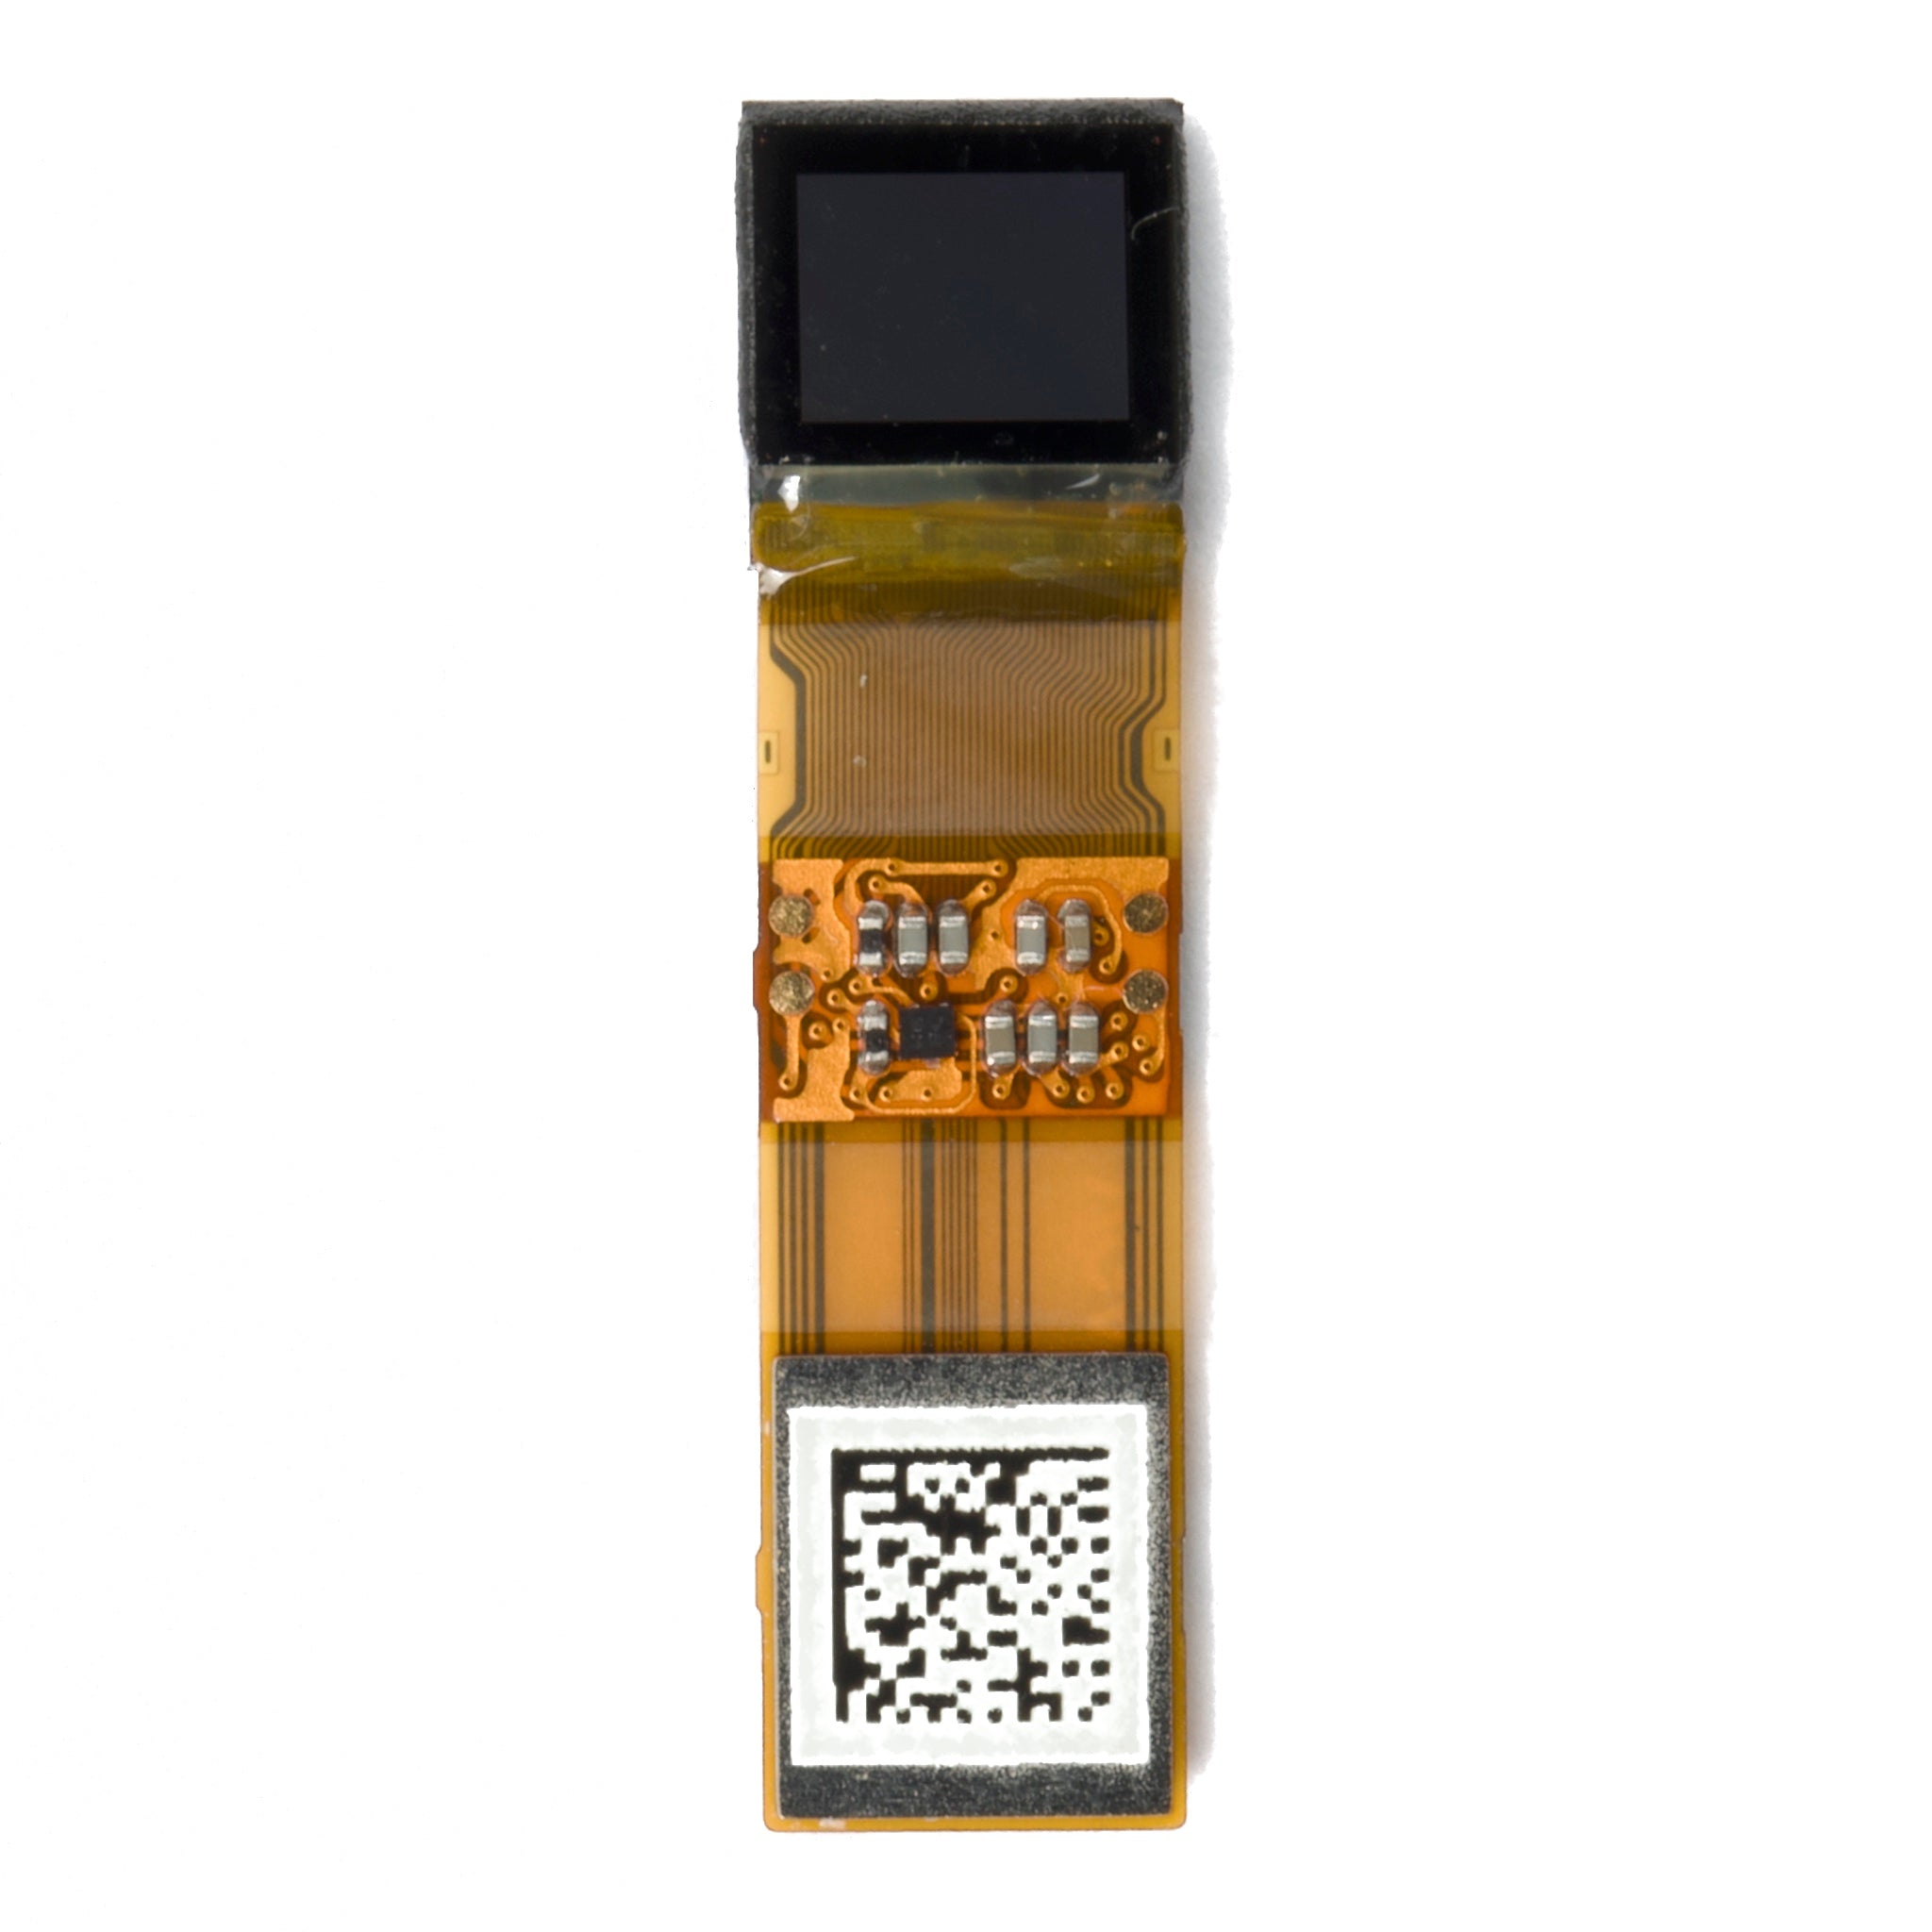
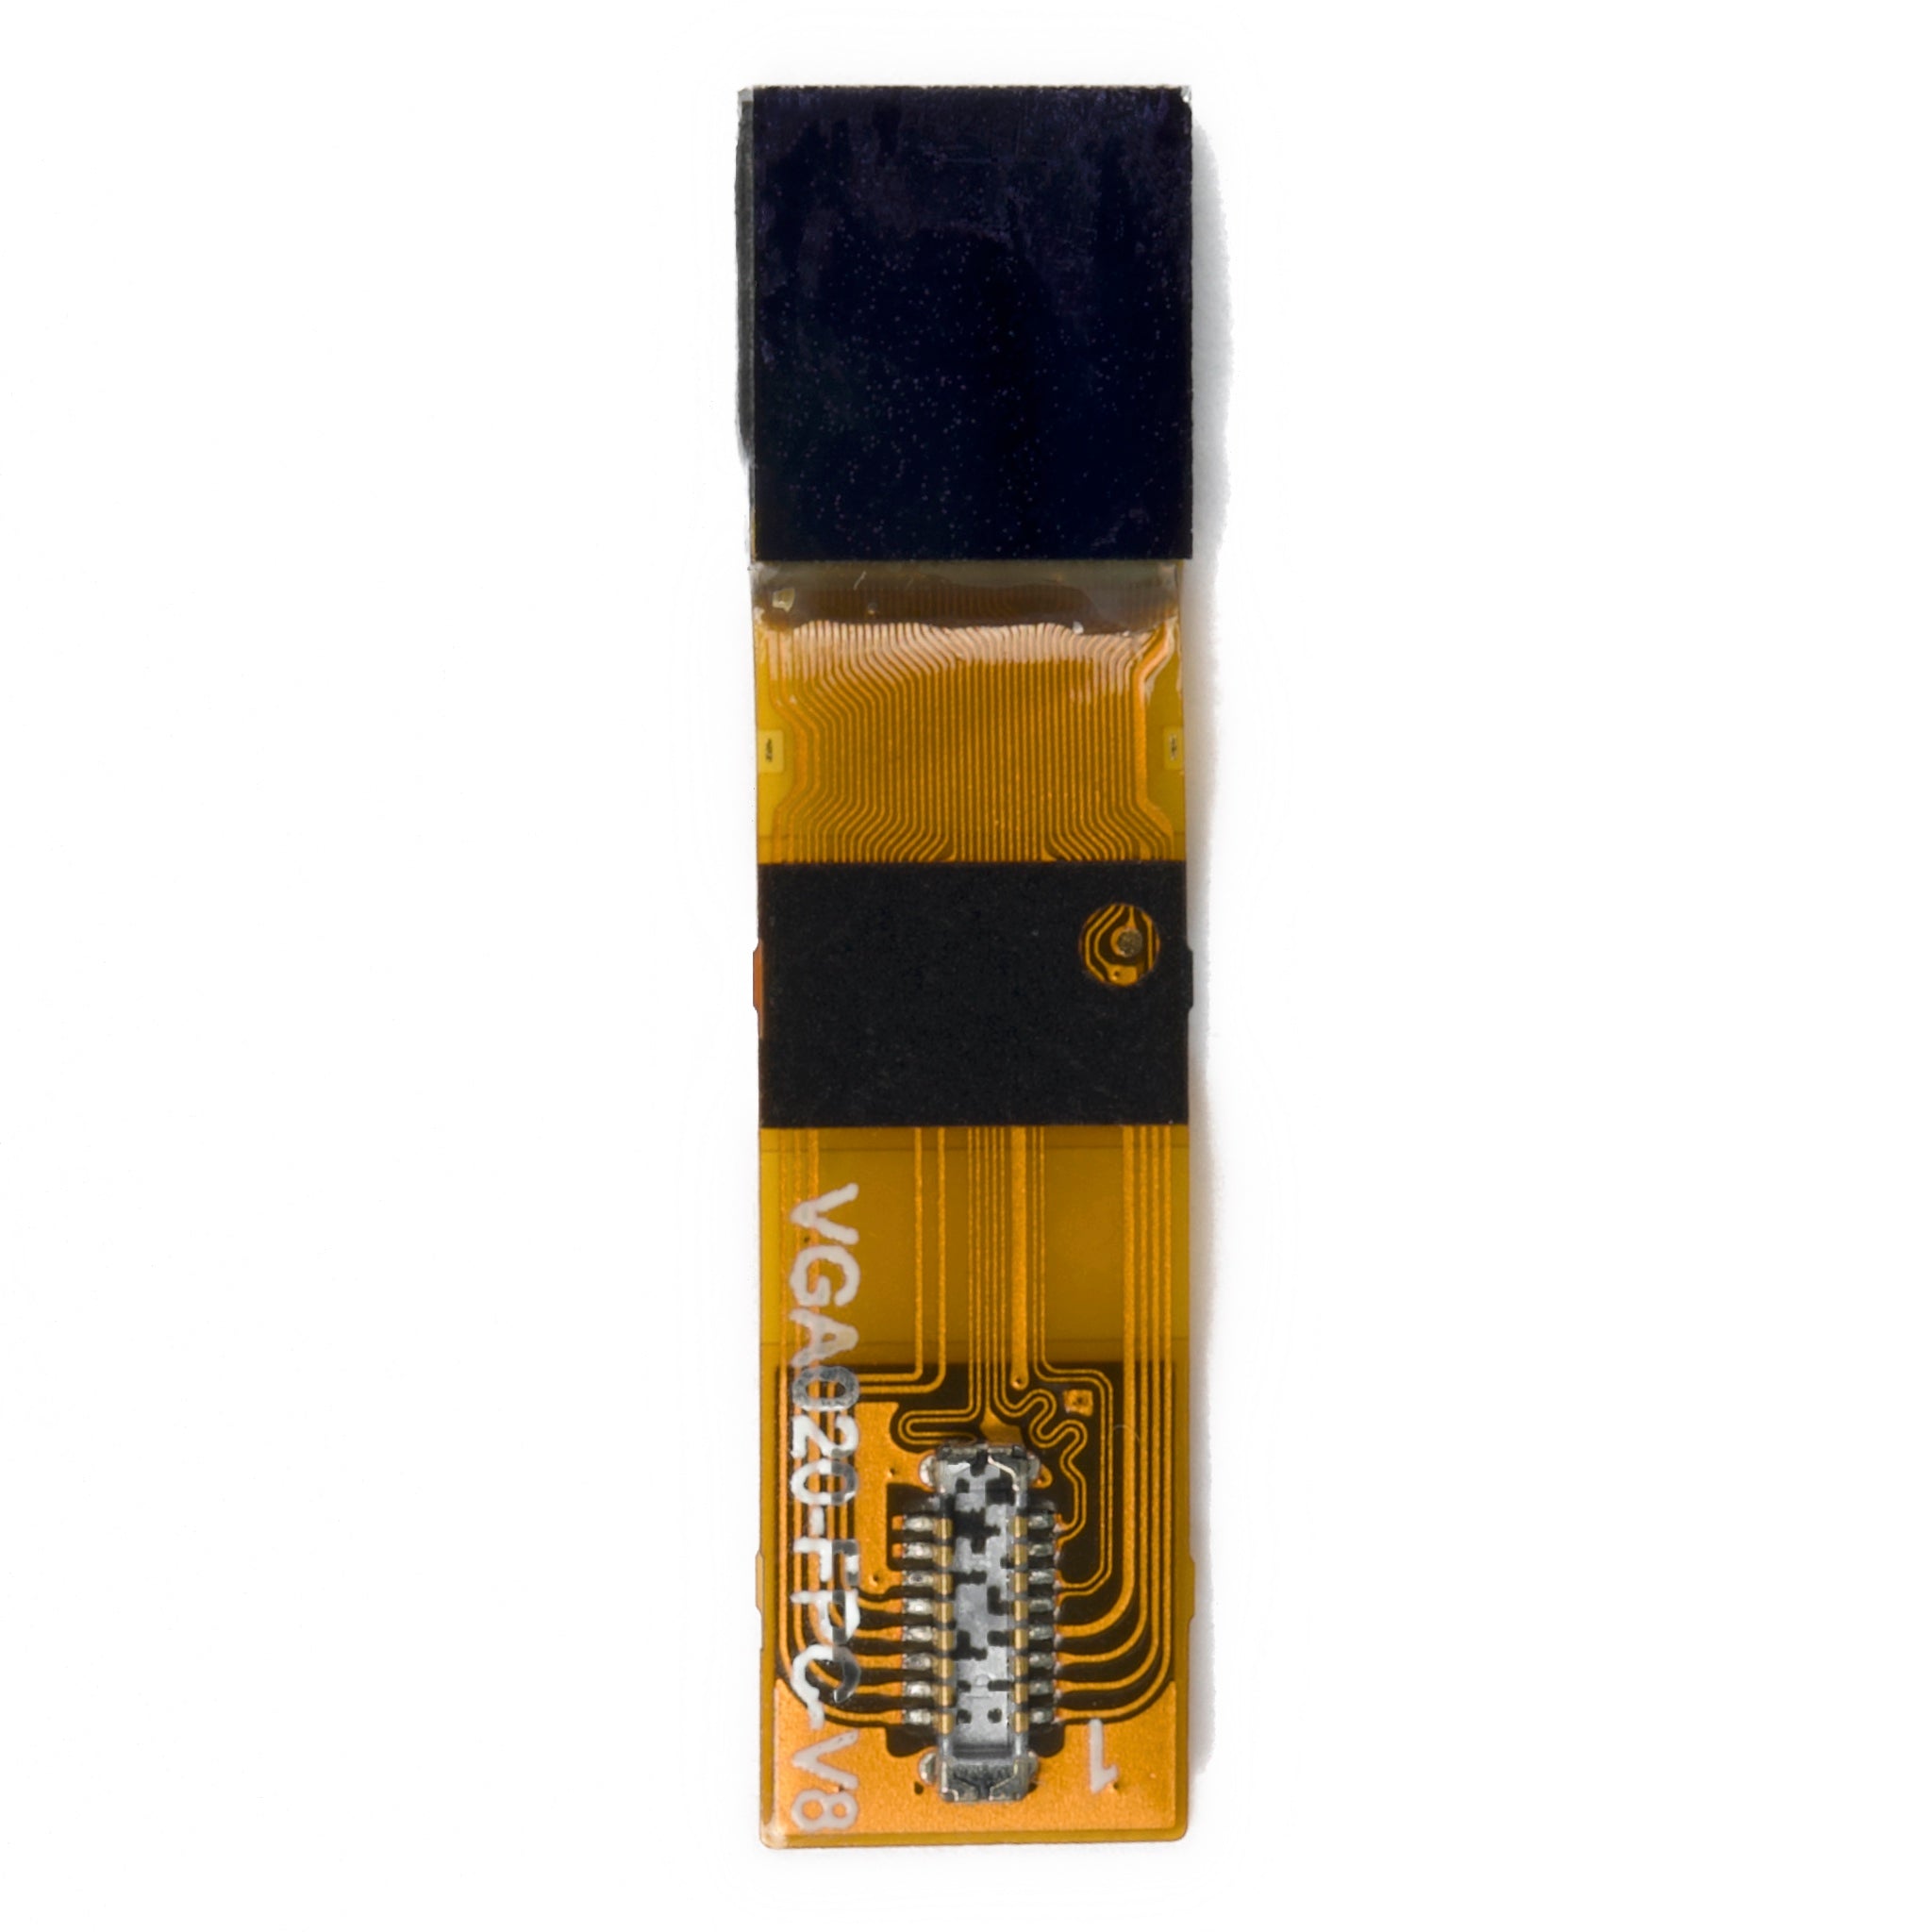
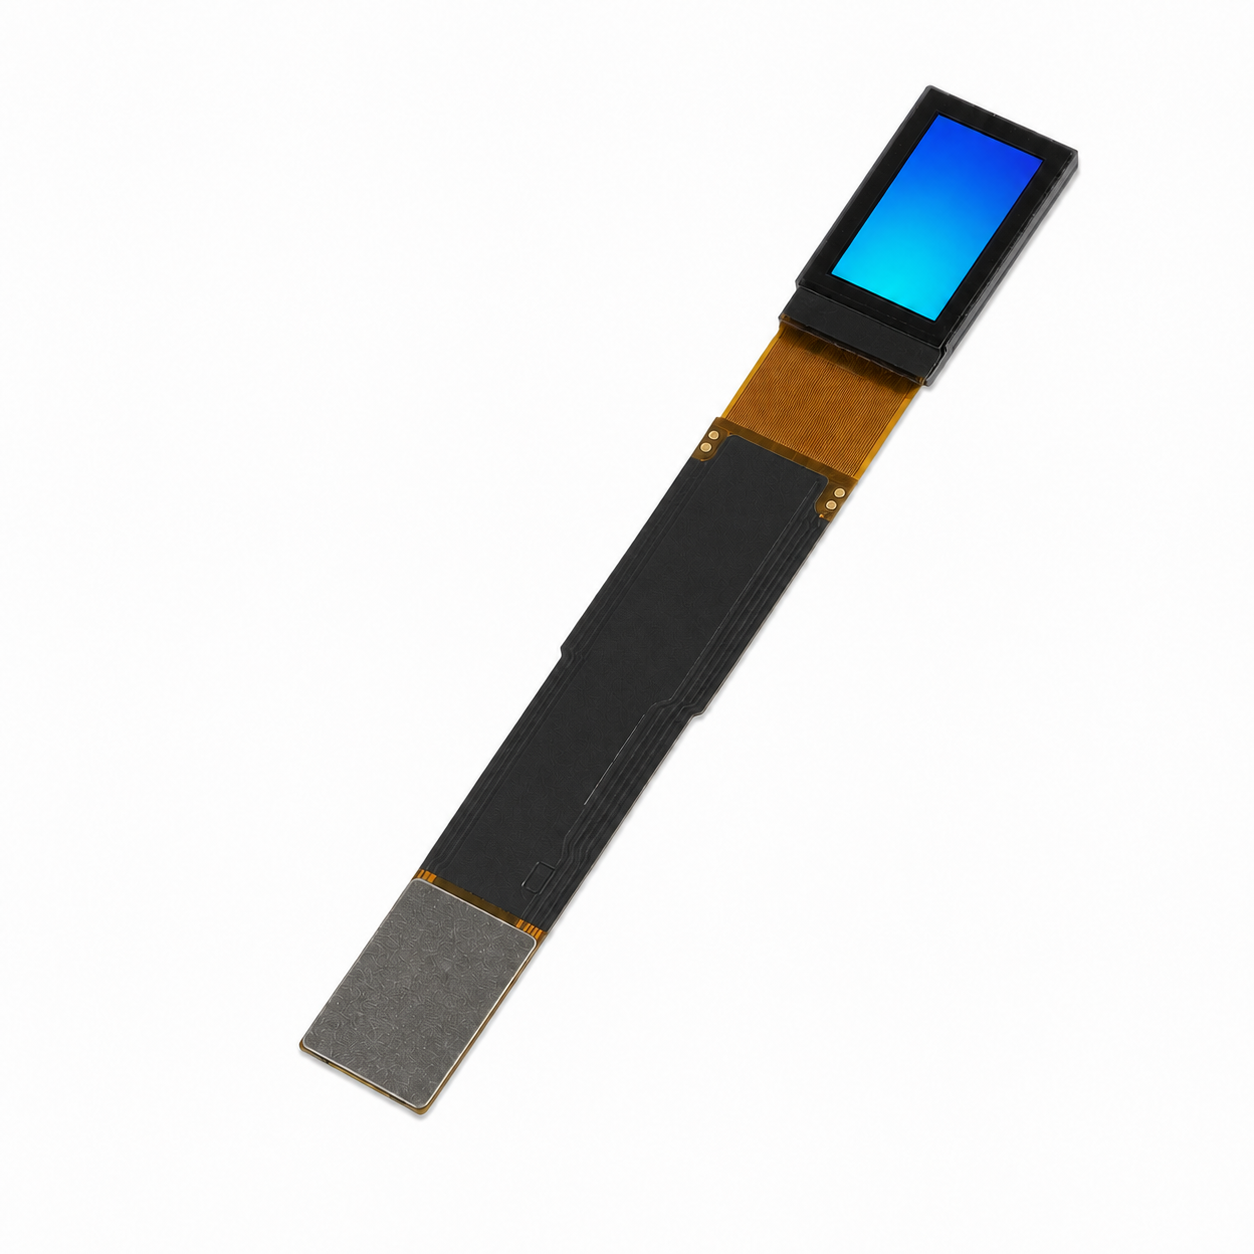
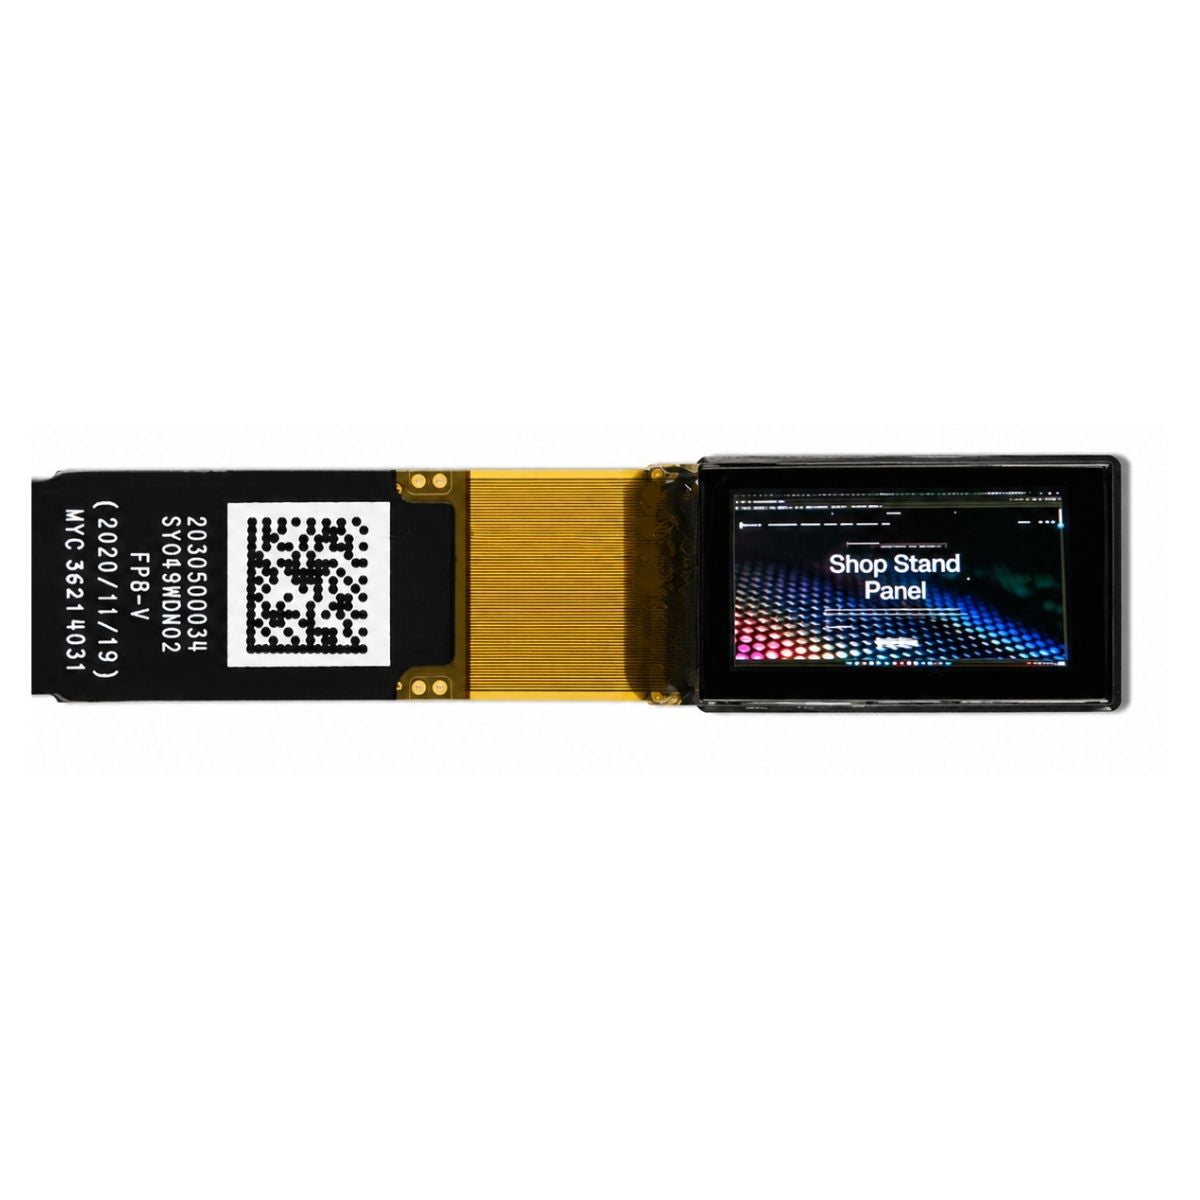
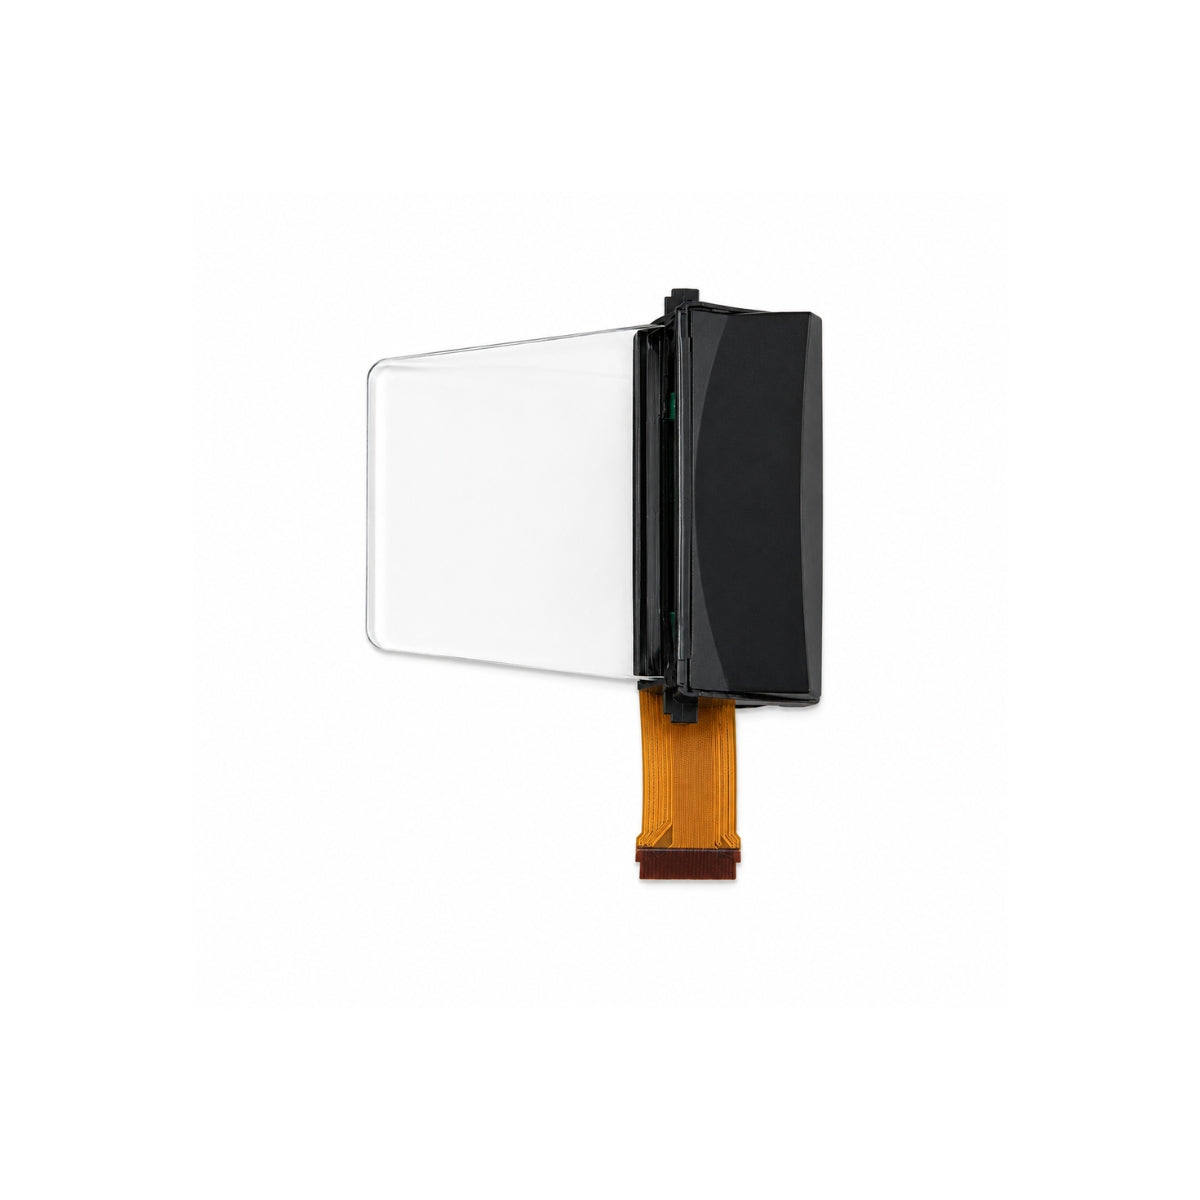
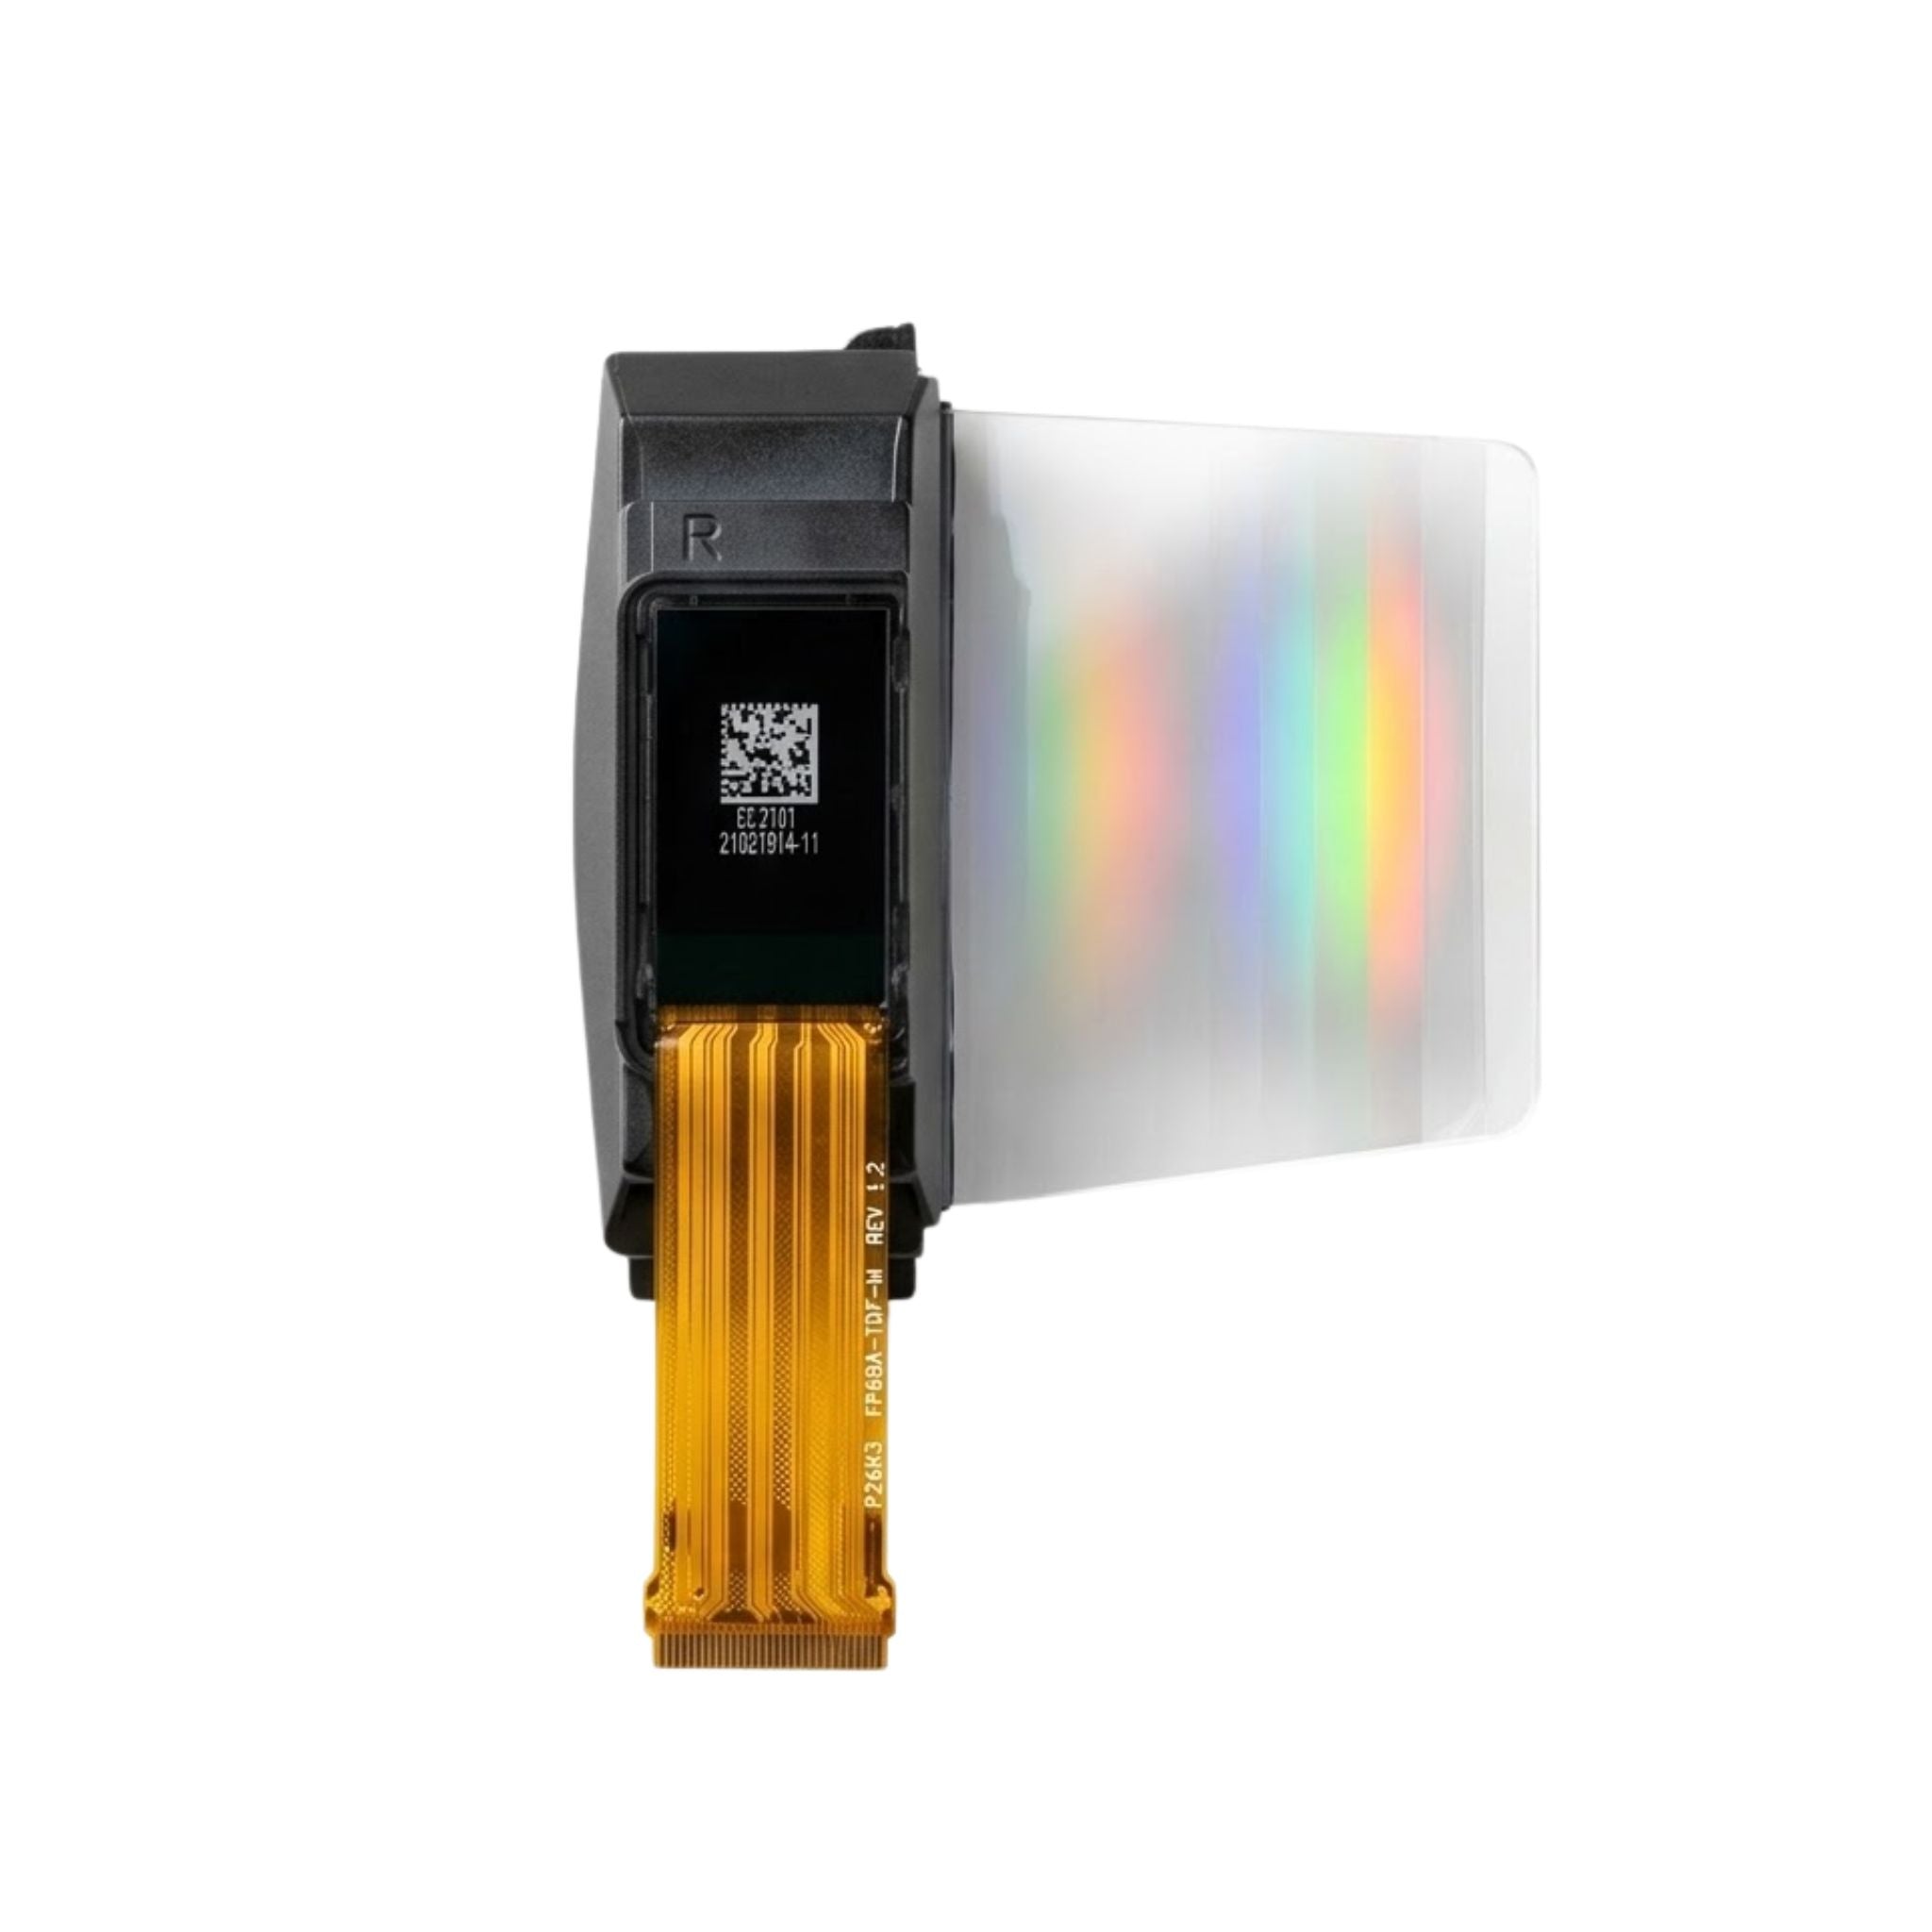
An adapter module pairs a display panel with a small board that carries the connector, the level shifting, the interface mode selection and often the backlight driver. It exists so a panel with a fixed flex and a fixed controller can be plugged into a host that was designed for something else.
That framing matters when comparing options. Two adapter modules with the same panel can differ entirely in the host-side experience: one expects 3.3 V logic and a hardware reset line, the other tolerates 5 V inputs, has an on-board charge pump and exposes a single connector.
Start with the host interface
Count what the host can spare before looking at panels. A 4-wire SPI link needs chip select, clock, data and a data/command line, plus reset if the adapter exposes it. I2C needs two lines and a free address. A parallel 8080 interface consumes a data bus and several control lines, which is fine on an MCU with an external memory interface and painful on a small package.
Then check whether the bandwidth actually fits the update rate you need. A 128x64 monochrome frame is 8,192 pixels, so one bit per pixel is 1,024 bytes before command overhead. At a 400 kHz I2C clock, that is roughly 20 ms of raw transfer, and the achievable frame rate lands well below the raw figure once addressing and control bytes are counted.
The same arithmetic on SPI is more forgiving, but only if the panel's controller supports the clock rate you plan to run. Write the requirement as a sentence with three numbers in it — frame rate, colour depth and bus clock — and the interface choice usually makes itself.
Checking the voltage plan
Logic level is the first trap. A 5 V host driving a 3.3 V panel directly forward-biases the driver's input protection, which shows up as heat first and failure later. Either the adapter provides level shifting, or the host needs a translator.
The second trap is the LCD or OLED supply. Graphic LCD controllers often need a negative contrast voltage and a boosted rail; some adapter boards generate these from the logic supply, some expect them from outside, and some provide the charge pump but leave the capacitors off the board.
Ask for a block diagram and a current budget at the panel's typical pattern, not a single maximum figure. A panel showing all pixels on draws far more than one showing a sparse menu, and the difference decides whether a small regulator survives.
Backlight and drive current
For a transmissive LCD, the backlight is usually the largest load on the adapter. Check whether the board includes a constant-current driver or only a series resistor, and whether brightness is set by a PWM input, an analogue voltage or a fixed string.
Dimming method has visible consequences. PWM keeps colour stable but can produce flicker or beat against a camera shutter at low duty cycles; analogue or hybrid schemes avoid that at the cost of colour shift at low levels. Neither is wrong, but the choice should be stated rather than discovered.
For an OLED panel there is no backlight, and the current follows the lit-pixel ratio instead. An adapter specified against a full-white OLED frame will look adequate and then behave differently on real content, so size the supply against a realistic pattern.

Reading the panel specification
Brightness and contrast figures are only comparable when the measurement conditions travel with them: drive current or duty cycle, measurement geometry, ambient conditions, and whether the value is a typical or a minimum.
ISO 9241-307 defines compliance routes for electronic visual displays on top of the measurement procedures in ISO 9241-305, and it is the reference to cite when a supplier claims a contrast ratio without saying how it was obtained[1].
Two habits catch most bad comparisons. First, a contrast figure quoted at a single on-axis point says nothing about off-axis behaviour, which is what a handheld product actually experiences. Second, a brightness figure quoted for a bare panel excludes the losses added by a cover glass, a touch sensor or an air gap, and those losses are usually the difference between a readable and an unreadable product outdoors.
Pinout and mechanical fit
Verify the connector, the pin order and the polarity from a dimensioned drawing, not from a table. Mirrored flex tails and swapped supply pins are the two errors that destroy a first prototype.
Then check the space the adapter needs. Board thickness, component height on the back, the position of the flex exit and the mounting holes all interact with the enclosure, and an adapter that fits electrically can still fail mechanically.
What to validate on arrival
Run four checks before design freeze. Power it from the intended rail at both tolerance extremes and measure current at a known pattern. Exercise the full initialisation sequence, including the reset timing the controller requires. Display a test pattern that covers every pixel and every grey level the product will use, and inspect for stuck lines and uniformity.
Finally, run it at the temperature extremes of the target application for long enough to see contrast drift. A module that behaves at room temperature and washes out in a cold start is a specification problem, not a defective unit.
Supplier checks
Ask which controller the adapter is built around and whether the driver code is available. Ask whether the adapter board or the panel can be changed independently, since that determines the cost of a revision. Ask what the minimum order is for a custom pinout.
Then ask for the failure data: what the return rate has been, and what the most common cause was. A supplier that can answer this is monitoring its own process.
Our adapter modules are built to this checklist, and the same interface work applies across our OLED and TFT ranges.
The right adapter disappears into the design: one connector, one rail, a documented interface and a pinout that matches the board. Judge candidates on the problems they remove, and the panel comparison becomes the easy part.
References
- ISO 9241-307:2008 — Ergonomics of human-system interaction — Part 307: Analysis and compliance test methods for electronic visual displays. International Organization for Standardization. https://www.iso.org/standard/40102.html
Read more

Customization requires first locking down the FPC shape and interface, with a prototyping cycle of about 15 days. During mass production, ACF thermal.
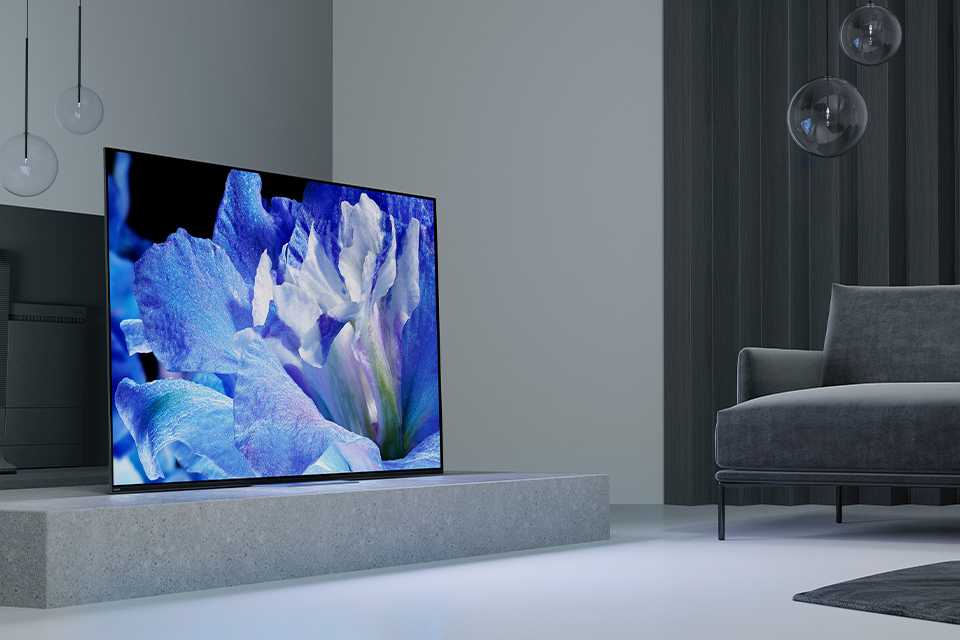
OLED relies on self-emission from organic layers, with a thickness of approximately 1mm. It features a 1,000,000:1 contrast ratio, a response time of.
Leave a comment
This site is protected by hCaptcha and the hCaptcha Privacy Policy and Terms of Service apply.