

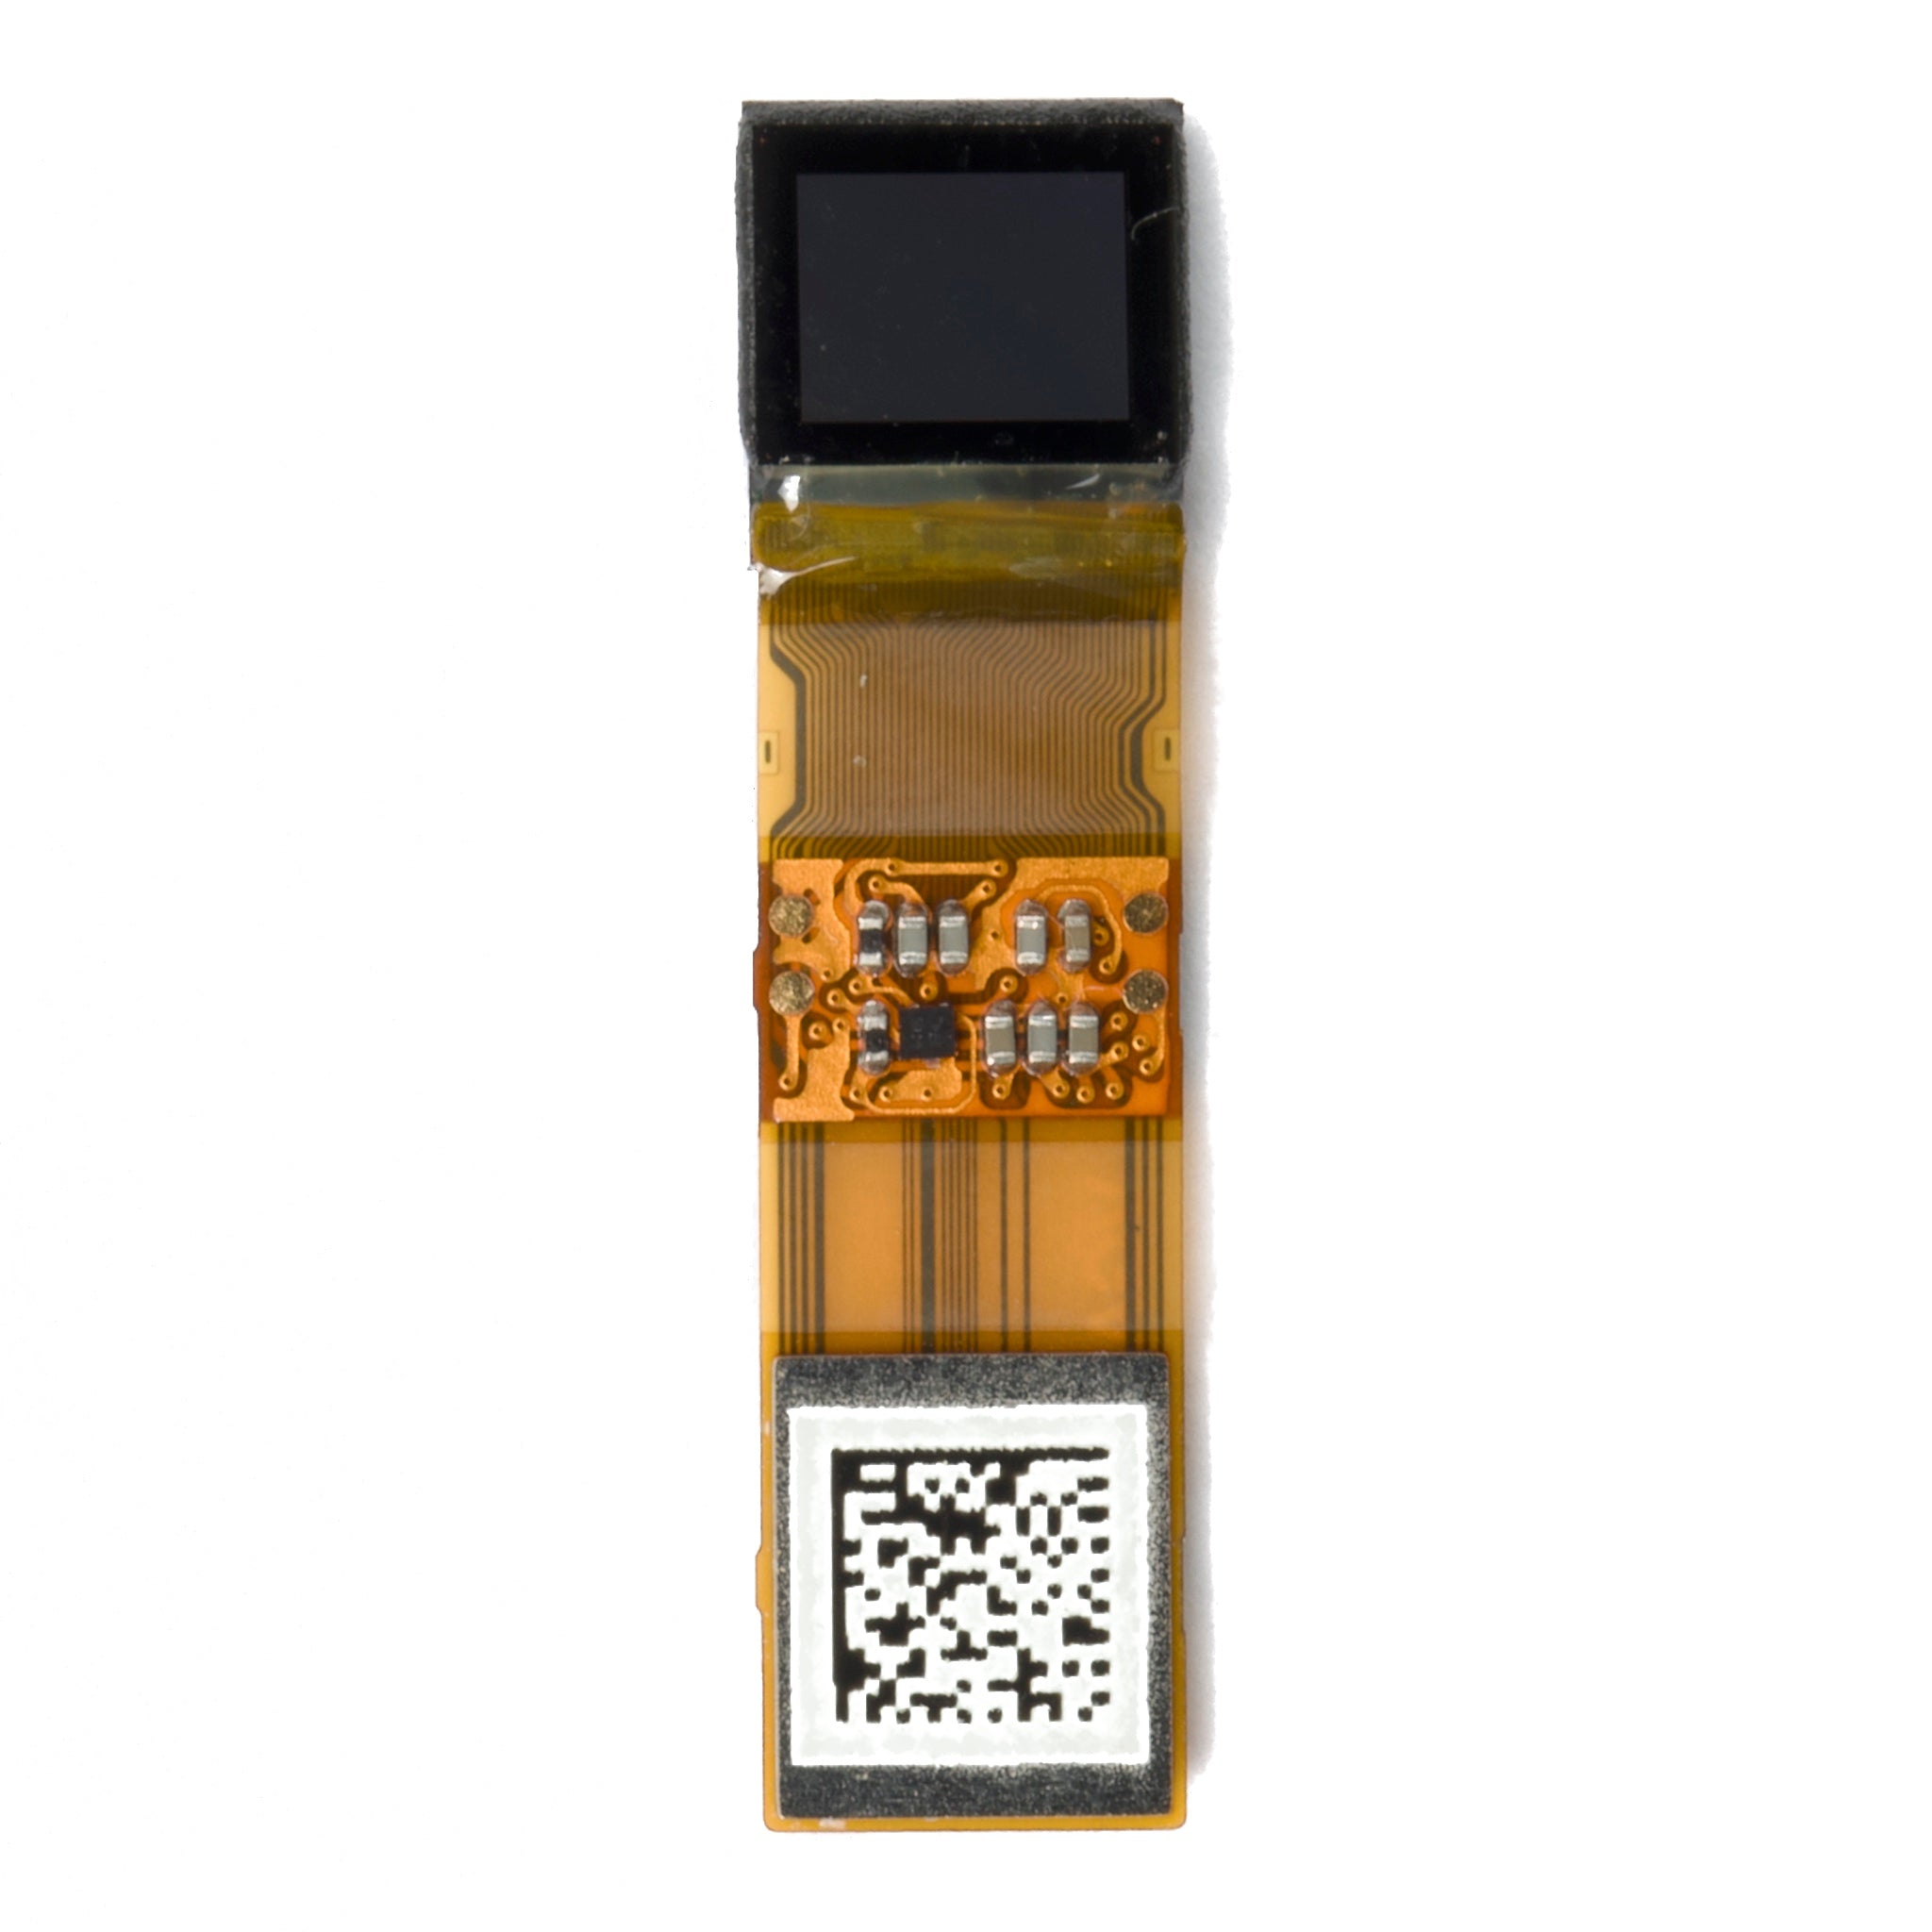
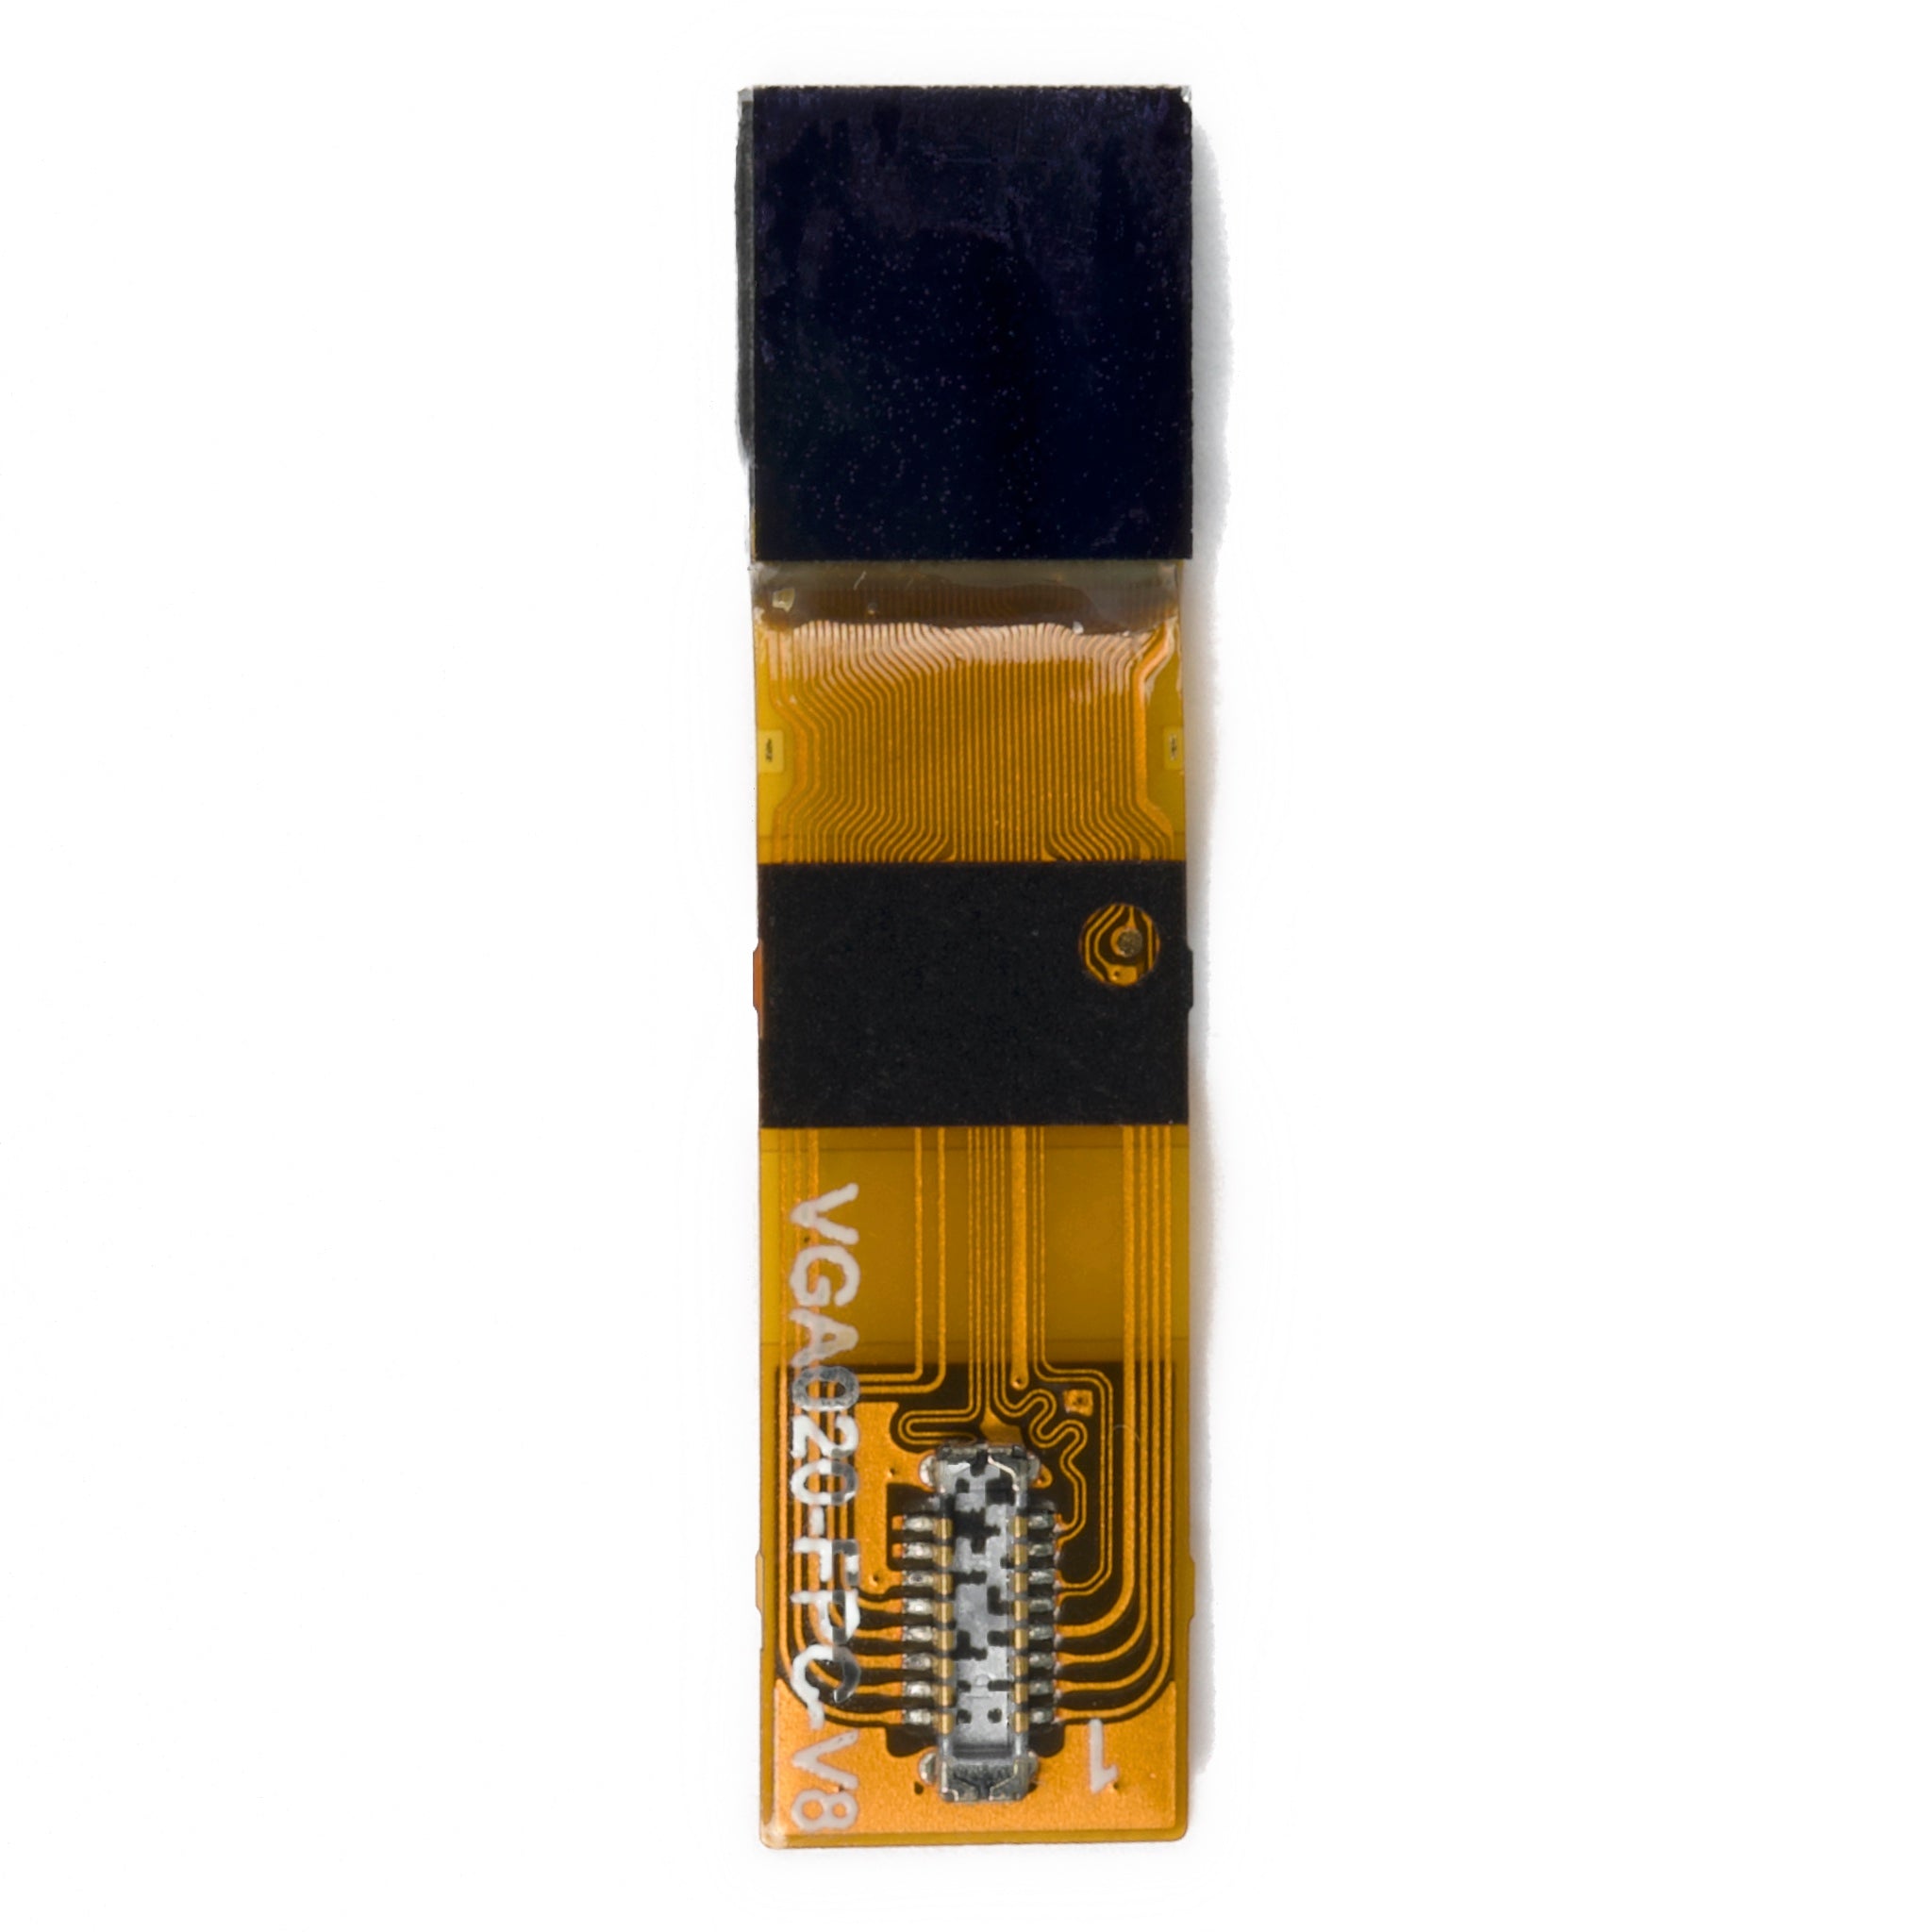
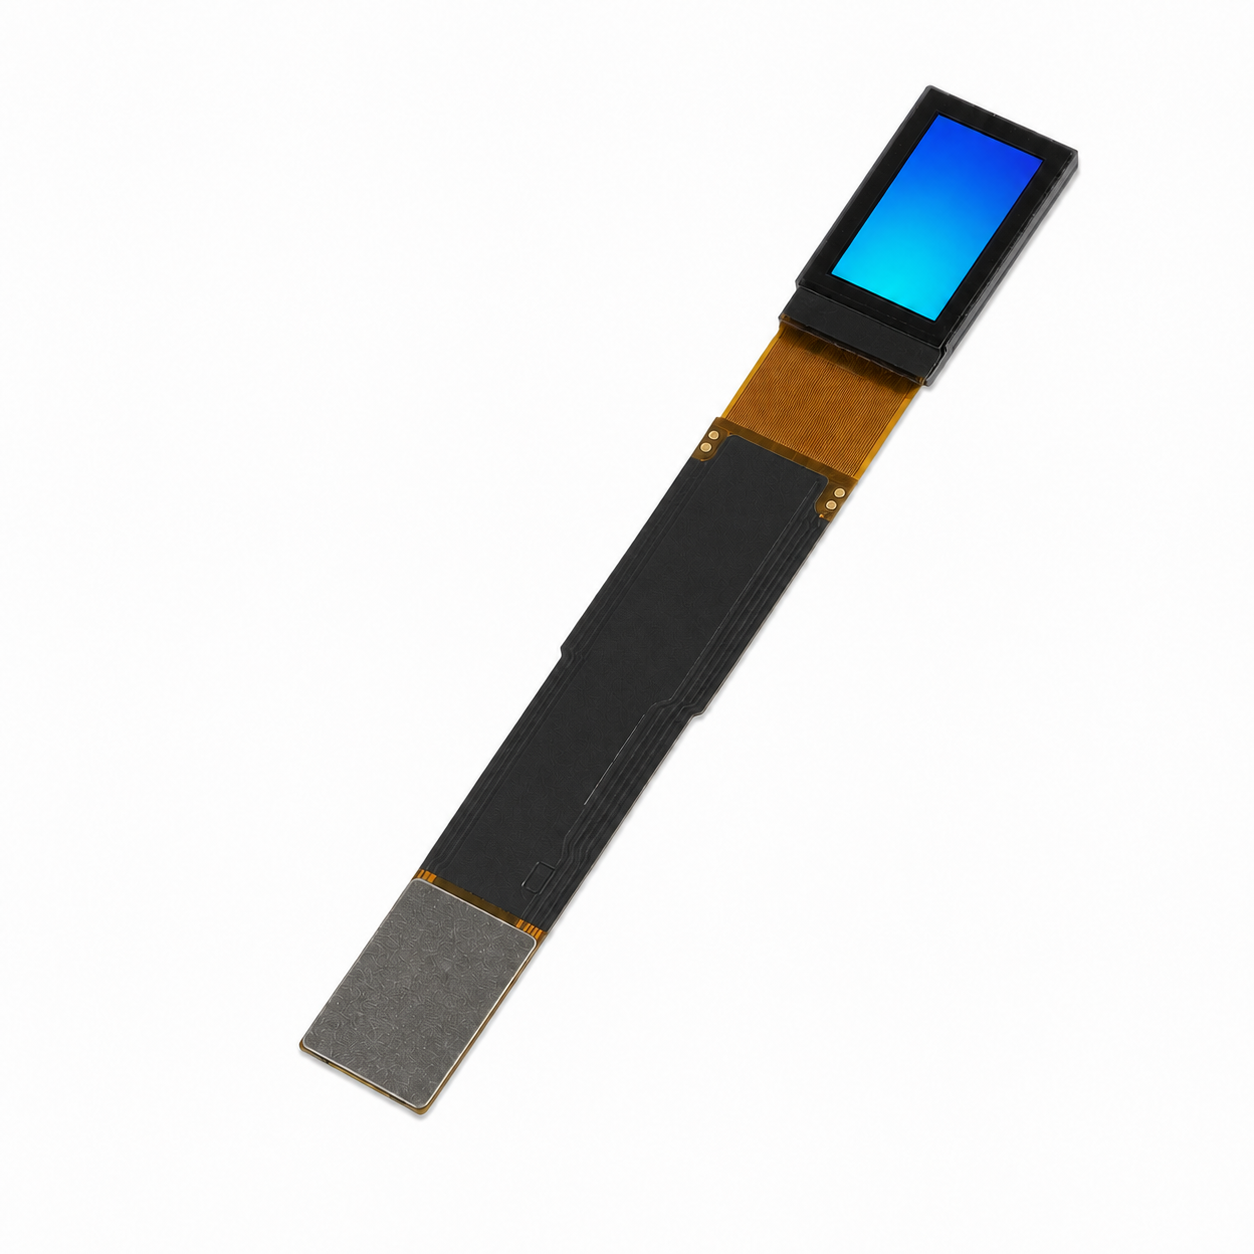
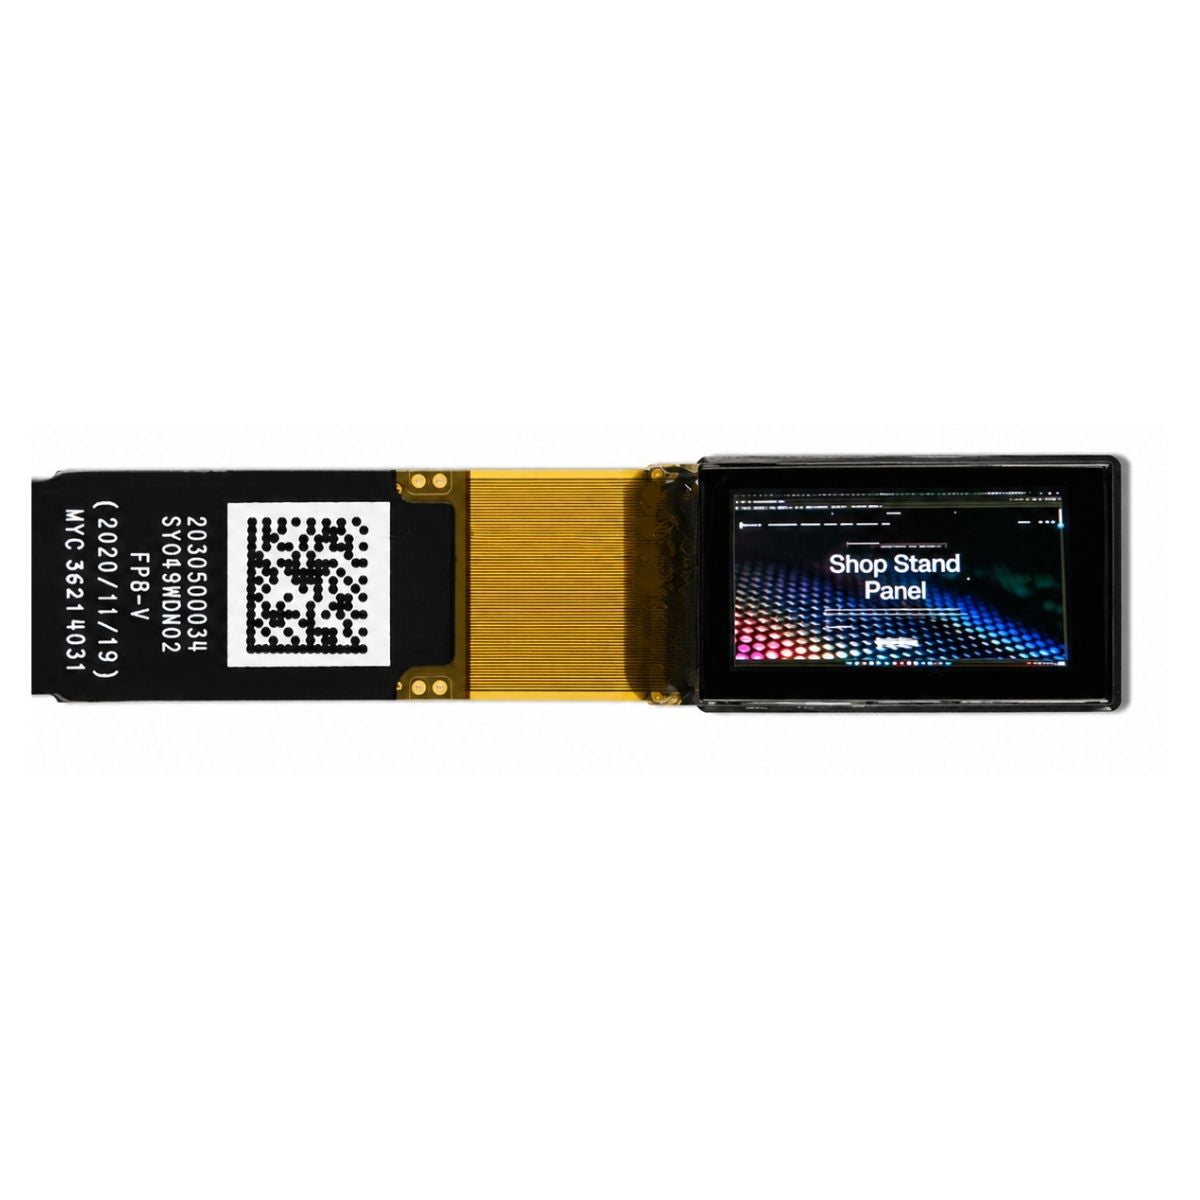
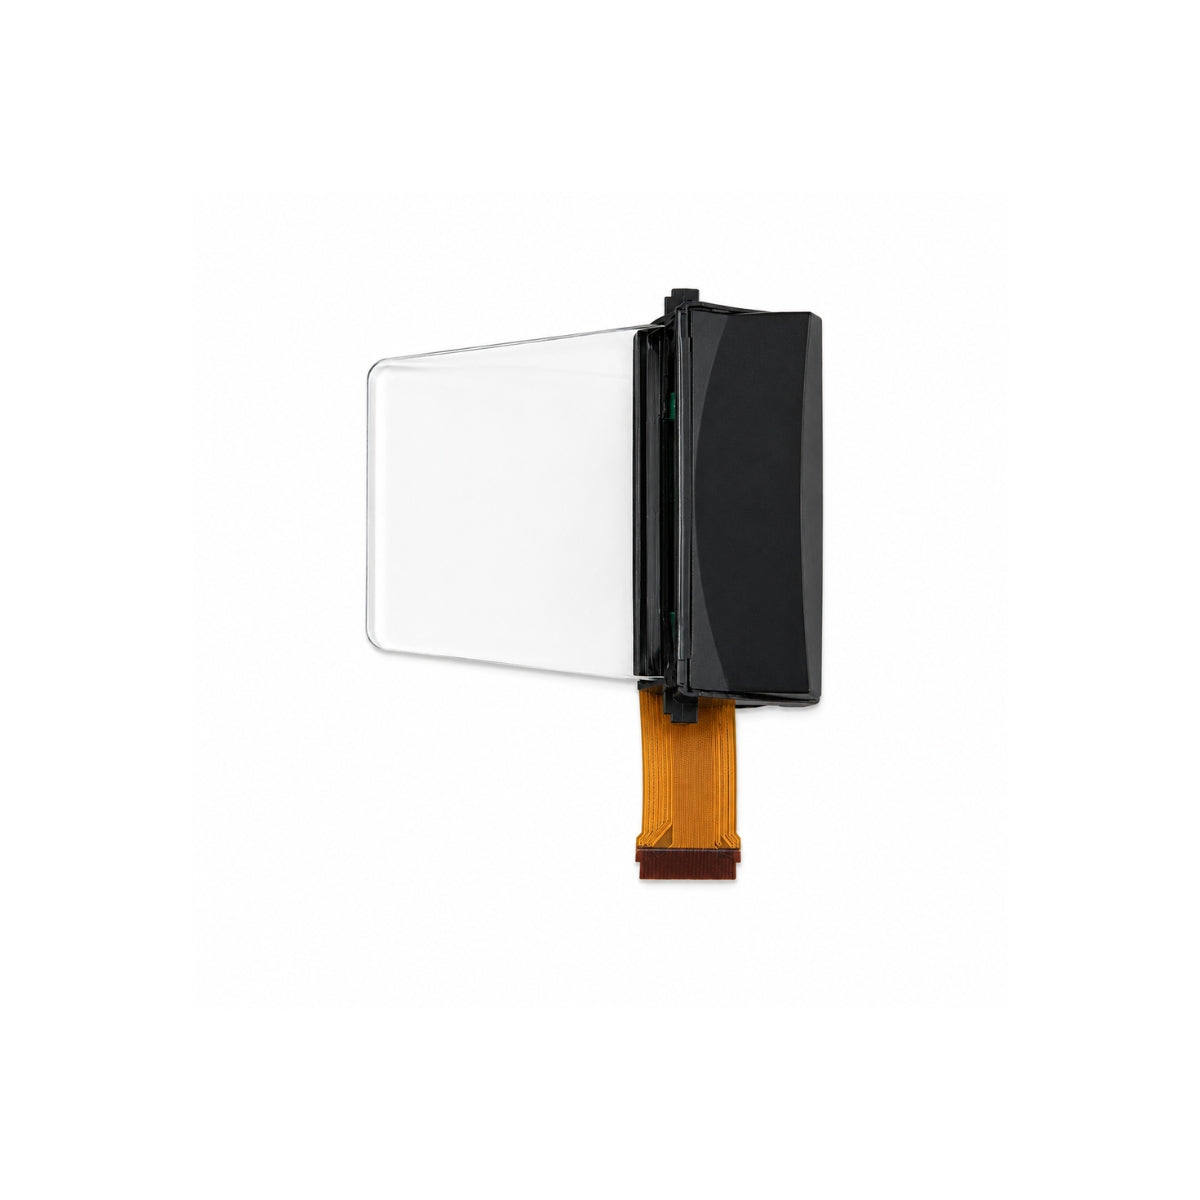
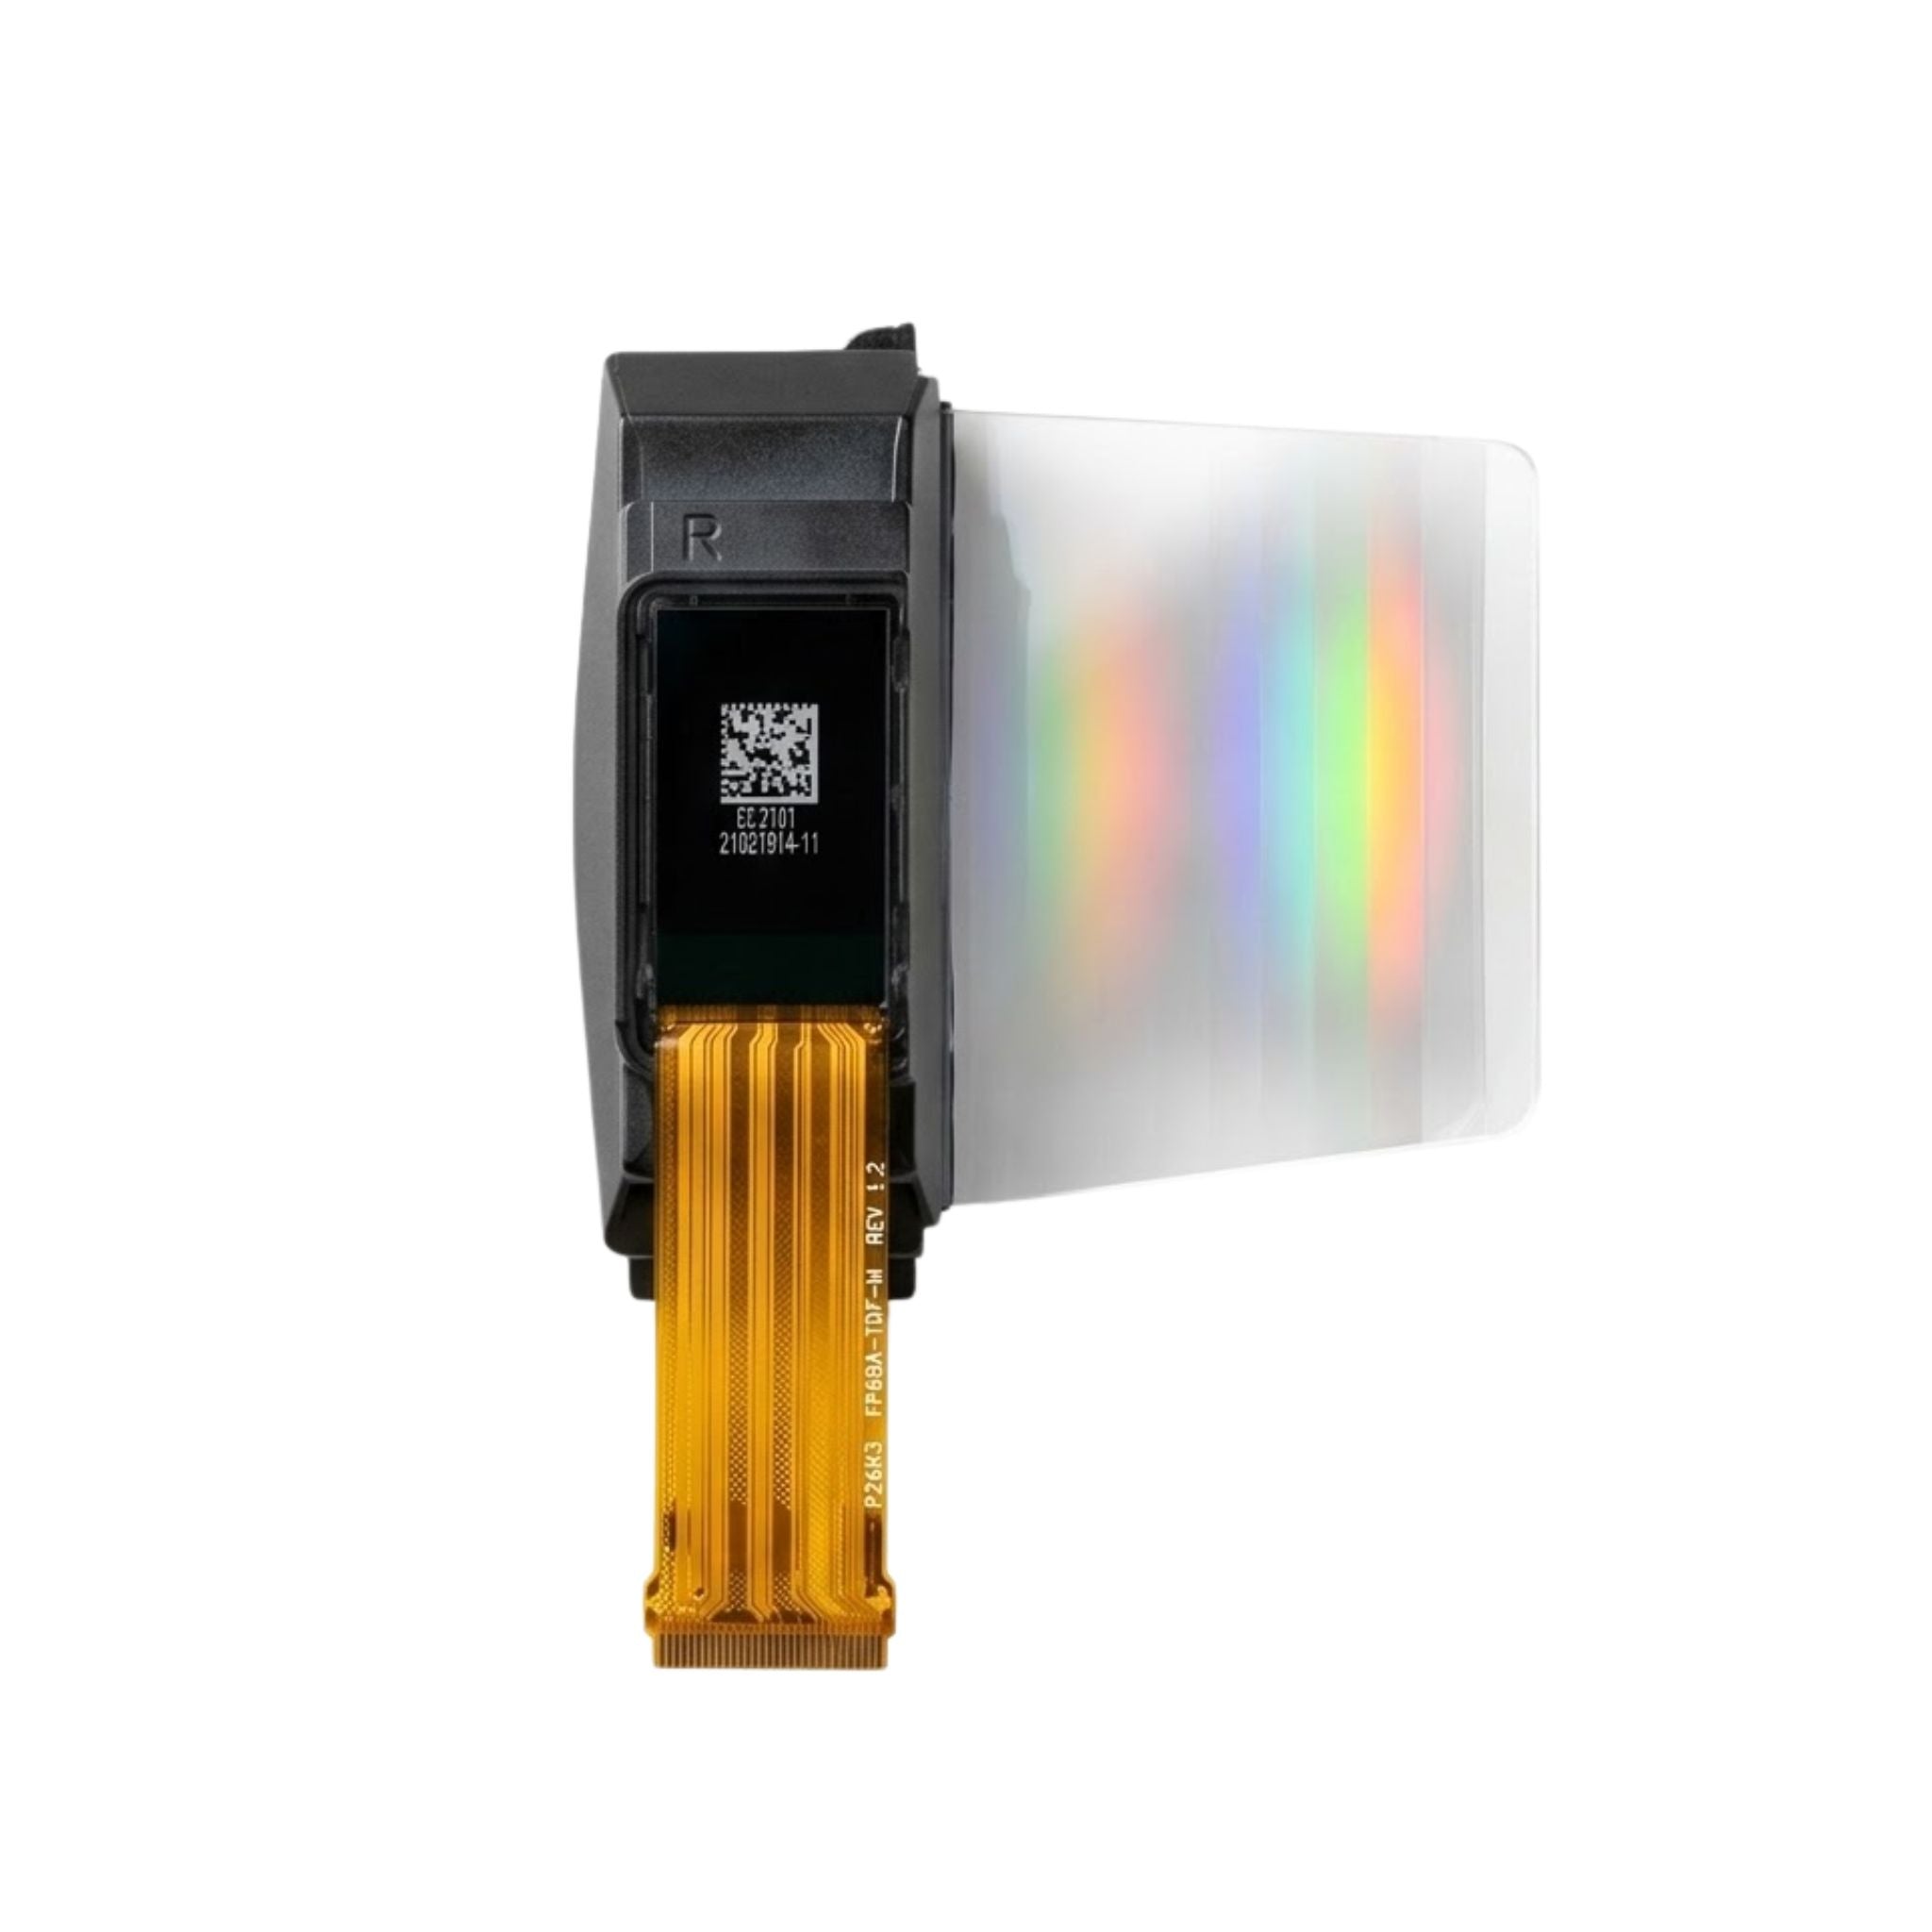


Yes, you can swap one DSI panel for another, but not simply because both have the same size or connector. A drop-in replacement must work with the host's existing pinout, power supplies, lane configuration, display mode, timing, and initialization software. A different mipi dsi display may still work after driver or hardware changes, but that is an integration project rather than a direct swap. Check touch separately if it is part of the assembly.
DSI-2 defines a processor-to-display interface, not a universal replacement connector.[1] This guide focuses on conventional forwarded-clock D-PHY links, which use a dedicated clock lane alongside data lanes; confirm the physical interface before comparing panels.[2]
Why swaps often fail
A connector can fit while its power pins and differential pairs land in the wrong places. Even with compatible wiring, the host must support the replacement's link settings and panel setup. The overview of MIPI DSI explains the lane and mode terminology used in those checks.
MIPI DCS standardizes display commands, but that does not make every panel's initialization sequence interchangeable. Use the replacement manufacturer's instructions for any controller-specific register writes, supply settings, and delays.[3]
If the available host output is SPI, RGB, or LVDS rather than DSI, direct connection is not an option. Use the comparison of common display interfaces to identify the interface before considering a suitable bridge.
What must match for a swap
Compare the old panel, replacement panel, and host documentation. These seven checks separate a drop-in replacement from a redesign.
| Area | Compare | If wrong |
|---|---|---|
| Connection | Connector, pinout, mechanics | Damage risk, no image, strained cable, poor fit |
| Lanes | Lane count, rate, order, polarity | Black screen, noise, tearing |
| Power | Rails, sequence, reset, backlight | Damage risk or dead panel |
| Mode | Video vs command, TE, partial update | Wrong refresh, extra driver work |
| Timing | Resolution, porch, sync, pixel format | Shifted, cropped, or unstable image |
| Software | Init table, device tree, driver entry | No image despite correct wiring |
| Touch | Controller, interface, cover glass | Image fine, touch dead |
Connector and mechanics
The check starts at the flex cable: connector part number, pin count, pitch, and contact direction. Power, ground, reset, backlight, touch, and DSI pairs can sit on different pins even when two connectors look alike.
Mechanical fit matters just as much. Outline size, thickness, mounting holes, connector position, cable length, active-area position, and viewing direction decide the result. A strained cable, a reversed connector, a short cord, or a cover lens that hides the edge will ruin an otherwise compatible panel.
The pin-compatible replacement guide explains the general comparison process. For DSI, pin compatibility is only the starting point: link configuration and panel initialization must also work with the host.
Lanes and speed
For a conventional D-PHY DSI link, compare the supported one-to-four-data-lane configuration, lane order, polarity, and operating bit-rate range. A four-lane-capable host can serve a two-lane panel only if its hardware and driver support that configuration and the required pairs are routed correctly.
Do not use a specification ceiling as your board's supported speed. MIPI lists 9 Gbps for D-PHY v3.0's standard channel and 11 Gbps for its short channel; those figures do not establish compatibility for a particular host and panel.[4] Choose an operating rate within both devices' supported ranges, with enough capacity for the selected display mode.
Incorrect lane wiring can prevent a usable image, but a black screen does not identify the faulty pair by itself. The MIPI DSI black screen guide provides a structured check of power, reset, lane mapping, and commands.
Power and reset
Wrong power wiring can damage the panel or host. Check every rail before connecting the replacement, not only the logic voltage.
An LCD assembly may need panel supplies and a separately controlled LED backlight. An OLED has no backlight, but its logic and emission-supply requirements still need checking. Some modules generate supplies internally; others require them from the host.
Stay within the specified operating voltage and current requirements, not merely below absolute-maximum ratings. Follow the manufacturer's power-on and power-off order, reset polarity, pulse widths, and delays. Confirm that the host can provide those sequences as well as the required backlight drive where fitted.
Display mode
Check whether the replacement uses video mode, command mode, or both. Video mode streams image data from the host; command-mode operation uses command-based image updates. Do not assume that the existing host driver can switch between them just because the cable fits.
Confirm the supported video-mode variant, clock behavior, and any tearing-effect (TE) signal or partial-update requirements. A command-mode panel may use local frame memory; its update and refresh behavior must come from its own documentation, not from a general DSI label.
Resolution and timing
Size does not determine bandwidth. For uncompressed 24-bit RGB at 60 frames per second, calculate the active-pixel payload as width x height x 24 x 60.
| Frame at 60 fps, 24-bit | Bits per frame | Raw stream |
|---|---|---|
| 720 x 1280 | About 22.1 million | About 1.33 Gbps |
| 1080 x 1920 | About 49.8 million | About 2.99 Gbps, roughly 2.25 times the smaller frame |
These are calculated active-pixel payloads, not measured link rates. At the same frame rate and bit depth, the larger frame contains 2.25 times as much data. Actual link requirements also depend on packet overhead, blanking and transmission mode; compression, if supported and enabled at both ends, changes the calculation.
For illustration, dividing 2.986 Gbps across four lanes gives about 0.746 Gbps per lane before overhead. That is a lower-bound payload estimate, not a lane-clock setting. Check the host's timing calculation against the replacement's resolution, porch and sync values, frame rate, and pixel format.
Init code and driver
A dark screen can result from initialization, lane configuration, timing, reset, or power faults. Correct size and connector fit do not isolate the cause. Obtain the replacement's initialization sequence and check the register writes, delays, sleep-out, and display-on order rather than copying the old panel's table.
Linux represents a DSI message with separate channel, packet-type, flags, and transmit/receive-length fields. Matching payload bytes alone is therefore not a complete transfer check.[5]
Devicetree describes hardware to software; it does not automatically supply the correct initialization sequence for a new panel.[6] On a Linux host, confirm that the panel driver and any required device-tree binding or overlay support the replacement. Lane count, mode, timing, reset control, and power sequencing may be handled in different places depending on the driver. Locked firmware can prevent an otherwise feasible swap.
Touch assembly
A working image does not prove that touch is compatible. Check the touch controller, host interface, interrupt and reset pins, firmware or driver support, and coordinate orientation. If touch uses I2C, verify its address and electrical requirements separately; I2C uses SDA and SCL signal lines.[7] The bus specification does not establish compatibility with a particular touch controller.
When a swap works
Classify the replacement before ordering or applying power.
| Outcome | Condition | What to do |
|---|---|---|
| Drop-in candidate | Mechanical and electrical requirements fit; existing host settings and initialization support the panel | Validate without configuration changes; an identical part number is helpful but not the only route |
| Possible with changes | Host can meet the new requirements, but wiring, supplies, timing, or software need changes | Document the changes and validate the complete assembly |
| Not feasible with the present host | A required mode, rate, supply, or software change is unavailable, or essential panel documentation is missing | Select a supported panel or evaluate a compatible bridge solution |
A different part number is not automatically incompatible, and a matching controller name is not proof of compatibility. Judge the complete module and the available host configuration, then validate the candidate.
Safe swap test steps
Do not start by plugging the new panel into your only working board and hoping for the best.
- Build a side-by-side table from old and new datasheets using the compatibility rows above. Record exact part numbers and revisions, source pages, and unresolved differences. Treat an unknown power pin or missing initialization sequence as a reason to stop, not a value to guess.
- Check the host side next: connector wiring, supported lane count and speed, supported mode, available driver, reset and enable GPIOs, and backlight driver range. This what is MIPI DSI explainer covers the lane and high-speed/low-power details your host check needs.
- Power down before changing the cable. Once the pinout and supply design are verified, follow the specified power sequence and check rail levels with suitable equipment. Use an oscilloscope where needed to verify reset pulses and sequencing delays; a meter alone cannot establish pulse timing.
- Load the correct configuration and display known patterns: white, black, gray steps, and primary colors. Check orientation, cropping, flicker, and color order. Test touch, backlight dimming where fitted, repeated cold starts, and sleep/wake. Record the host model, software version, configuration changes, and observed results.
Power and reset faults come before software tuning. Lane-mapping and timing faults come before color tuning.
Symptoms overlap: a black screen or unstable image can have several causes. Change one verified setting at a time and keep the test record, rather than treating a symptom as proof that a specific register is wrong.
A documented driver example
The Linux v6.12 driver for the original Raspberry Pi 7-inch touchscreen documents why software support matters. It describes an LCD assembly with a Toshiba DSI-to-DPI bridge and an I2C-connected controller for power and backlight control. The code defines an 800 x 480 mode, configures one DSI data lane with RGB888 video-mode operation, and implements a specific power-up and register-write sequence.[8]
This is a published implementation, not a test of your replacement. Its practical lesson is to obtain the complete configuration and startup sequence, not merely a claim that the panel is DSI-compatible. For your own assembly, keep the same kinds of details alongside the measured rail levels and test-pattern results.
Matched panel or adapter
When choosing a matched panel, ask for compatibility evidence tied to your host rather than relying on size or controller family. Request the exact part number and suffix, connector drawing, power sequence, lane and timing configuration, and a driver example for the board.
A bridge must convert in the required direction. An HDMI-output host needs an HDMI-input, DSI-output solution, not a DSI-to-HDMI board. The HDMI to MIPI adapter approach also requires support for the chosen panel's mode, initialization, power, and timing. A passive cable cannot perform protocol conversion, and a bridge does not automatically solve touch compatibility.
For a custom product, share host model, operating system and kernel version where applicable, connector drawing, available rails, target size and resolution, brightness needs, touch needs, operating temperature, and expected volume with the supplier.
Swapping to a different DSI panel? Send the host model, connector drawing, and target size for a matched-panel check.
Include power rails, lane setup, display mode, timing, and touch needs so the match covers wiring, power, and software.
Get a matched-panel checkBottom line for your swap
A DSI panel swap is possible when the replacement and host are compatible as a complete system. If the existing hardware and software already meet the requirements, validate it as a drop-in candidate. If they do not, establish whether the needed changes are supported before buying the panel. Choose a matched panel or a panel-specific bridge solution when the current host cannot meet those requirements.
Sources
- MIPI Alliance, Display Serial Interface 2 specification page. https://www.mipi.org/specifications/dsi-2
- MIPI Alliance, D-PHY group page. https://www.mipi.org/groups/d-phy
- MIPI Alliance, Display Command Set specification page. https://www.mipi.org/specifications/display-command-set
- MIPI Alliance, D-PHY specification page. https://www.mipi.org/specifications/d-phy
- Linux kernel documentation, DRM KMS helpers. https://docs.kernel.org/gpu/drm-kms-helpers.html
- Devicetree.org, Devicetree Specification. https://www.devicetree.org/specifications/
- NXP Semiconductors, UM10204 I2C-bus specification and user manual. https://www.nxp.com/docs/en/user-guide/UM10204.pdf
- Linux kernel v6.12, Raspberry Pi 7-inch touchscreen panel driver, official upstream implementation. Driver source. Accessed November 6, 2026.
Leave a comment
This site is protected by hCaptcha and the hCaptcha Privacy Policy and Terms of Service apply.