

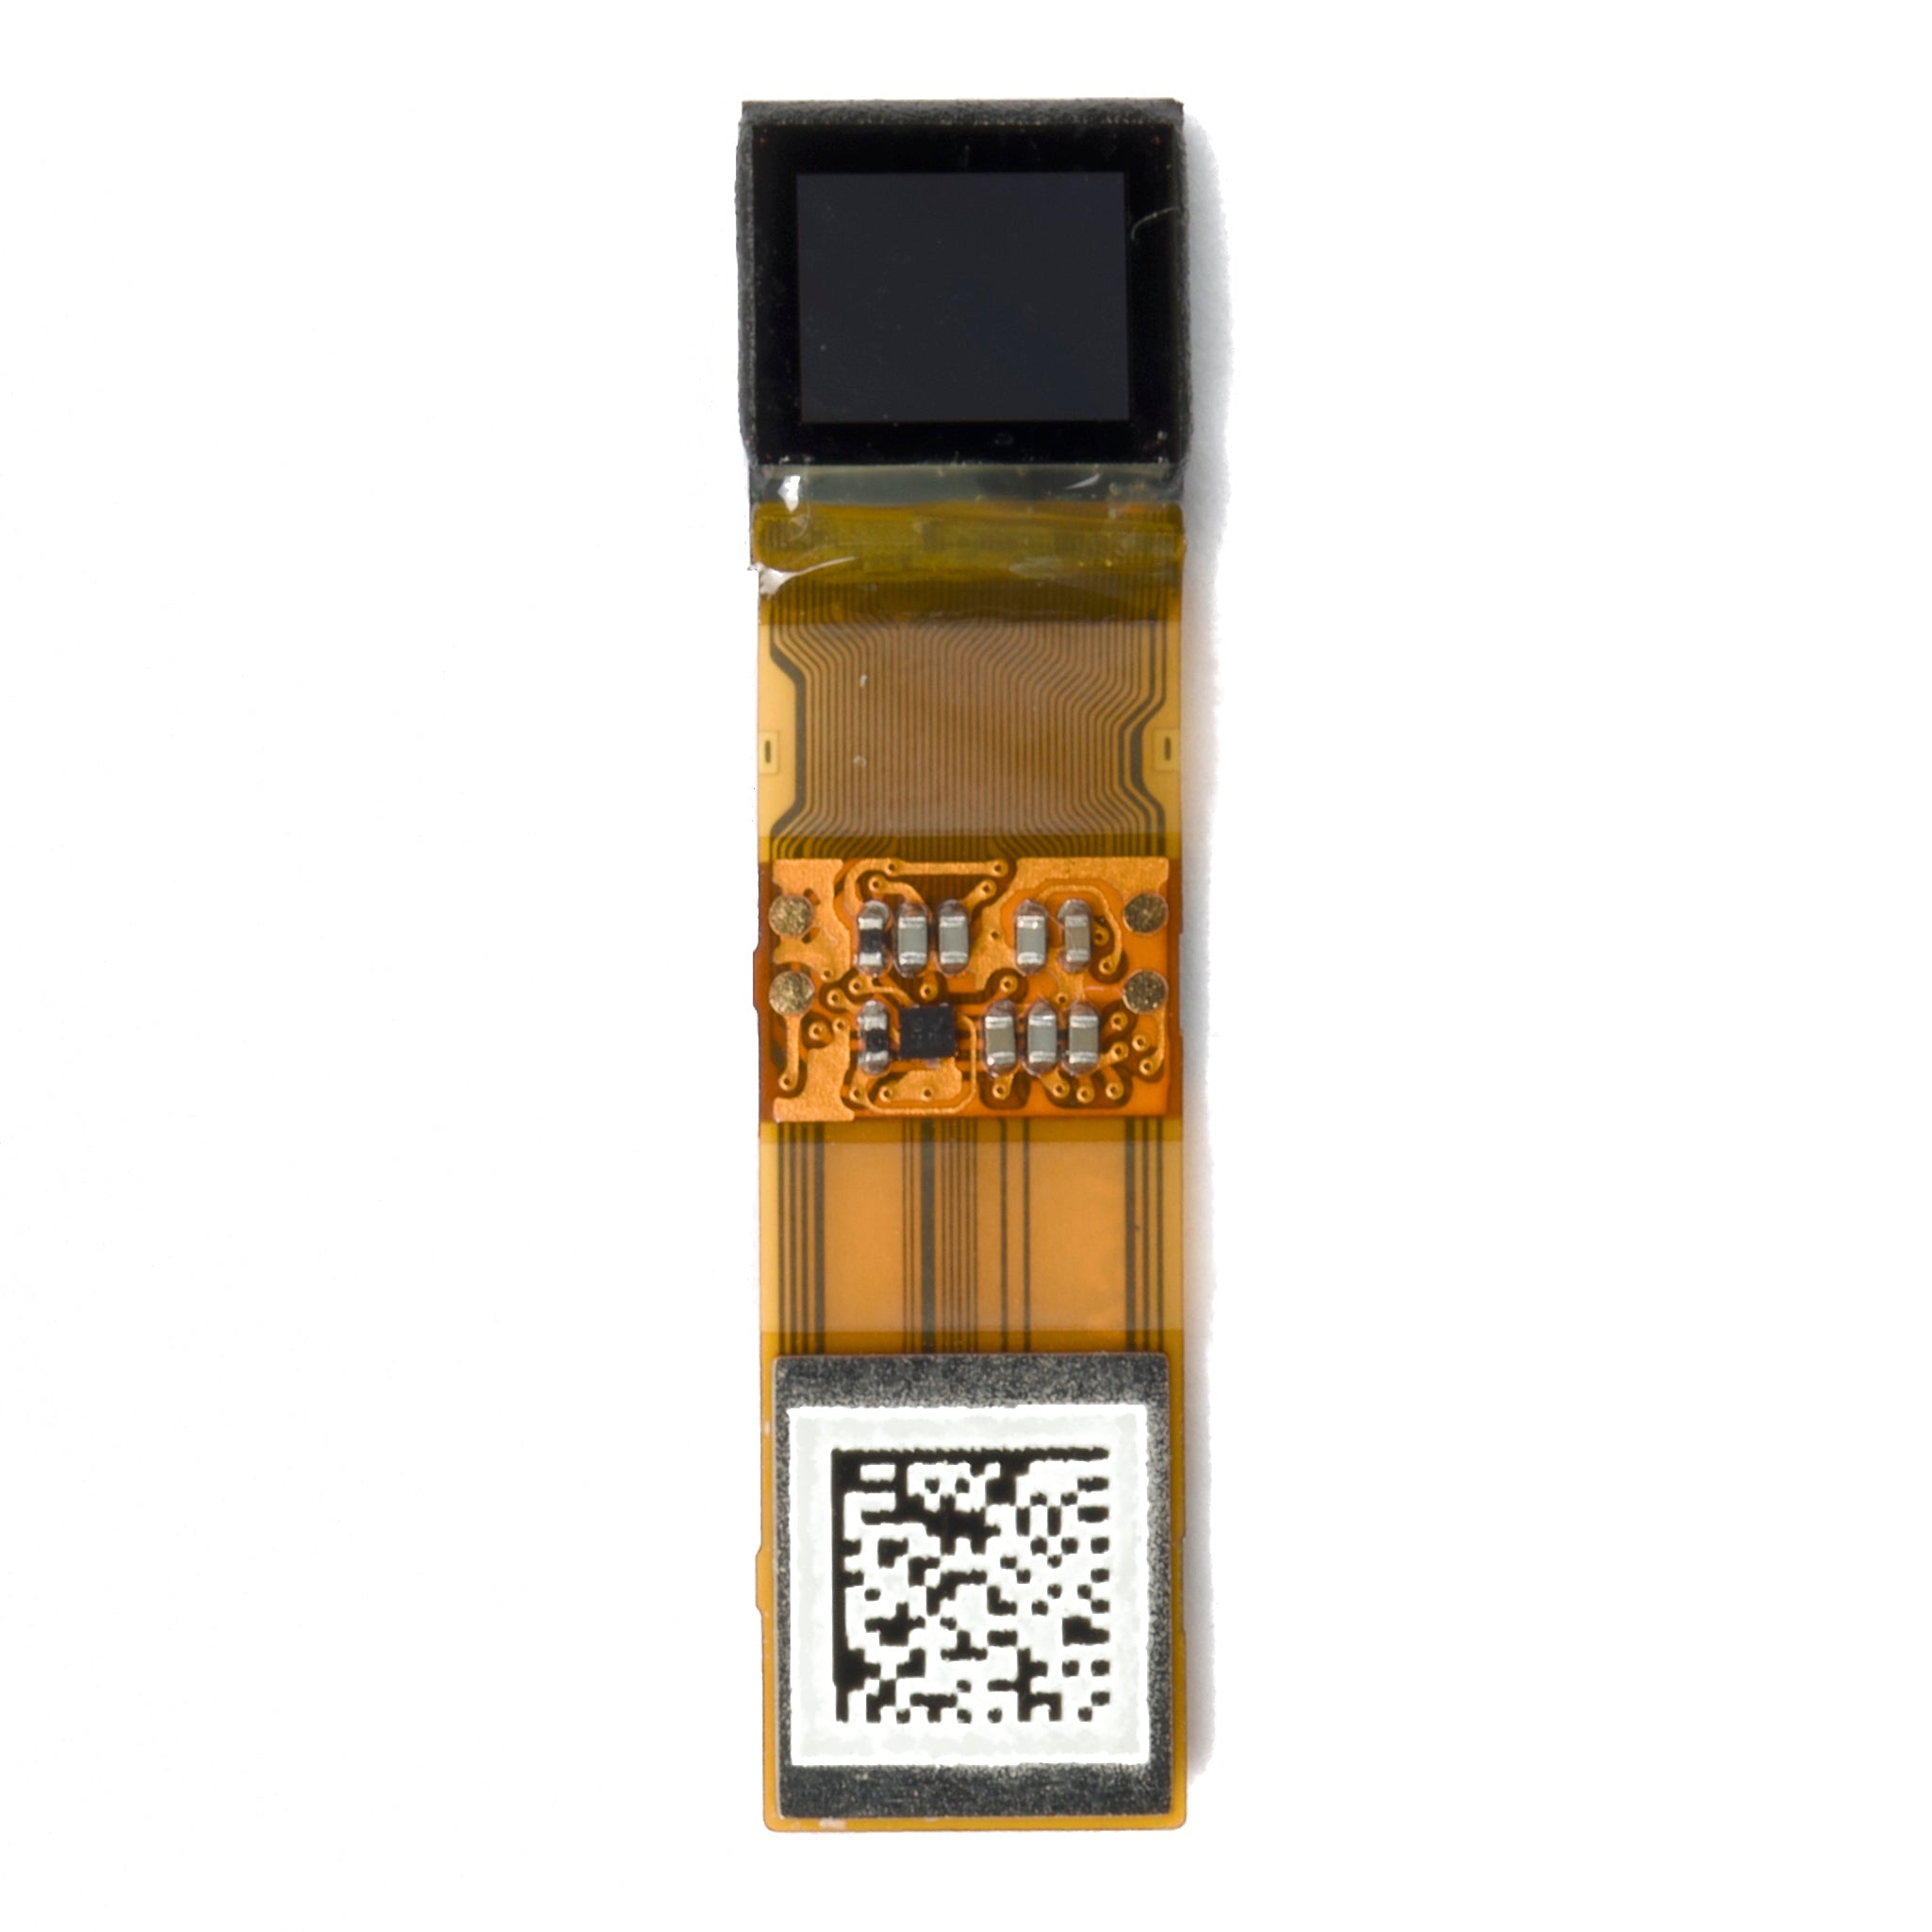
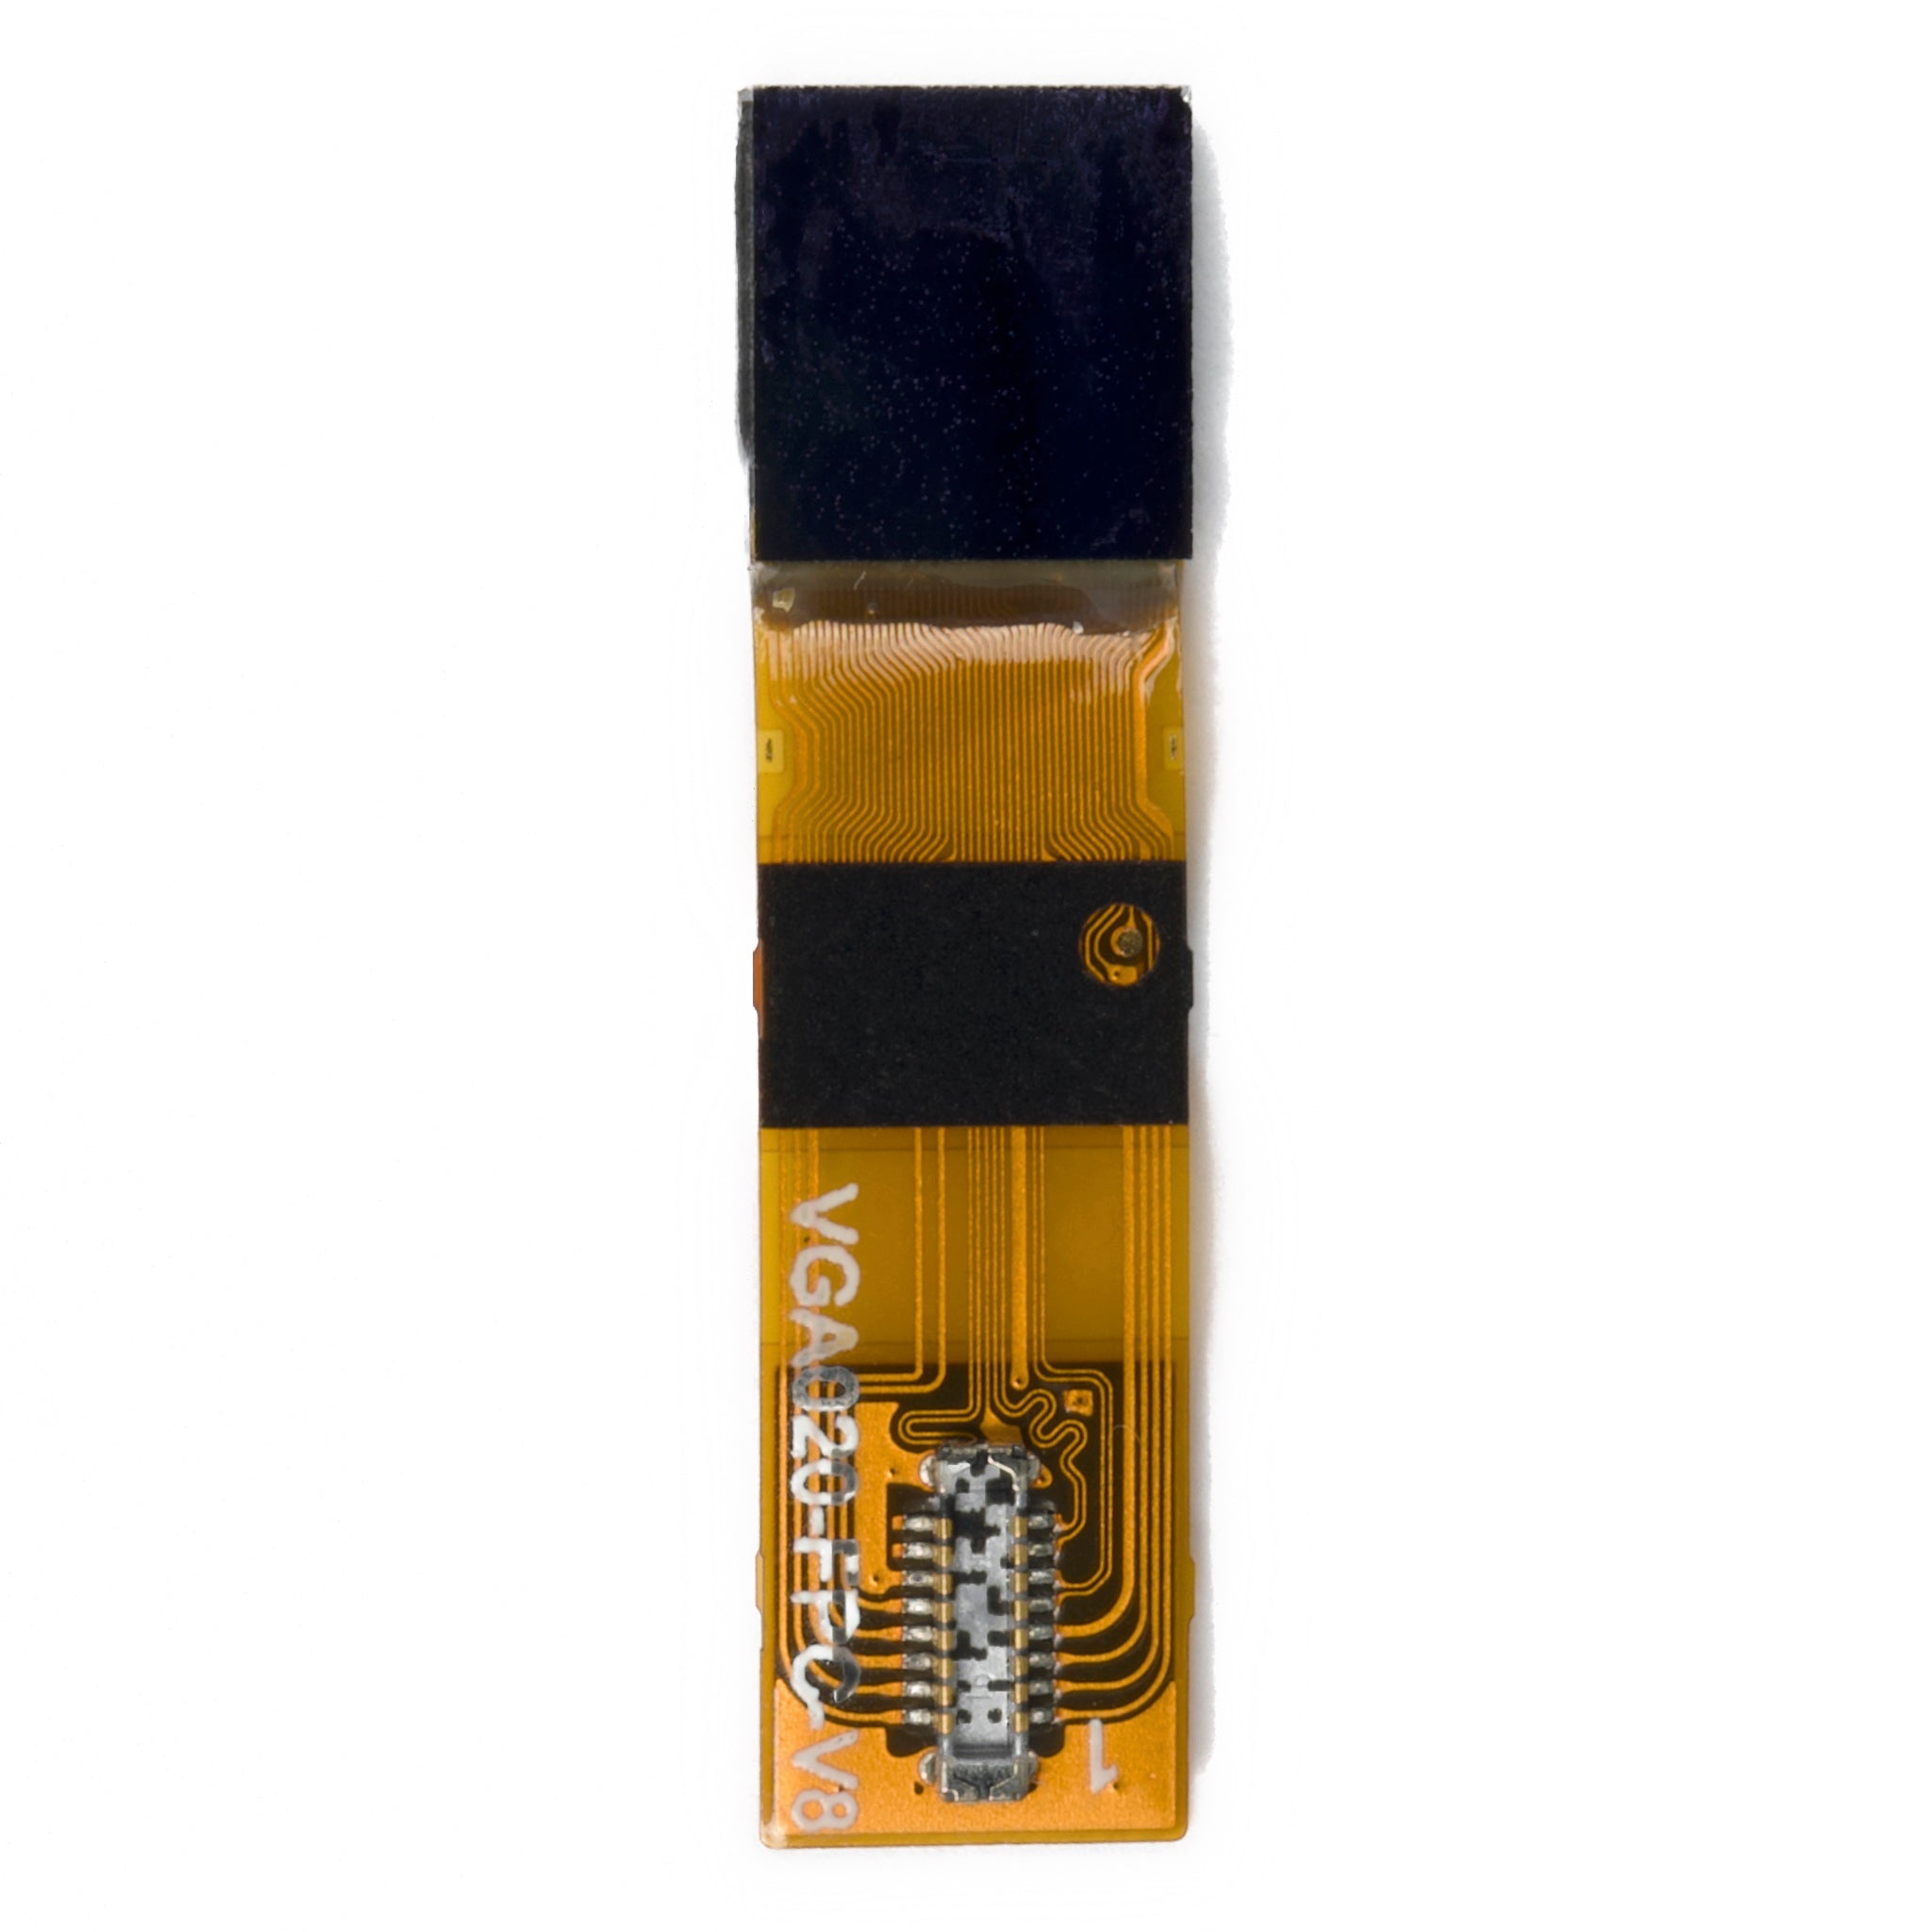
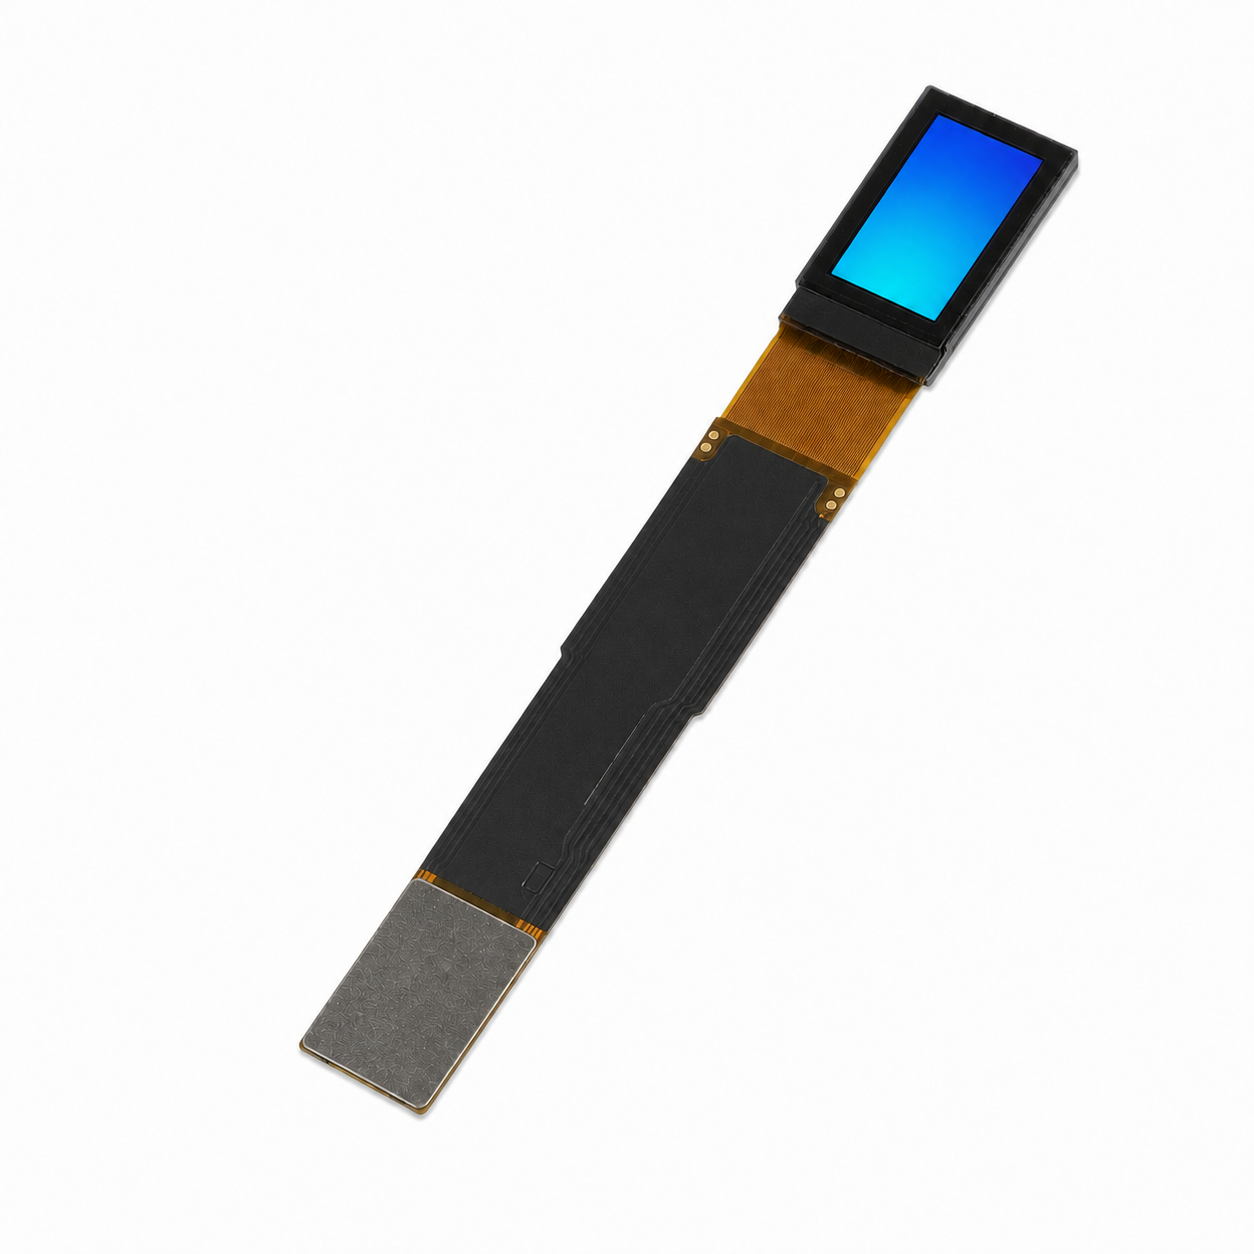
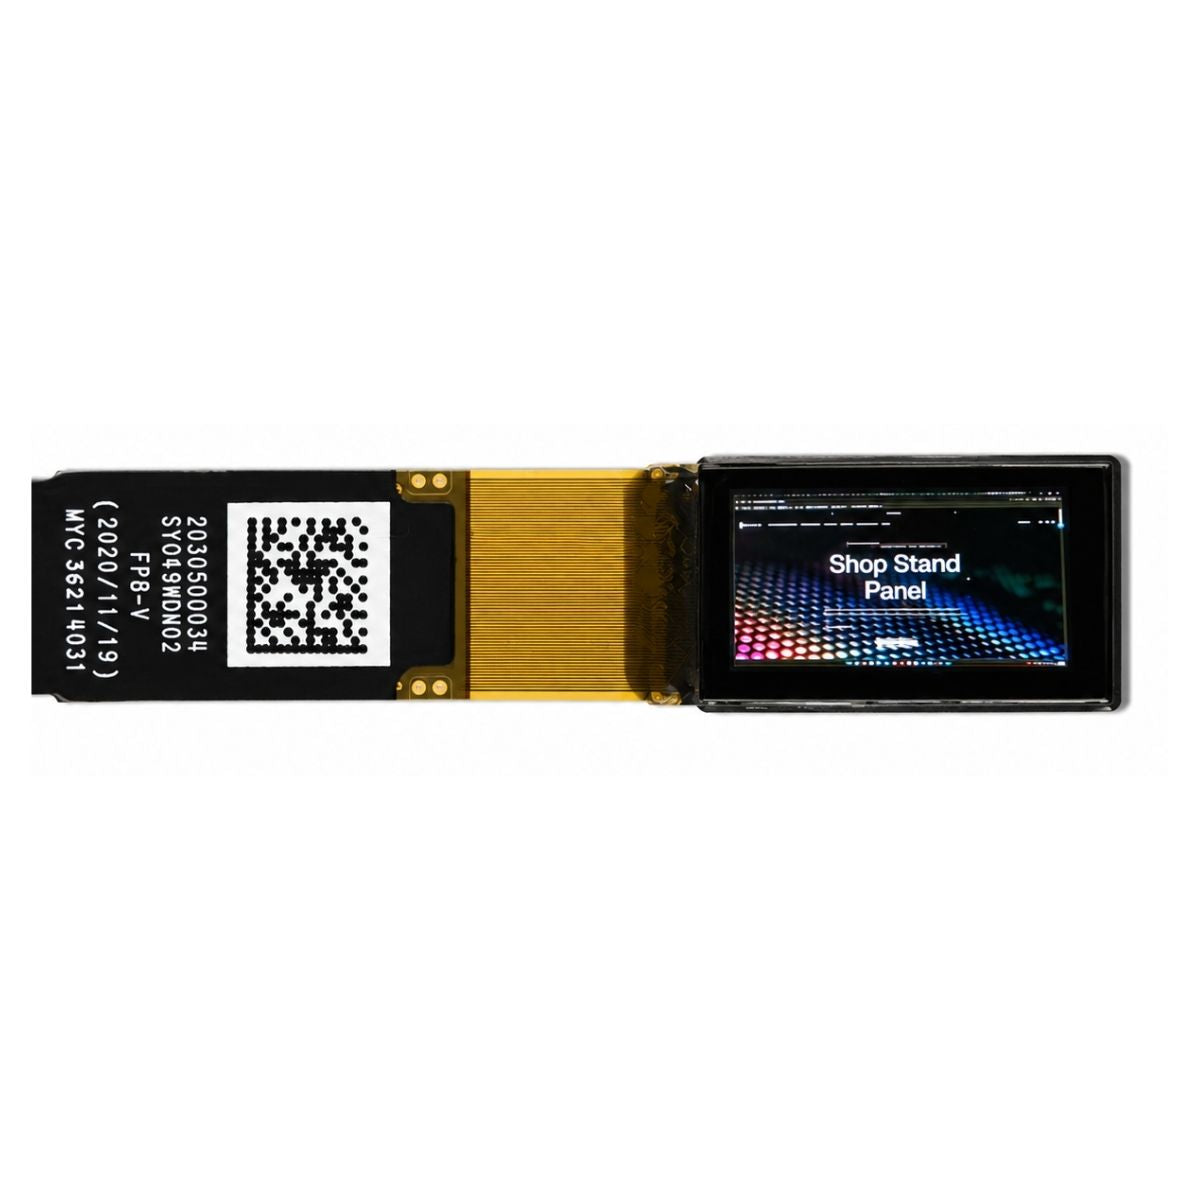
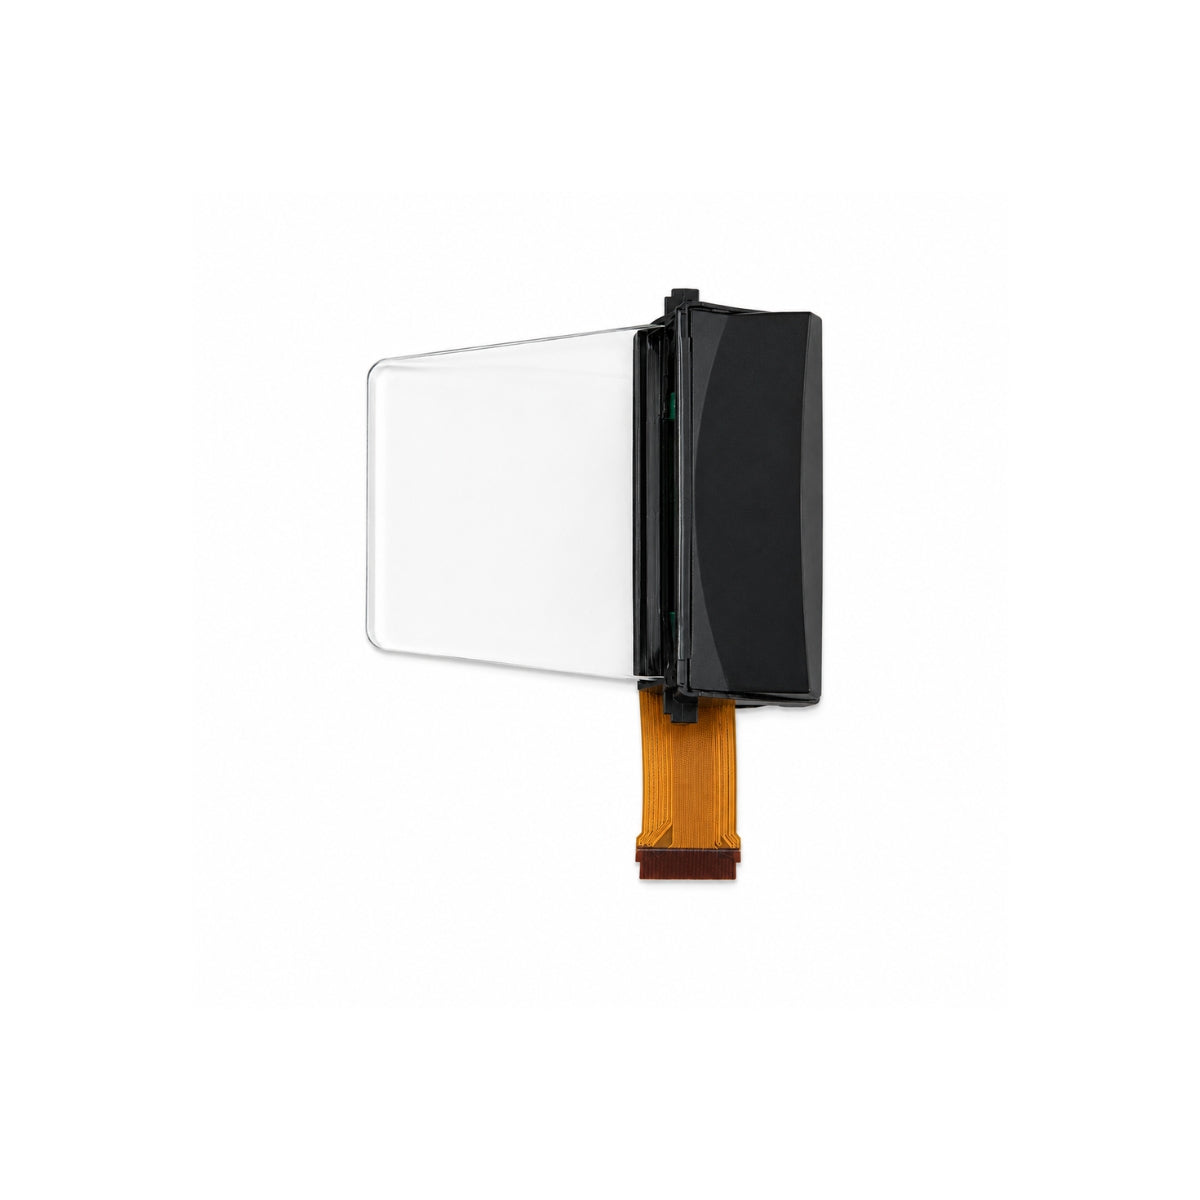
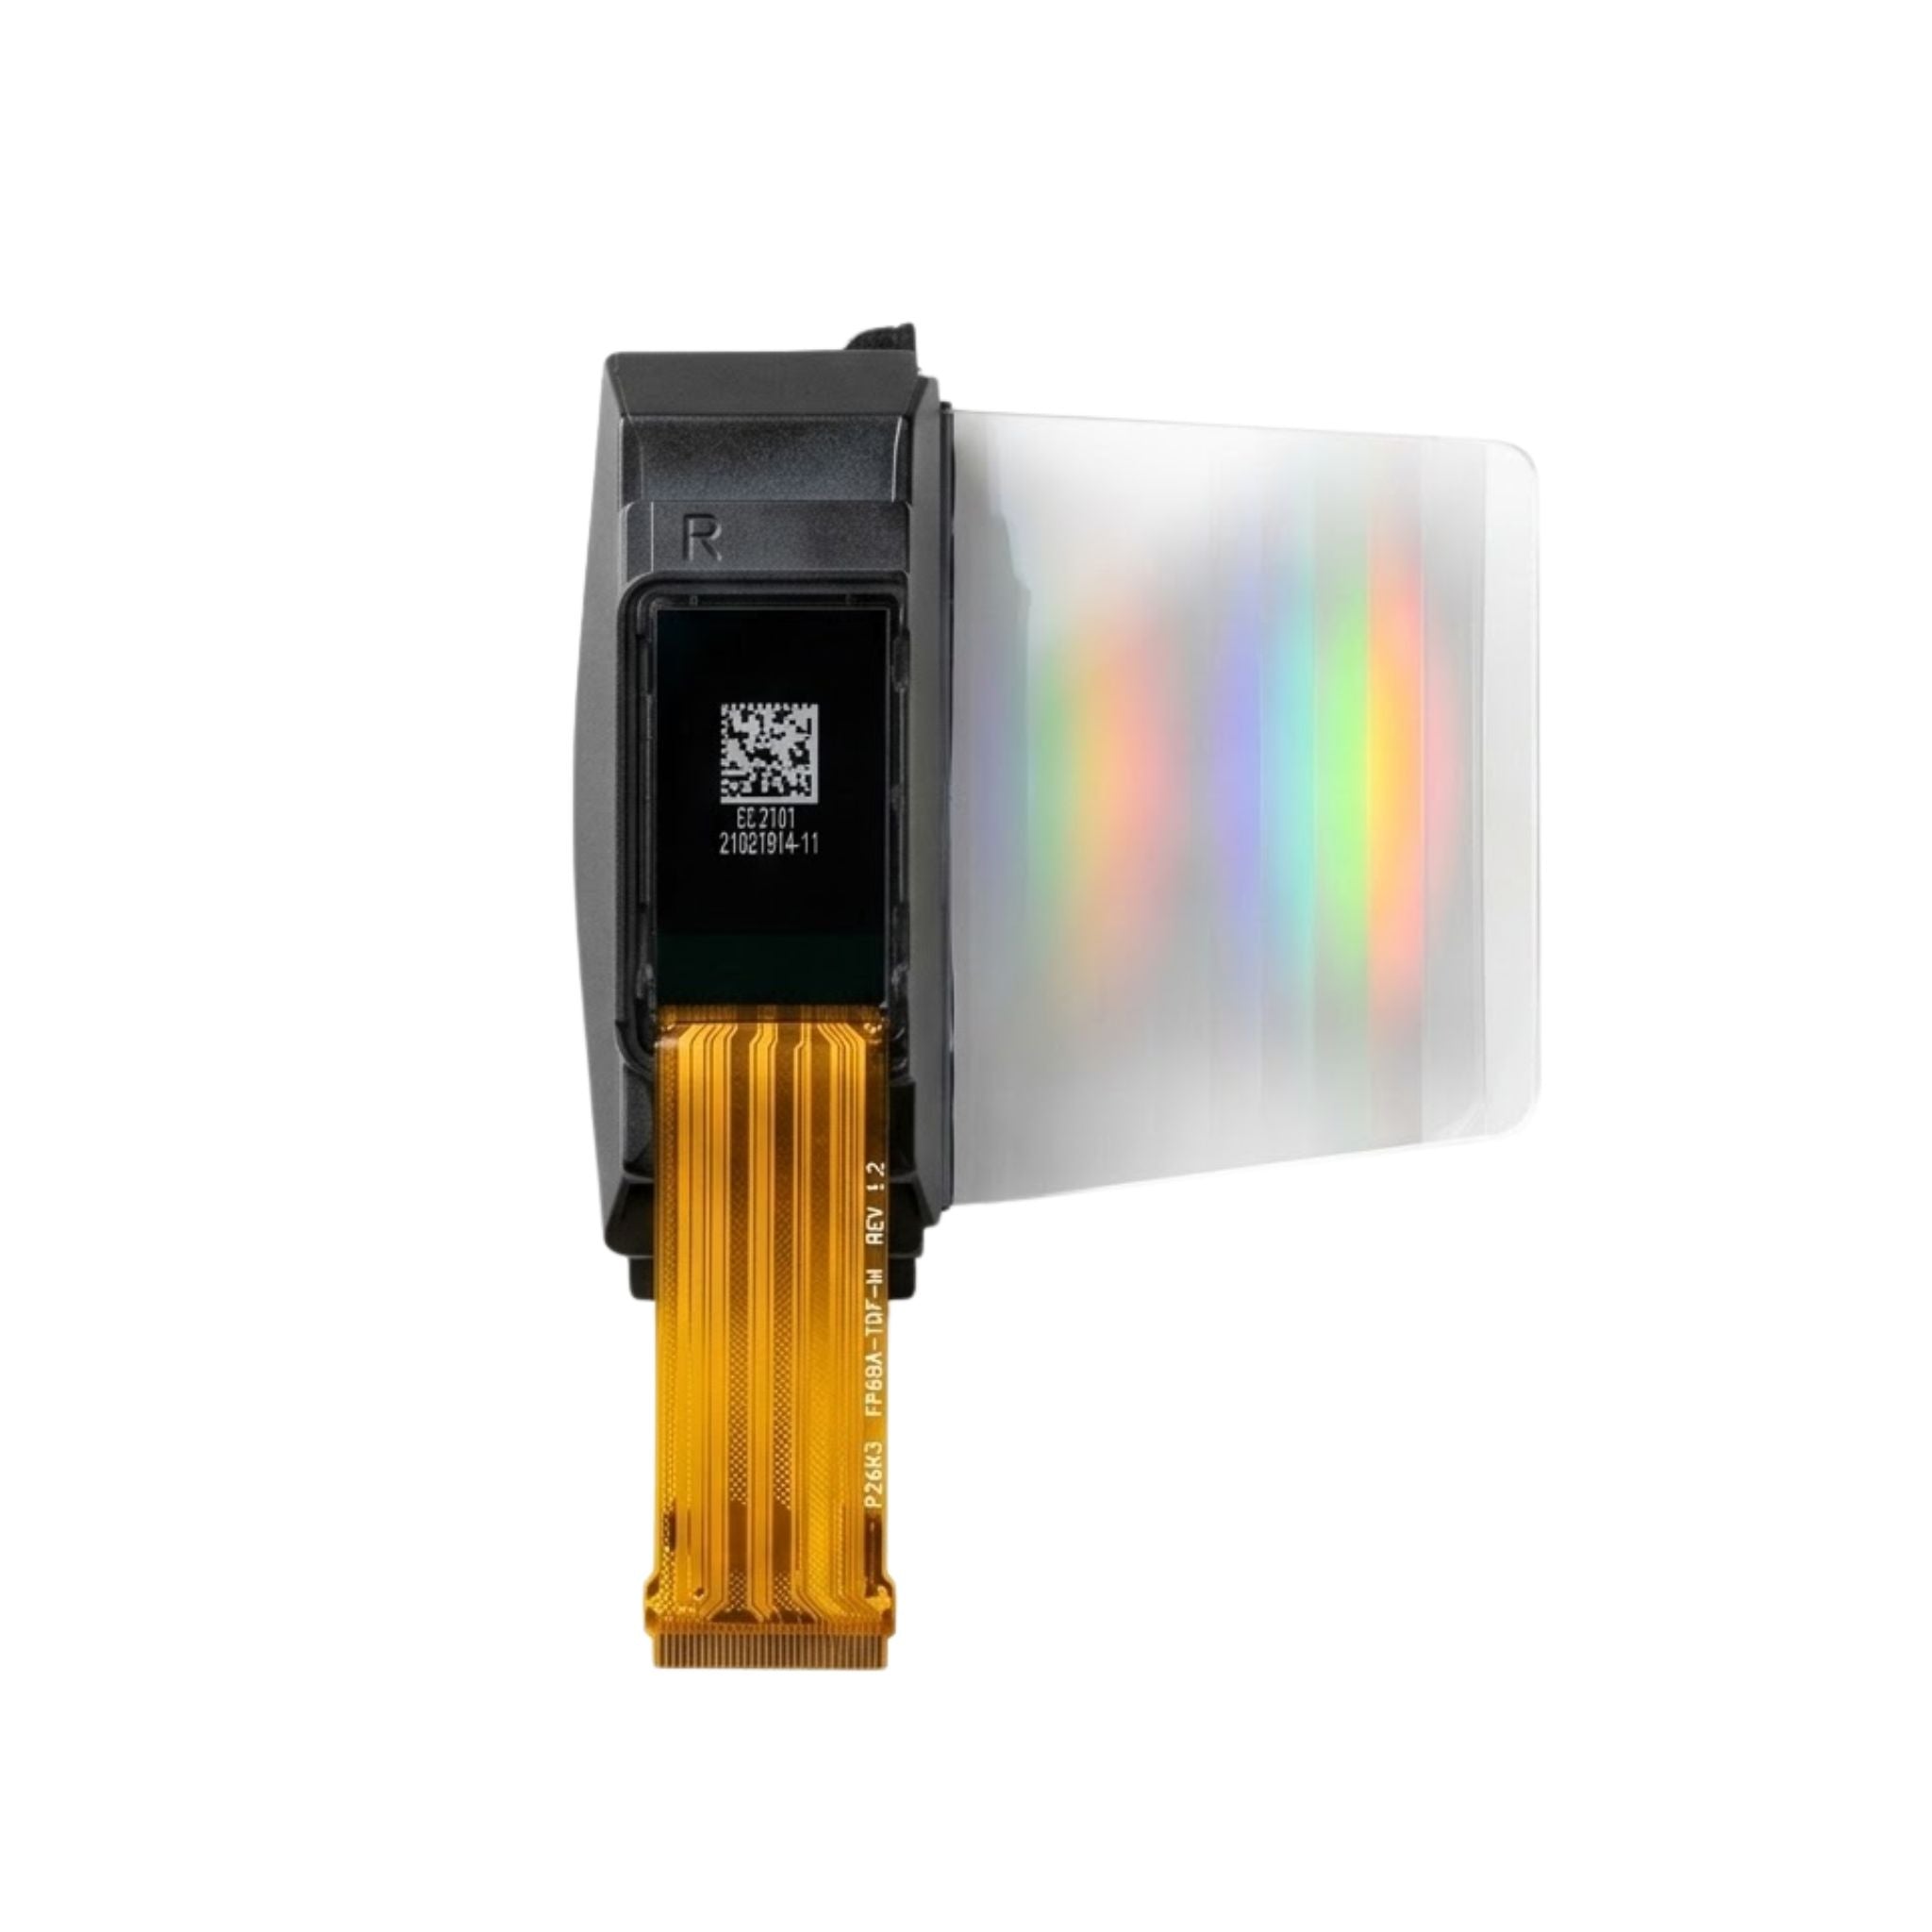


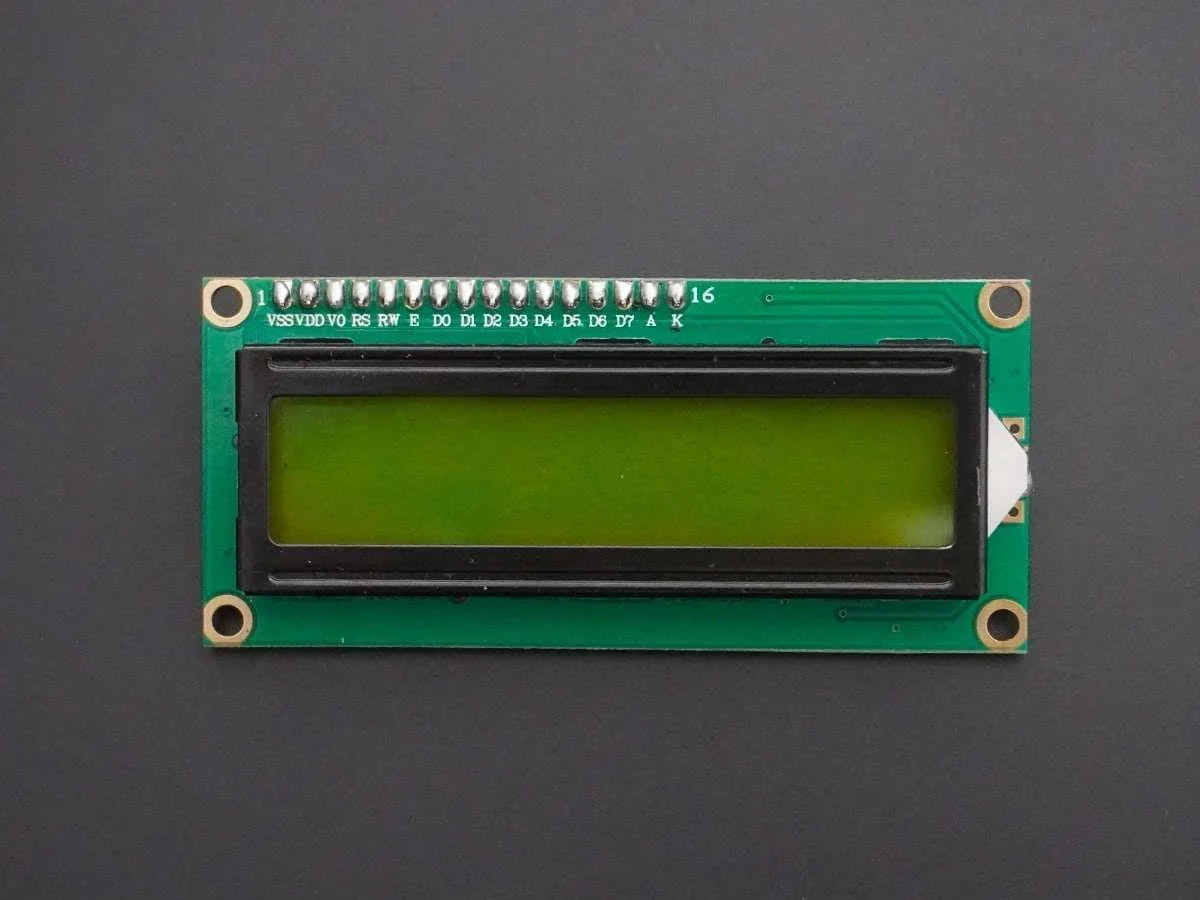
Exit pupil controls where the eye must be placed, eye relief controls how far the eye sits from the optics, and the eyebox shows how much movement the system allows. If any of these are too limited, a Micro OLED near-eye display may show dark edges, missing corners, uneven brightness, or an image that disappears when the headset moves.
The panel is only the image source. The lens, prism, waveguide, housing, face pad, IPD setting, and actual eye position decide whether the full image reaches the user. These parts must be checked as one system.

Key Terms
| Term | Plain Meaning | What the User Notices |
|---|---|---|
| Exit pupil | The light window formed by the optical system | Whether the full image can enter the eye |
| Eye relief | The designed distance between a stated optical reference surface and the eye position | Whether the eye is too close to or too far from the correct viewing point |
| Eyebox | The three-dimensional area where the eye can move and still see an acceptable image | How much the eye or headset can move before clipping or image-quality loss begins |
| Eye point | The intended center position of the eye | Where the widest and clearest view is normally found |
| Field of view | The angular size of the virtual image | How large the displayed scene appears |
| IPD | The distance between the centers of the two pupils | Whether both eyes align with a binocular optical system |
| Virtual image distance | The distance at which the virtual image appears to be focused | How much focusing effort or prescription correction is needed |
| PPD | The number of effective pixels used for one degree of view | How much angular detail the user may be able to see |
IEC 63145-1-2 provides standard terms for AR, VR, MR, and other eyewear displays, while IEC 63145-10 covers specifications for eyewear displays that use virtual-image optics.[1][2] Standard definitions matter because suppliers may use terms such as “exit pupil,” “eyebox,” and “viewing area” in different ways. DisplayModule also provides a basic overview in What Is FOV, Exit Pupil, and Eye Relief?
Exit Pupil
The exit pupil is the image of the optical aperture as seen from the eye side. In simple terms, it is the area where image light leaves the optics. The user’s pupil must overlap the required light bundle to receive the full image.
The exit pupil is set by the whole optical system, not by the Micro OLED panel alone. Lens diameter, aperture position, focal length, magnification, field of view, prism shape, waveguide pupil expansion, element spacing, tilt, and assembly accuracy can all change its size and position.
A small exit pupil can help keep an optical module compact, but it requires accurate eye placement. A slight shift may create a dark edge or remove a corner. This can work in a camera viewfinder because a firm eyecup returns the eye to nearly the same position. It is less suitable for a loose headset that moves during walking or head rotation.
A larger exit pupil normally gives more room for alignment, but the number alone is not enough. Brightness, sharpness, color, distortion, and ghosting must also remain acceptable across the stated area. A large geometric pupil with poor edge performance may be less useful than a smaller, well-controlled one.
Exit-Pupil Size Is Not Free Eye Movement
Consider a simple centered example:
- System exit-pupil diameter: 6 mm
- Human pupil diameter: 4 mm
- Both pupils are treated as circles
The movement that keeps the 4 mm eye pupil fully inside the 6 mm exit pupil is:
(6 mm − 4 mm) ÷ 2 = 1 mm
This means the eye-pupil center can move 1 mm in one direction before full containment is lost. It does not mean that the usable eyebox is only 1 mm. After that point, the two pupils may still overlap, and the image may remain visible. The actual result depends on the optical design and the limits used for clipping, brightness, and sharpness.
For this reason, “6 mm exit pupil” should never be read as “6 mm of free eye movement.”
Human Pupil Size
Adult pupil size commonly ranges from about 2–4 mm in bright light to 4–8 mm in the dark.[3] Age, medication, fatigue, adaptation time, and individual differences can change these values.
A small eye pupil accepts a narrower part of the light bundle and may hide some lens errors. A larger pupil can collect more light until the system exit pupil becomes the limit, but it may also reveal more blur, coma, astigmatism, ghosting, or brightness variation. Optical test reports should therefore state the artificial-pupil diameter and should not rely on only one pupil size.
Eye Relief
Eye relief is the distance between a clearly stated optical reference surface and the intended eye or exit-pupil plane. The reference surface may be the last powered lens surface or an outside protective cover. These values are different when the lens is recessed.
Mechanical clearance must be listed separately. The gap from the housing, face pad, or prescription insert to the user is a fit measurement; it is not automatically the same as optical eye relief.
| Distance | What It Means |
|---|---|
| Nominal eye relief | The designed distance at the best eye position |
| Usable axial range | The forward-and-backward range where the required field and image quality remain acceptable |
| Mechanical clearance | The physical space left after the cover, housing, face pad, and optional insert are installed |
Short eye relief can reduce lens size and housing depth, but it may cause eyelash contact, fogging, lens contamination, facial pressure, and poor glasses fit. A well-shaped eyecup can still make short eye relief practical by guiding the eye to a repeatable position.
Long eye relief leaves more room for glasses, safety eyewear, and prescription inserts. The trade-off is that keeping the same field of view may require a larger clear aperture, larger combiner, or more complex optics. The farthest intended eye position must therefore be tested, not just the nominal position.
Eye Relief Is Not Focus Distance
Eye relief tells you where the eye sits. Virtual image distance tells you where the image appears to be focused. A user may sit 18 mm from the last optical surface while the virtual image is focused at 1 m, 2 m, 4 m, or optical infinity.
A simple focusing-demand calculation is:
Diopters = 1 ÷ distance in meters
- 1 m is about 1.0 D
- 2 m is about 0.5 D
- 4 m is about 0.25 D
- A very distant image approaches 0 D
Changing a face pad can change eye relief without changing the virtual image distance. A focus or diopter adjustment can sharpen a complete image, but it cannot restore image rays that are physically clipped.
Eyebox
The eyebox is the three-dimensional region where the eye can move while the image remains usable. It includes horizontal, vertical, and forward-and-backward movement. A value such as 12 mm × 8 mm normally gives only width and height unless an axial range is also stated.
A useful eyebox is not simply the area where any part of the image can still be seen. Research has proposed a “perceptual eyebox,” meaning the region where the user receives an acceptable visual result under stated criteria.[4] A practical specification should state:
- Horizontal, vertical, and axial range
- Measurement-pupil diameter
- How much of the field must remain visible
- Allowed brightness and color change
- Required center and edge resolution
- Limits for distortion, pupil swim, ghosting, and stray light
The geometric eyebox may be 12 mm × 8 mm, while the area that also meets the edge-sharpness and brightness limits may be only 9 mm × 6 mm. The smaller quality-controlled area is the more useful number.
Eyebox measurement should use a camera or artificial eye that represents pupil position, pupil size, and field of view. Published work on rapid eyebox measurement also shows why the measurement model must match important properties of the human eye.[5]
Static Testing Is Not Enough
A fixed camera can map the optical system at repeatable positions, but a real eye also rotates. The pupil center shifts as the user looks left, right, up, down, or toward a corner. The headset can also move because of walking, facial motion, strap pressure, or repeated refitting.
Dynamic checks should include:
- Looking toward all four image corners
- Side-to-side and vertical gaze
- Walking and rapid head movement
- Downward gaze
- Different strap tensions
- Repeated removal and refitting
- The actual helmet, mask, safety glasses, or insert used in the task
Field of View, Eye Rotation, and Pupil Swim
A wider field of view gives a larger scene, but it also asks the optics to carry a wider range of light angles. Keeping those angles available across a large eyebox and long eye relief is difficult in a small module.
- Wider FOV needs more angular coverage
- Larger eyebox needs more spatial coverage
- Longer eye relief usually needs a larger clear opening
- The same pixel count gives lower PPD when spread across a wider field
FOV must state whether it is horizontal, vertical, diagonal, monocular, or combined binocular. A 100° diagonal FOV cannot be compared directly with a 100° horizontal FOV.
Pupil swim is different from clipping. With clipping, part of the image becomes dark or disappears. With pupil swim, the image stays visible but shifts, bends, or stretches as the eye moves. Pupil swim occurs in many near-eye systems and should be checked at several pupil positions rather than only at the center.[6]
IPD, Binocular Alignment, and Glasses
In a binocular headset, each optical channel must place its exit pupil near the matching eye. Incorrect IPD can reduce the field, create different clipping in each eye, reduce stereo comfort, and force the user to keep adjusting the headset.
Mechanical IPD adjustment moves the optical channels. Software IPD adjustment changes rendering and stereo geometry, but it does not move the physical exit pupils. Software cannot fully fix a case where an eye is outside the usable optical pupil.
A monocular display does not need binocular IPD matching, but its single channel still needs correct horizontal and vertical placement.
Correct IPD is only one part of binocular alignment. The left and right sides should also be checked for height, tilt, focus, magnification, distortion, exit-pupil position, and binocular overlap.
“Glasses compatible” should not mean only that a frame fits inside the housing. Glasses can move the eyes backward, raise or tilt the headset, reduce the visible field, add reflections, and create pressure at the nose or temples. Test the final product with different frame widths, lens thicknesses, nose bridges, safety eyewear, and prescription inserts.
What Micro OLED Controls
Micro OLED, also called OLED-on-silicon or OLEDoS, is a compact self-emissive display built on a silicon backplane. A general introduction is available in What Is Micro OLED?
The panel controls or strongly affects:
- Resolution and active area
- Pixel pitch and fill factor
- Panel luminance and contrast
- Color performance
- Response and refresh capability
- Power and heat
The panel does not by itself set eye relief, exit-pupil position, eyebox size, glasses clearance, pupil swim, edge sharpness, or binocular alignment. Those are system-level results.
For example, a 0.7-inch 1920 × 1080 Micro OLED module supplies a compact Full HD image source, but its final FOV and eyebox depend on the eyepiece or combiner. A complete product can report system-level figures together: DisplayModule’s wearable Micro OLED glasses, for example, list a 41° FOV and 53 PPD.
PPD and Visible Detail
Panel resolution alone does not show how much detail reaches the eye. A simple horizontal estimate is:
Horizontal PPD ≈ horizontal effective pixels ÷ horizontal FOV
For 2560 effective horizontal pixels across a 50° horizontal field:
2560 ÷ 50 ≈ 51 PPD
This is only a nominal estimate. Lens MTF, focus, distortion correction, render scaling, eye position, and edge blur can reduce the visible detail. Horizontal pixels must be divided by horizontal FOV; do not mix horizontal resolution with diagonal FOV.
Panel Brightness Is Not Eye Brightness
Panel luminance is measured at the display. The eye receives less light after losses in lenses, polarizers, partial mirrors, pancake optics, prisms, waveguide coupling, pupil expansion, covers, and stray-light control.
Higher panel luminance cannot repair a small or misaligned eyebox. It can make the light that reaches the eye brighter, but it cannot replace missing rays. For a more detailed light-budget explanation, see Micro OLED Brightness at the Eye.
How Optical Types Change the Viewing Result
| Optical Type | Main Benefit | Main Checks |
|---|---|---|
| Refractive eyepiece | Direct optical path and potentially good efficiency | Lens size, eye relief, edge blur, distortion, and pupil position |
| Freeform prism | Folded layout and off-axis correction | Surface accuracy, tilt, decenter, distortion, and pupil changes |
| Pancake optics | Reduced headset depth | Polarization loss, ghosting, contrast, brightness demand, and eye relief |
| Waveguide | Thin see-through form and pupil expansion | Efficiency, color uniformity, pupil banding, stray light, and eyebox uniformity |
| Maxwellian view | Large depth of field and compact beam path | Very small native pupil, eye tracking, pupil steering, and brightness variation |
Waveguides often expand a smaller pupil into a larger viewing region. This can improve fit, but it may also create brightness or color changes across the eyebox. See What Is the Use of Waveguides in AR Glasses? and Different Categories of Optical Waveguides in the AR Field for related diagrams and optical layouts.
Common Problems and What to Check
| What the User Sees | What to Check First |
|---|---|
| One side becomes dark | Horizontal eye position; the dark-edge direction depends on the optical layout |
| Top or bottom disappears | Headset height, vertical eye position, lens height, or module tilt |
| Corners disappear | Eye too far from the optics, limited clear aperture, or position outside the axial eyebox |
| Image returns when the headset is pressed inward | Actual eye position is beyond the usable eye-relief range |
| Image disappears during side or corner gaze | Dynamic eyebox is too small for the required eye rotation |
| One eye clips first | IPD, vertical alignment, asymmetric fit, or left-right module mismatch |
| Full image is visible but blurred | Focus, prescription, contamination, lens MTF, rendering, or panel resolution |
| Brightness or color changes with eye position | Pupil illumination, coating, waveguide output, or optical uniformity |
| Image shifts or bends but stays visible | Pupil swim or position-dependent distortion |
| A defect stays on the same pixel | Panel, drive electronics, or source image rather than eye alignment |
Prototype Test Method
- Install the final face pad, lens cover, and intended prescription insert.
- Set focus, virtual image distance, and IPD to the product specification.
- Place an artificial pupil at the nominal eye point.
- Record the full field, center and edge resolution, luminance, color, distortion, and ghosting.
- Move the pupil across horizontal, vertical, and axial positions in fixed steps.
- Record where field clipping starts and where each quality value crosses its limit.
- Repeat with at least one additional pupil diameter.
- Repeat with the intended glasses, safety eyewear, or insert.
- Test representative users while they look around, move their heads, and perform the real task.
IEC 63145-20-10 covers optical-property measurements, IEC 63145-20-20 covers image-quality measurements, IEC 63145-21-20 covers screen-door-effect measurement for VR-type displays, and IEC 63145-22-20 covers image-quality measurement for optical see-through AR displays.[7][8][9][10]
Limits such as 5% field clipping or a 20% luminance drop may be useful project rules, but they are not universal industry limits. Each product must set its own pass values based on its task, user group, and risk level.
Questions to Ask a Supplier
- What are the horizontal and vertical exit-pupil dimensions?
- Is the stated number a single pupil, a replicated region, or a quality-controlled eyebox?
- What is the usable forward-and-backward range?
- Where is eye relief measured from?
- What mechanical clearance remains with the final face pad and inserts?
- Is the full required field visible across the claimed eyebox?
- Which artificial-pupil sizes were used?
- How do luminance, color, edge sharpness, distortion, and ghosting change across the eyebox?
- Does eye rotation cause clipping or pupil swim?
- Does the product physically cover the target IPD range?
- Were left-right height, focus, and distortion differences measured?
- Was the final unit tested with representative eyewear and protective equipment?
- What is the effective PPD after rendering and distortion correction?
- Which measurement methods and pass limits were used?
Application Priorities
| Application | Most Important Checks |
|---|---|
| Electronic viewfinder | Central sharpness, eyecup repeatability, stray light, and quick eye placement |
| VR headset | Binocular overlap, IPD range, dynamic eyebox, edge quality, and pupil swim |
| AR glasses | Eye relief, outdoor visibility, transparency, pupil expansion, and color and brightness uniformity |
| Industrial display | Safety-glasses clearance, helmet fit, readable text, stable mounting, and image retention during motion |
| Medical display | Repeatable alignment, calibrated image quality, left-right matching, risk controls, and task-based user testing |
For medical devices, image problems are not only comfort issues. FDA lists risks that include low-contrast images, display errors in position or depth, dizziness, fatigue, and effects on vision.[11] Medical validation should therefore use the intended users, tasks, and environment.
Conclusion
Exit pupil, eye relief, and eyebox should be checked as one system. A 6 mm exit pupil with a 4 mm eye pupil gives only a 1 mm full-containment margin in each direction, so the exit-pupil number alone does not show real viewing tolerance. Ask for horizontal, vertical, and axial eyebox data, the test-pupil size, full-field limits, and brightness and sharpness maps. Then repeat the test with eye rotation, the final face pad, glasses or inserts, and representative users. Micro OLED resolution and brightness matter, but reliable viewing depends on the complete optical and mechanical design.
References
- IEC 63145-1-2:2022 — Eyewear display terminology
- IEC 63145-10:2023 — Eyewear display specifications
- NCBI Bookshelf — The Pupils, Clinical Methods
- Cholewiak et al. — A perceptual eyebox for near-eye displays
- Kerst et al. — Rapid eyebox measurement for augmented reality waveguides
- Cheng et al. — Optical design and pupil swim analysis of a near-eye display
- IEC 63145-20-10:2019 — Optical-property measurement methods
- IEC 63145-20-20:2019 — Image-quality measurement methods
- IEC 63145-21-20:2022 — Screen-door-effect measurement for VR displays
- IEC 63145-22-20:2024, including Corrigendum 1 — AR image-quality measurement
- U.S. FDA — Augmented Reality and Virtual Reality in Medical Devices
Laisser un commentaire
Ce site est protégé par hCaptcha, et la Politique de confidentialité et les Conditions de service de hCaptcha s’appliquent.