

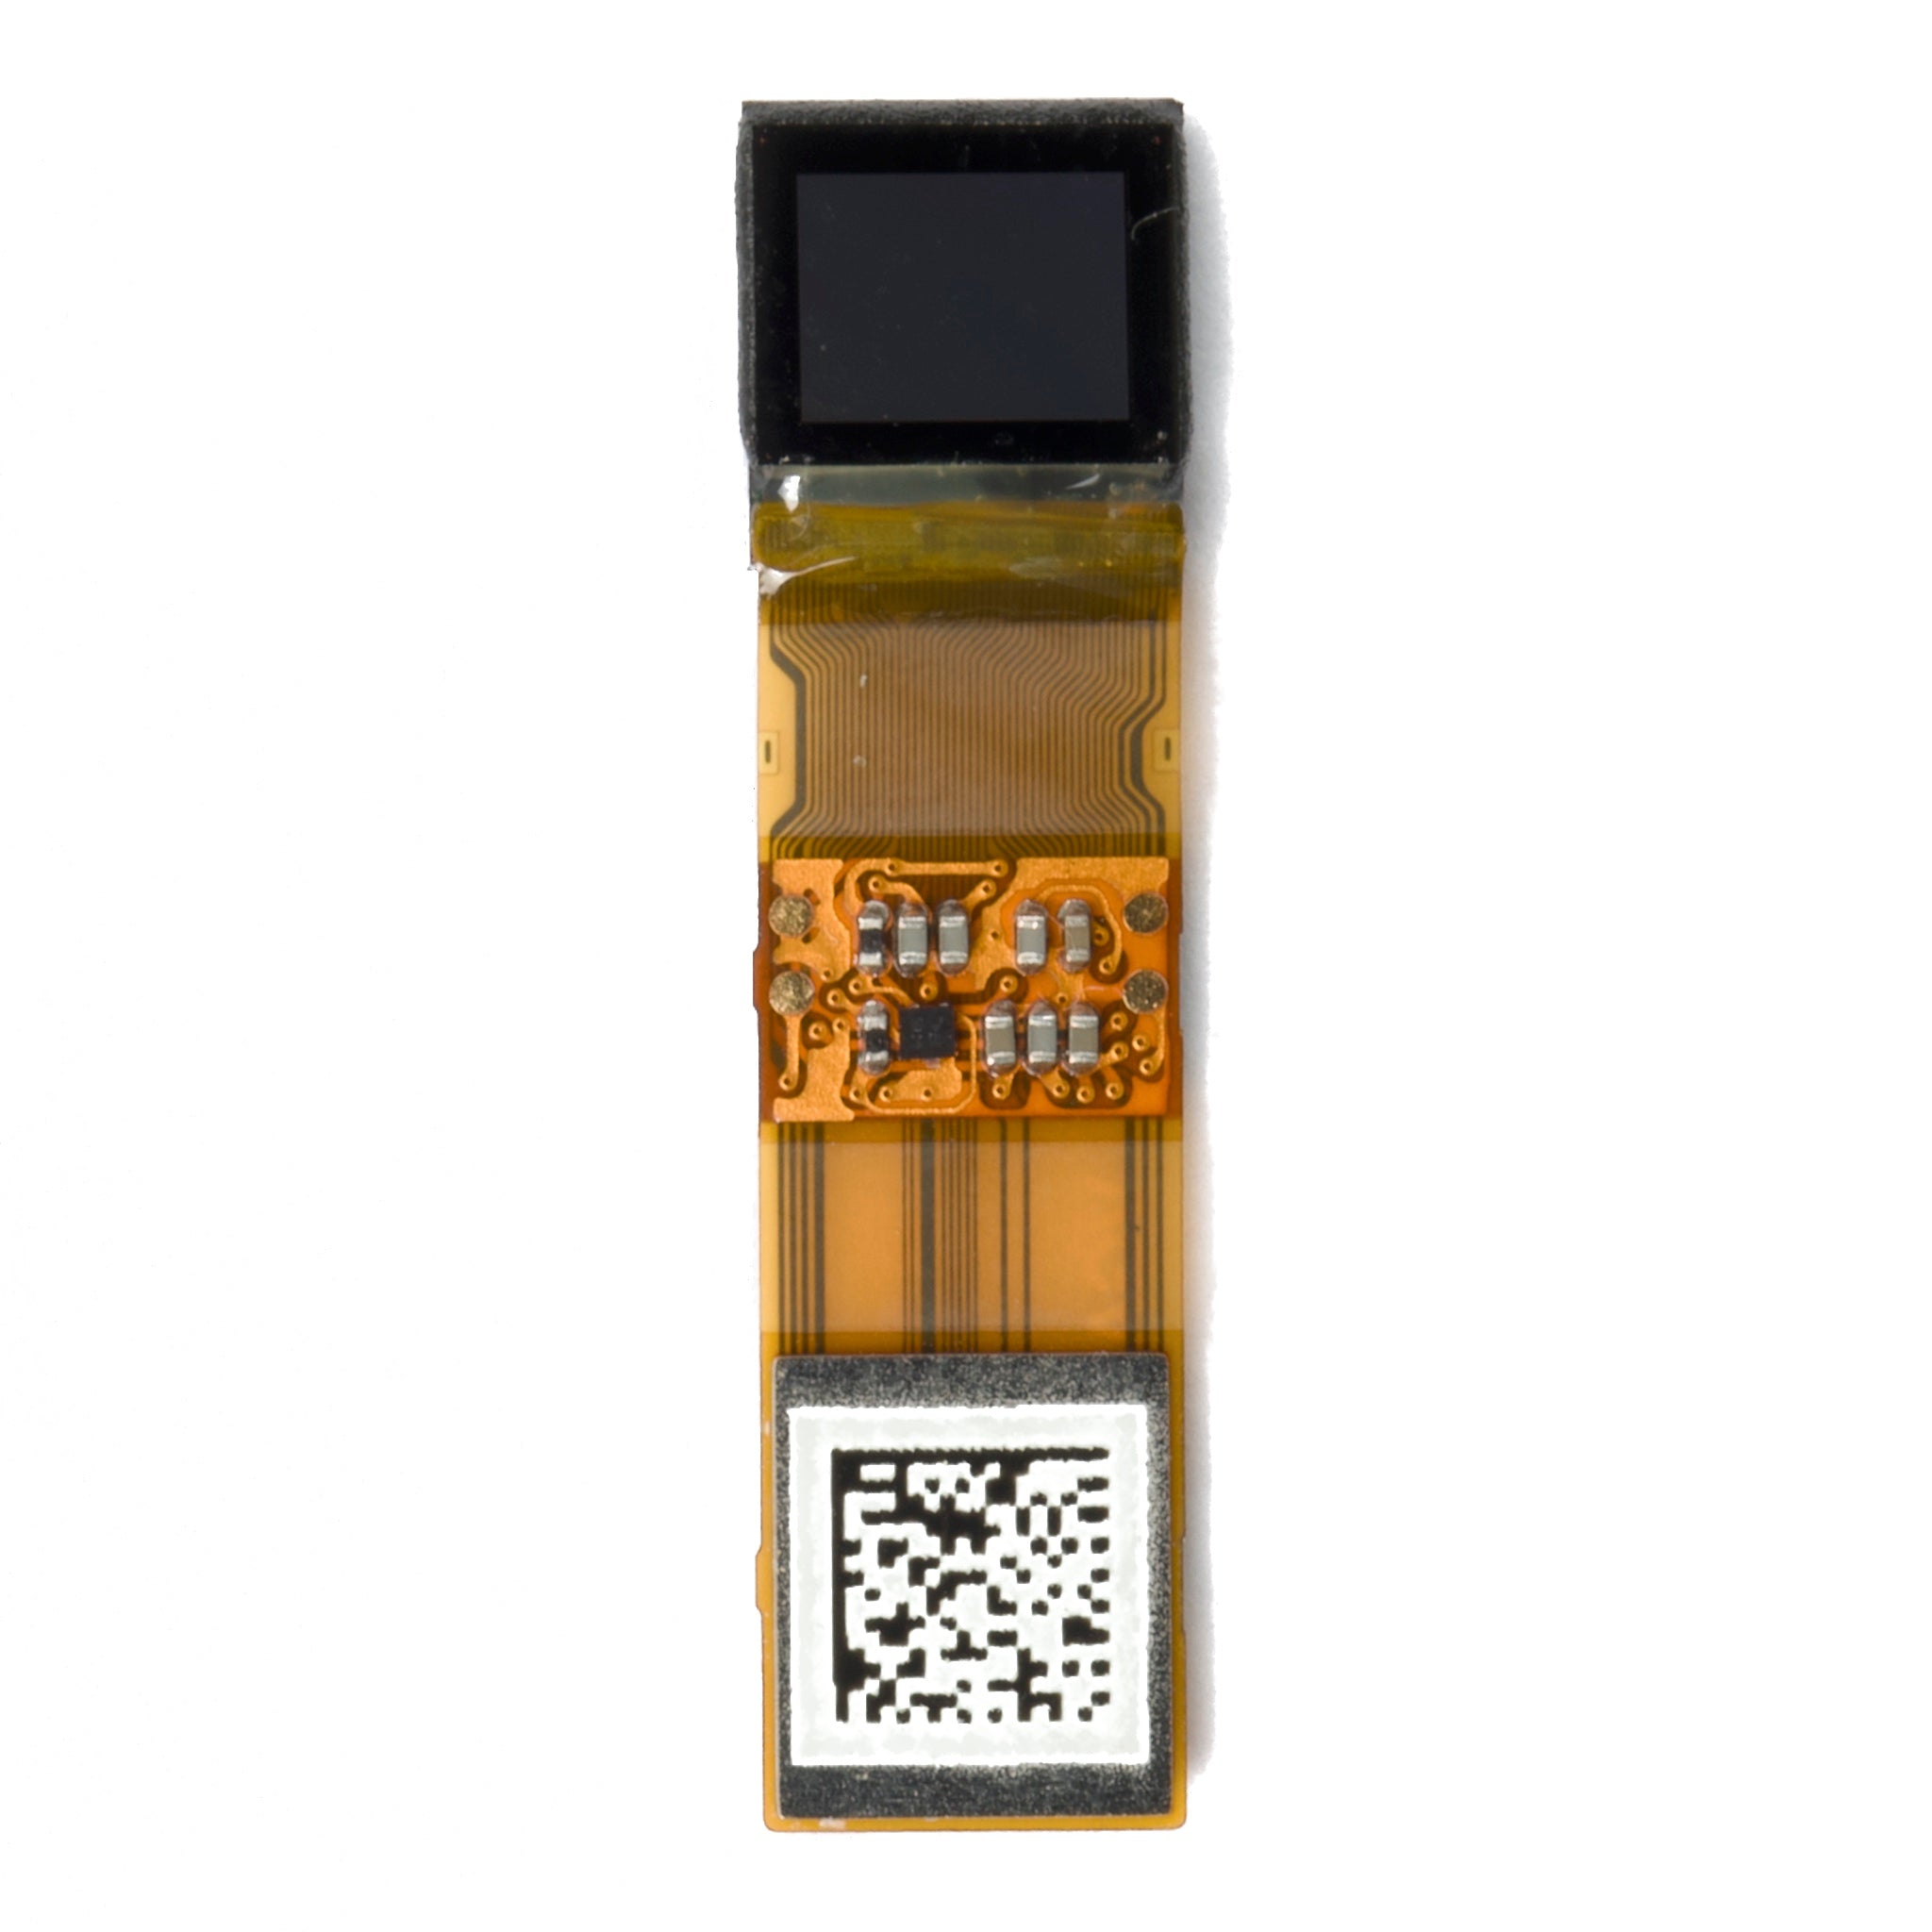
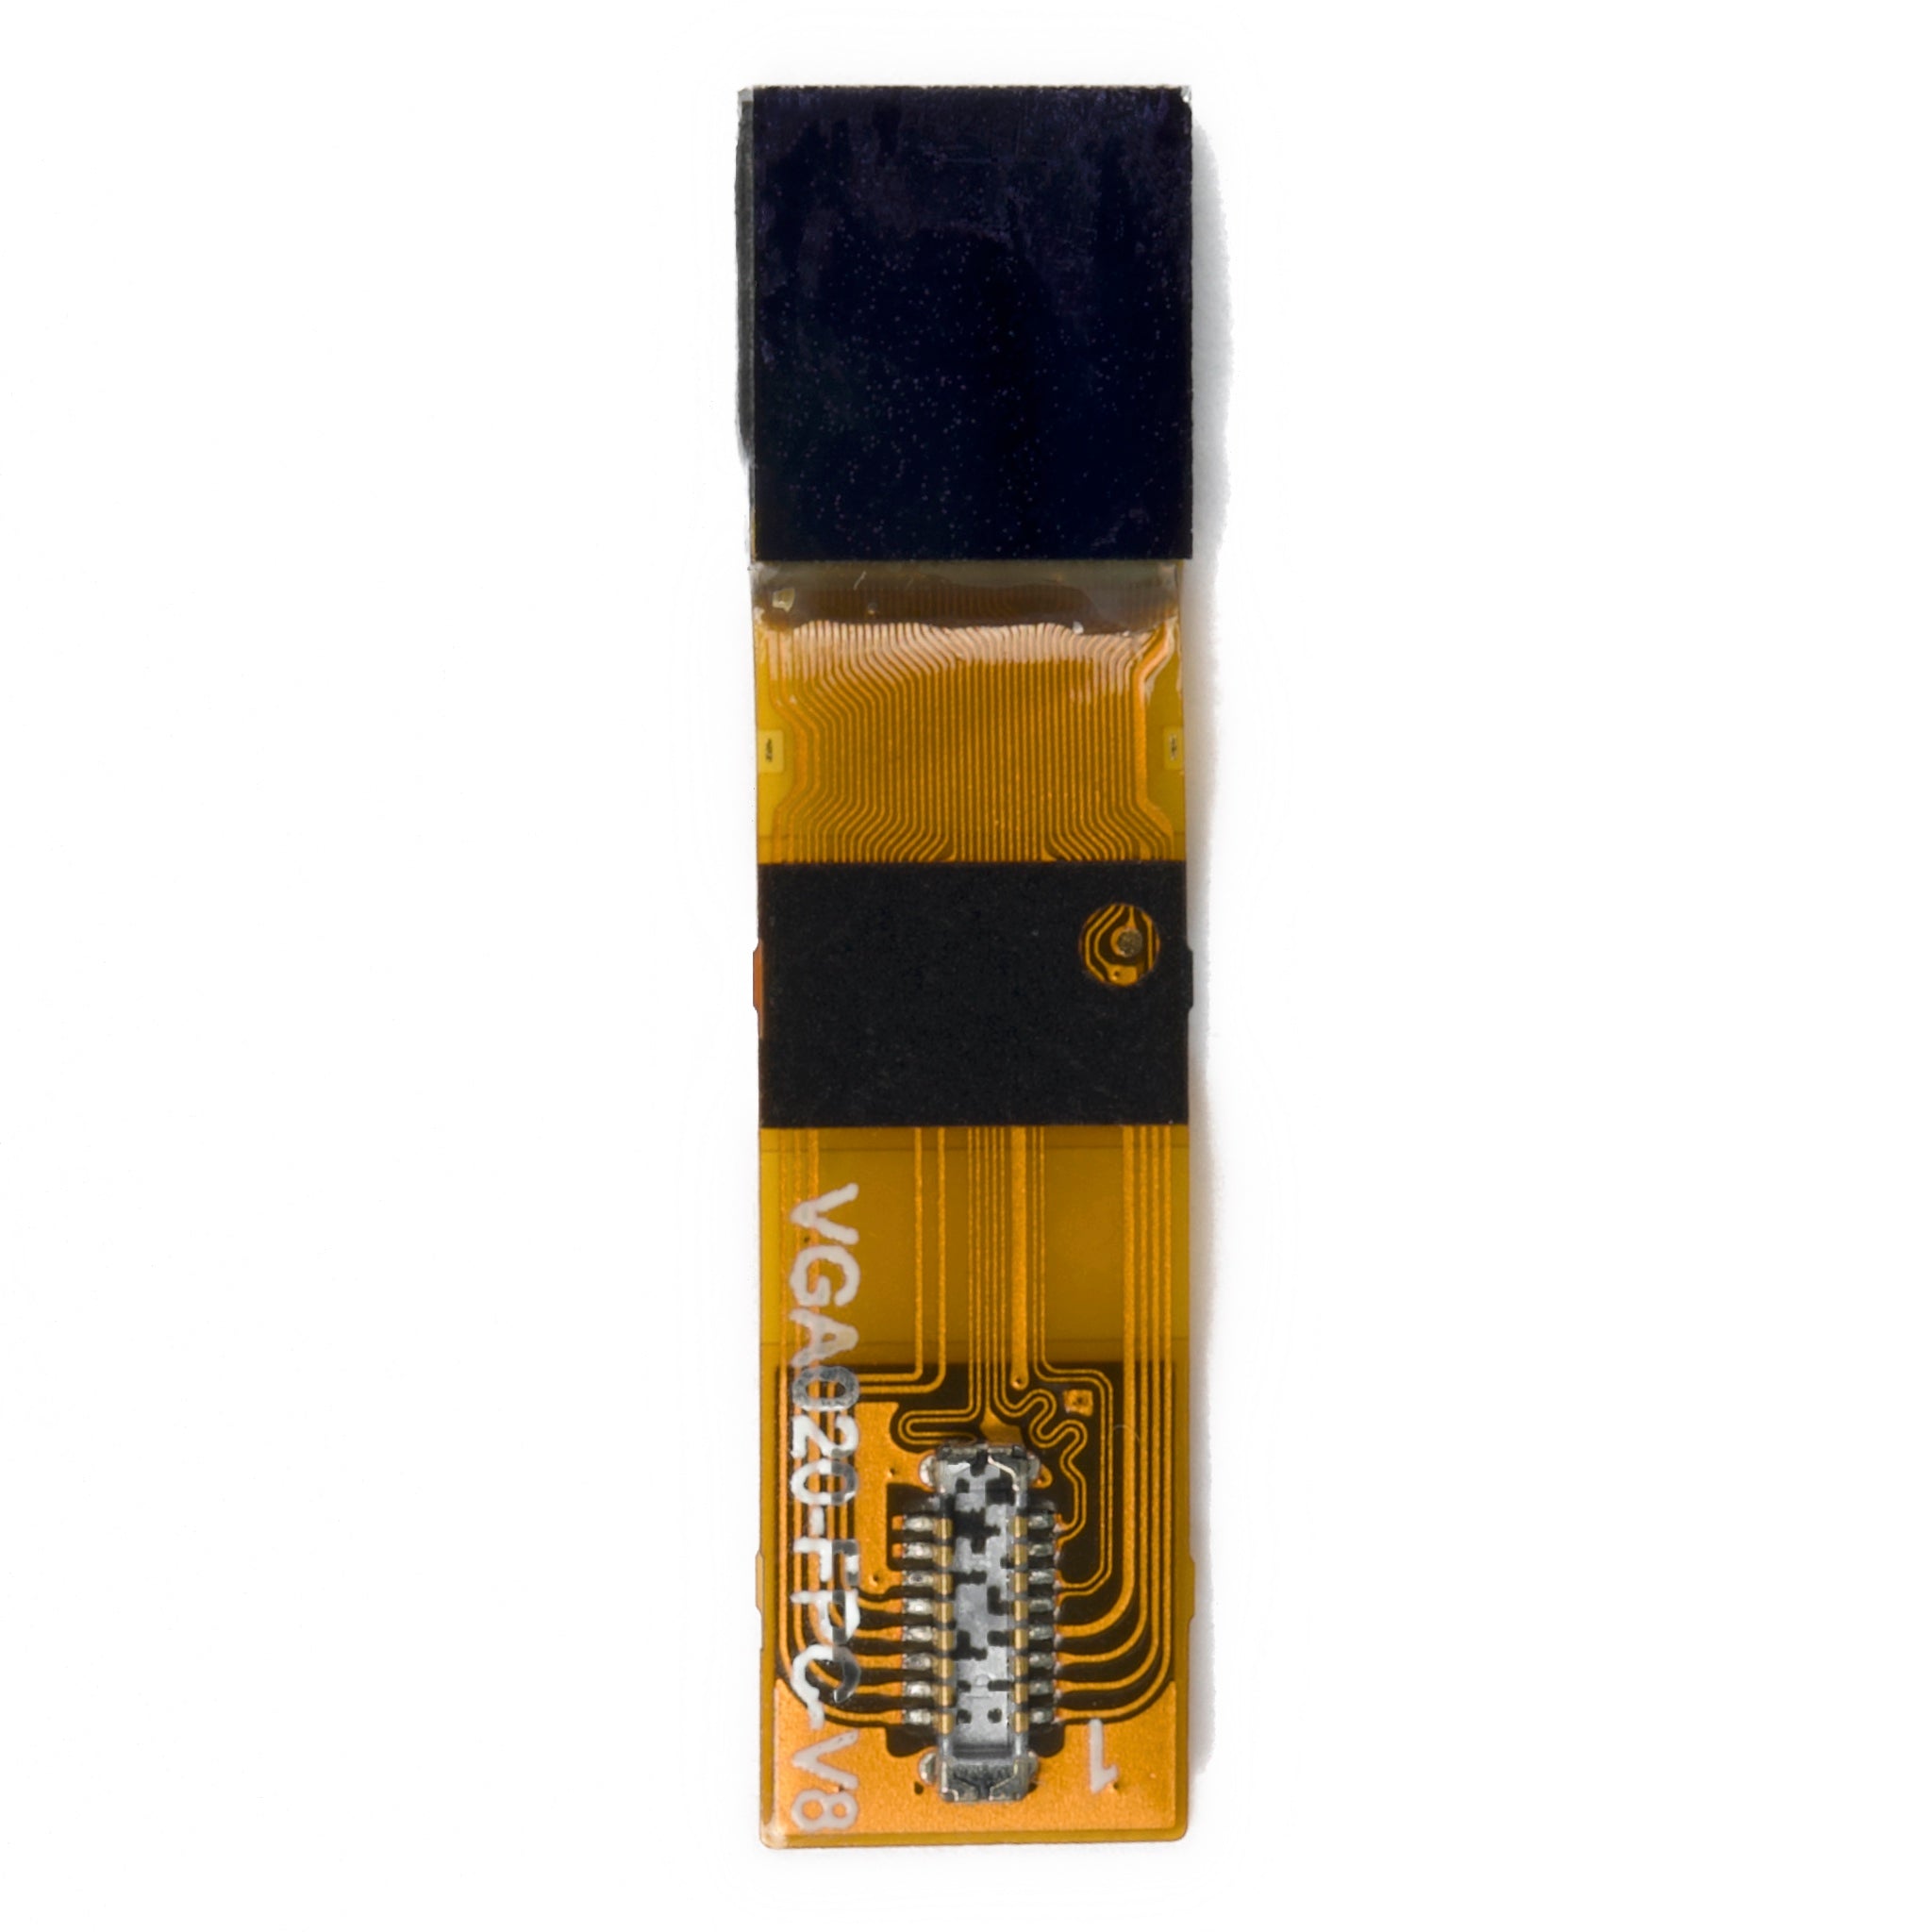
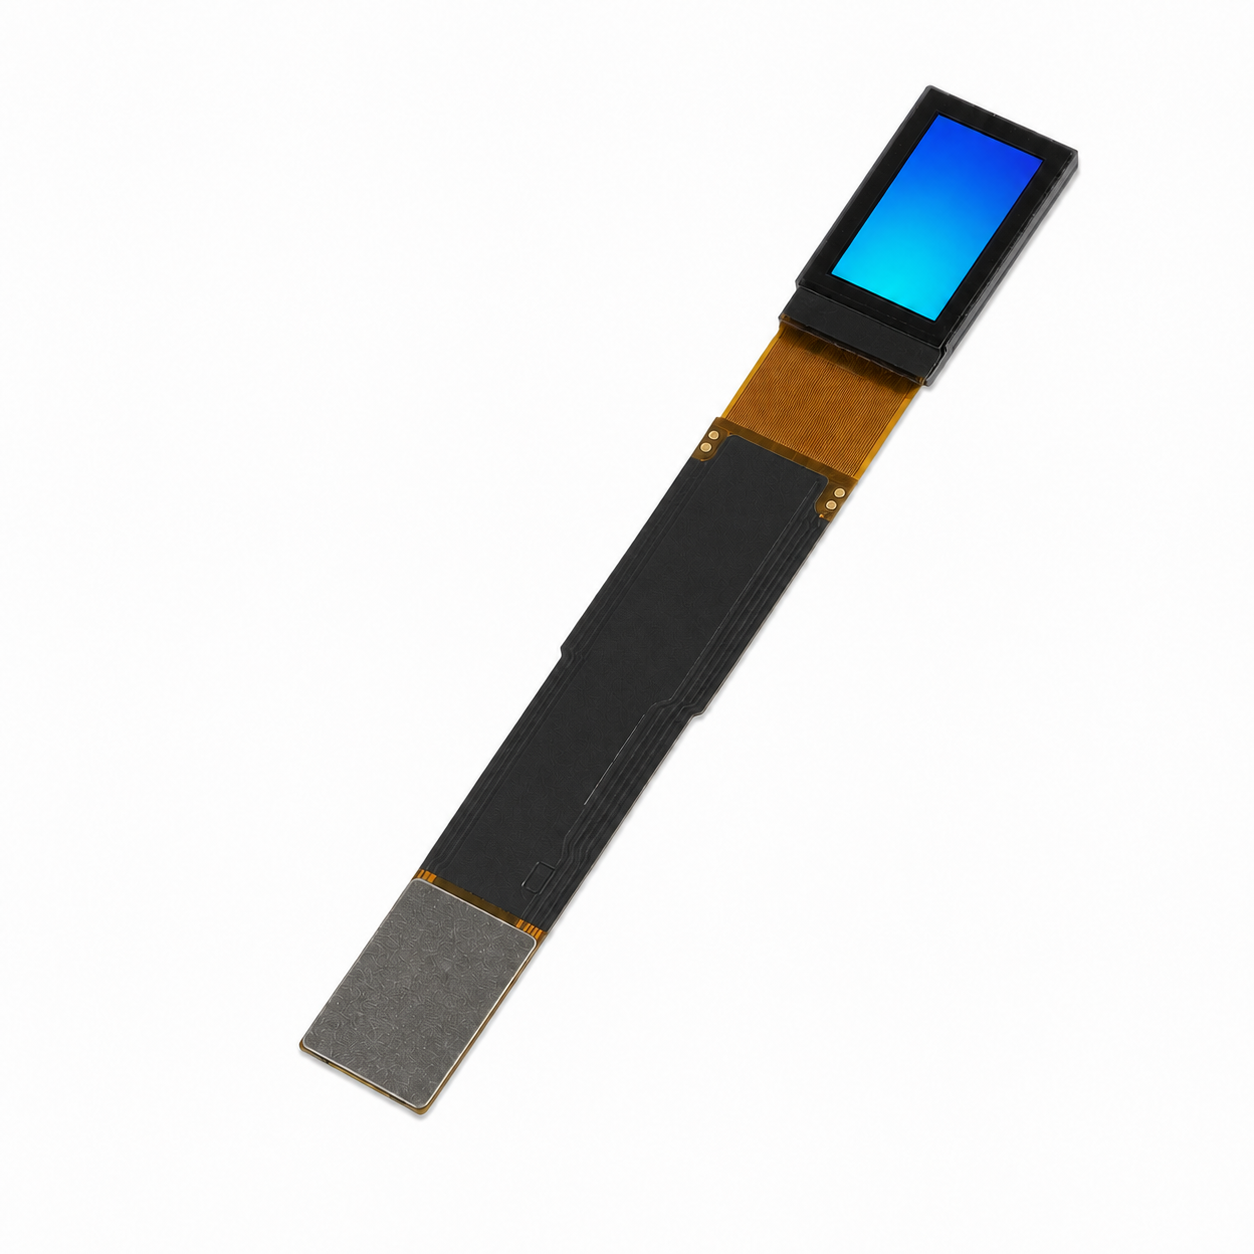
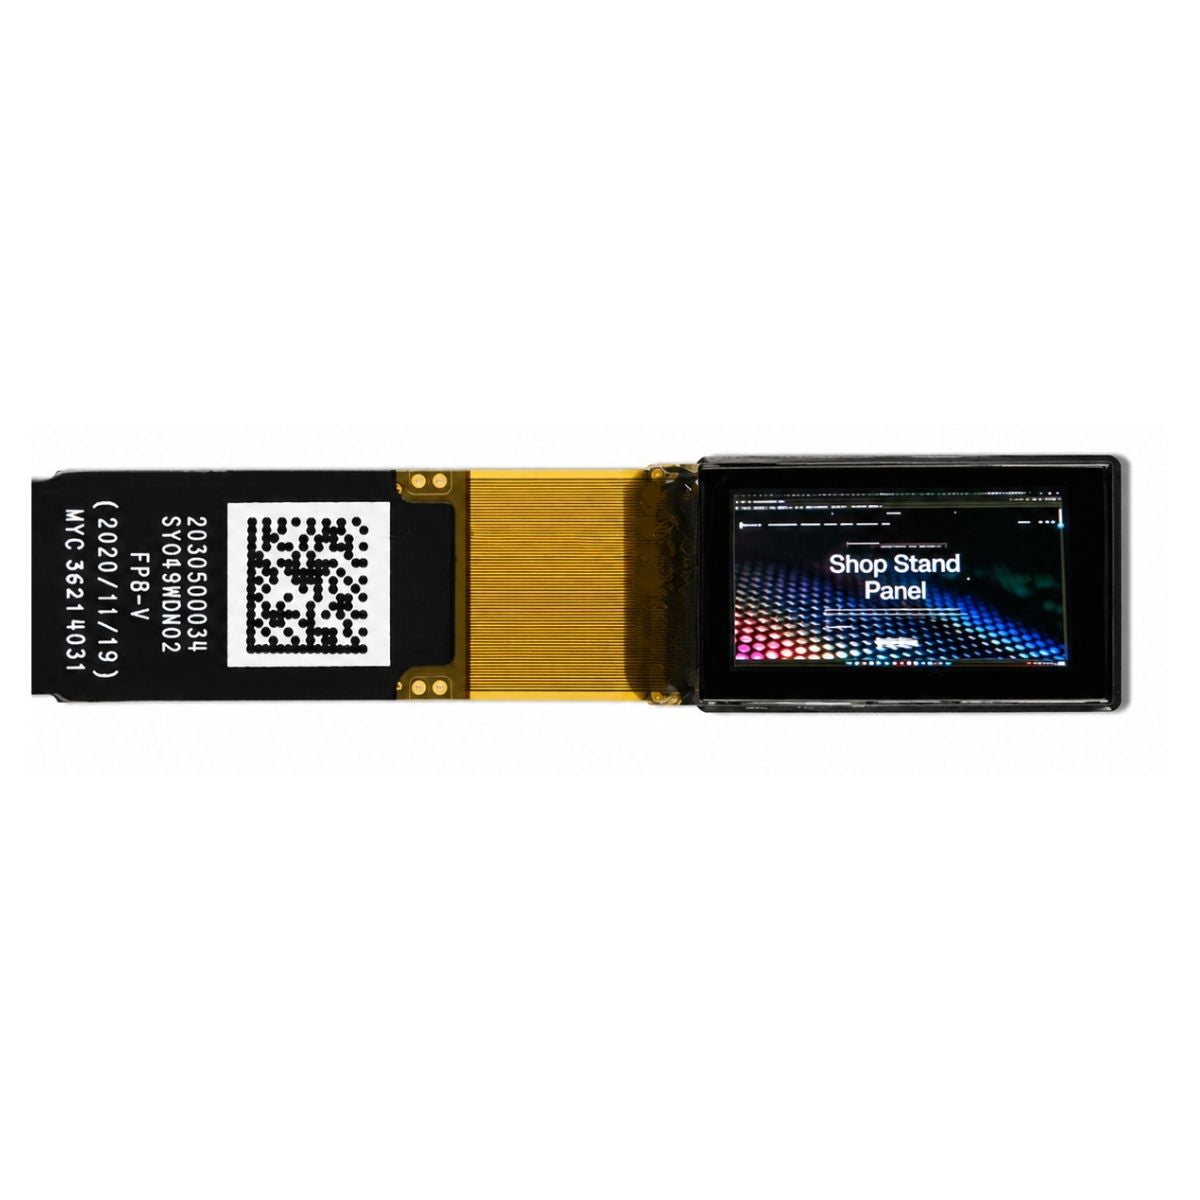
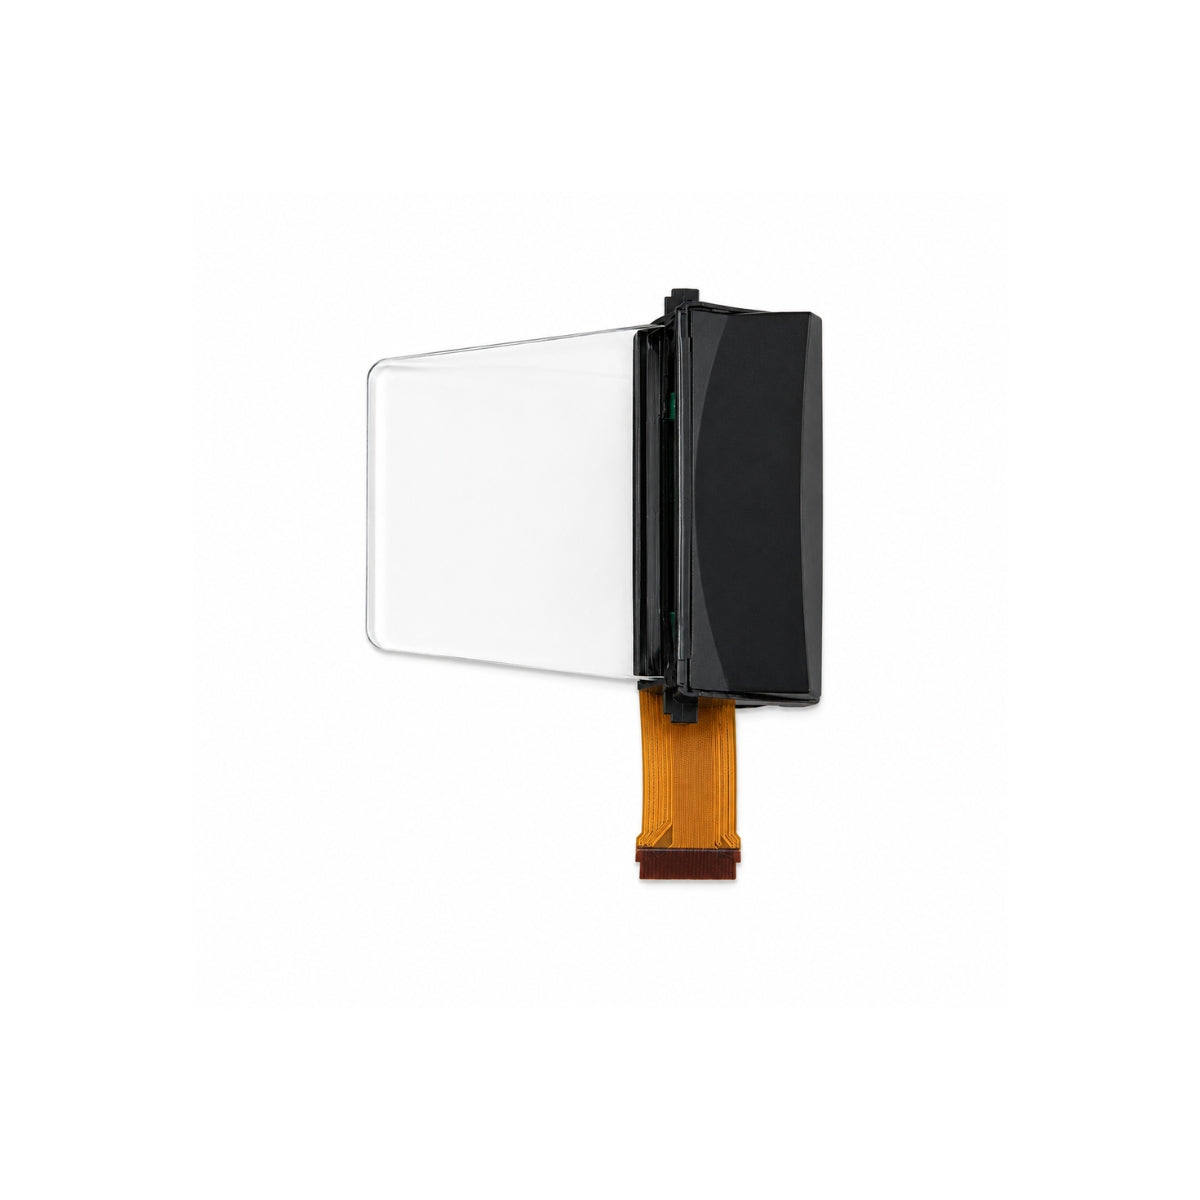
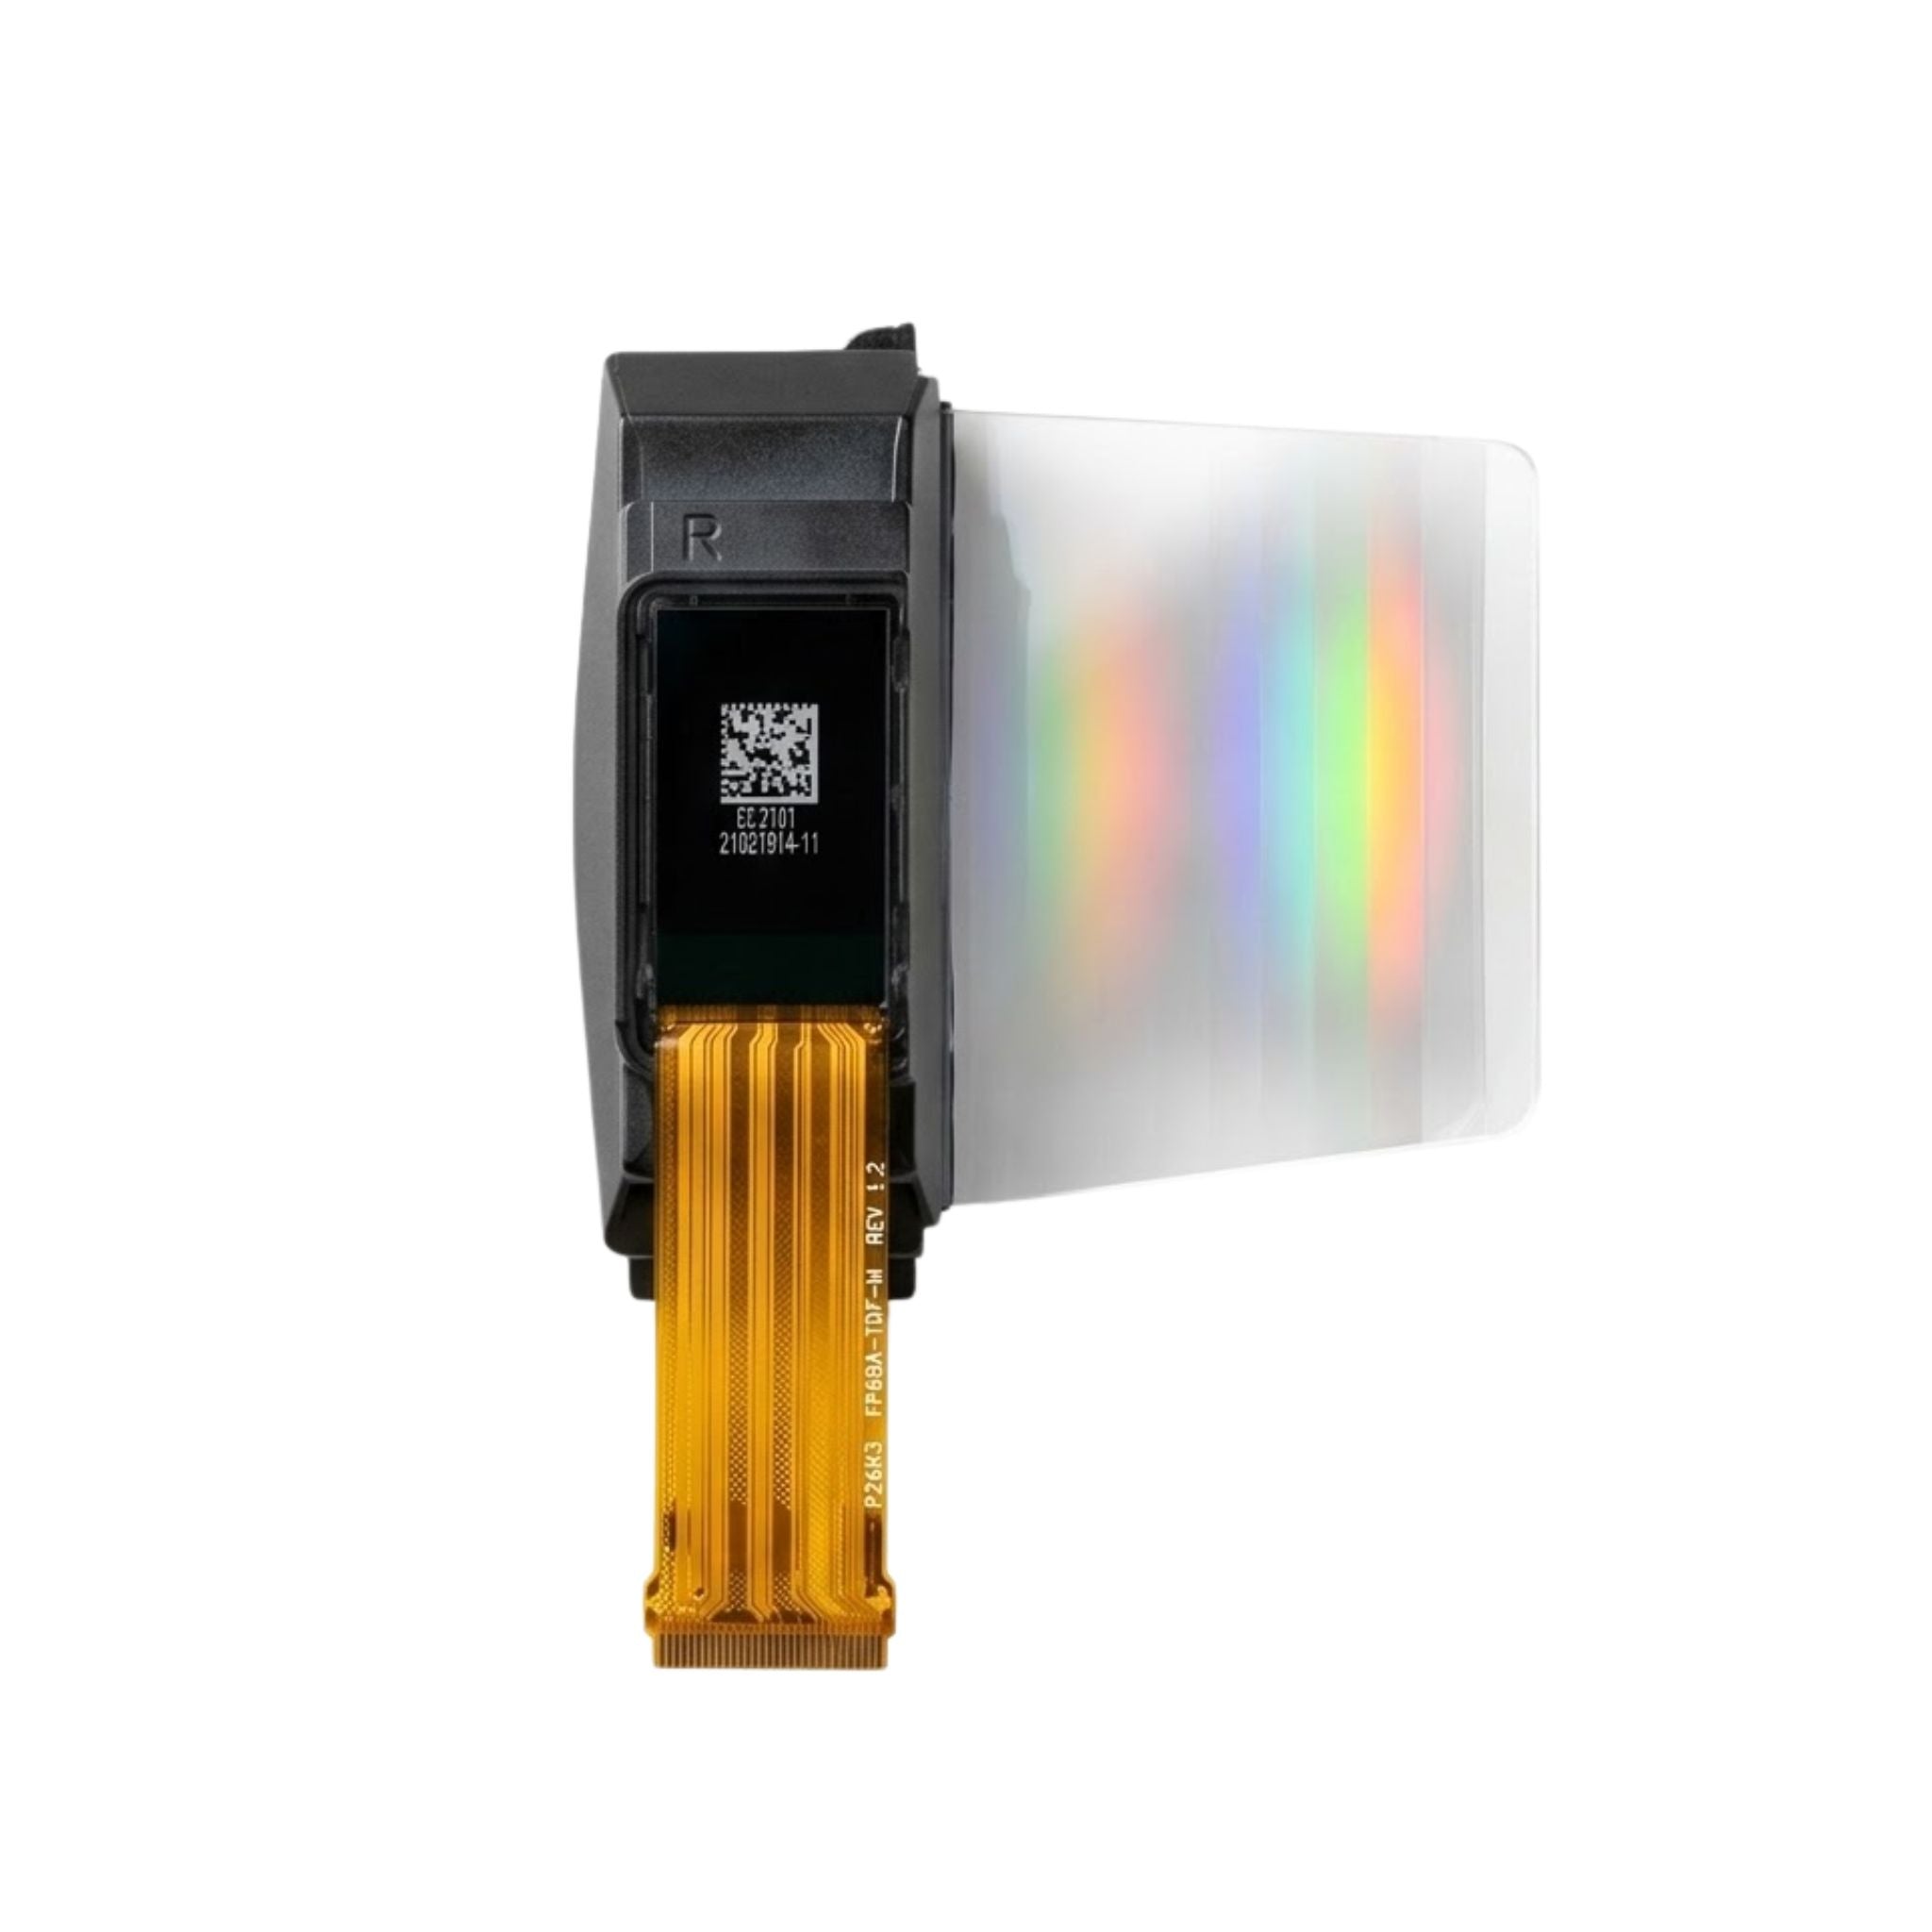


To match a round touch screen, choose the display diameter and resolution for your controls, then check the touch area, module outline, cover lens, and host connections against the same assembly drawing. The touch area must support the intended targets through the final lens; the complete module and flex cables must fit behind the opening. Confirm the exact touch-equipped variant and validate coordinate mapping on an assembled sample before releasing tooling.
A matching inch size alone is not enough. A round display may be sold without touch, and two modules with similar visible circles can need different housing space, connectors, and firmware.
Start With Finger Actions
Specify bare-finger or glove operation, dry or wet use, and required gestures before selecting the touch panel. A single thermostat button and a swipe-driven watch face impose different target-size and edge-response requirements. Confirm these requirements with the supplier for the proposed controller and lens stack.
The linked 1.28-inch and 1.39-inch variants include capacitive touch. GC9A01 drives the 1.28-inch display; the 1.39-inch model uses the SH8601A display driver and TMA525B touch controller. Neither a display-driver name nor a capacitive touch label establishes glove, water, or stylus performance. Those requirements need a compatible sensor, controller configuration, and cover stack; the touch-technology comparison helps distinguish the alternatives.
Pick Size by Readable Content
Use the stated inch class to shortlist round display modules, then use the active or viewing diameter in millimetres for layout. A circle has no corner-to-corner diagonal; do not derive the housing opening from the product name.
- For a compact dial with short labels, evaluate the 1.28-inch 240 x 240 round TFT with capacitive touch and SPI.
- For a denser watch-style interface, compare the 1.39-inch 454 x 454 round AMOLED with capacitive touch and MIPI/SPI.
- For larger controls, compare the physical target sizes on the 2.76-inch 480 x 480 round TFT and 3.4-inch 800 x 800 round TFT. The latter offers touch and non-touch variants.
- For a larger panel, evaluate the 5.0-inch 1080 x 1080 round TFT with HX8399 over MIPI DSI. The linked specification does not establish an included touch panel; confirm the touch assembly separately.
These are layout starting points, not readability guarantees or application certifications. Check the smallest label and touch target at the intended viewing distance. More pixels can add detail, but do not make a physically small control easier to tap.
Pixel Load
For an uncompressed RGB565 buffer, multiply width by height by two bytes. The following values assume a complete rectangular buffer, with no row padding or compression; they exclude GUI allocations and additional buffers.
| Round class | Pixel matrix | Total pixels | Pixel count vs. 240 x 240 | One RGB565 buffer |
|---|---|---|---|---|
| 1.28-inch | 240 x 240 | 57,600 | 1.00x | about 112.5 KiB |
| 1.39-inch | 454 x 454 | 206,116 | 3.58x | about 402.6 KiB |
| 2.76-inch | 480 x 480 | 230,400 | 4.00x | about 450.0 KiB |
| 3.4-inch | 800 x 800 | 640,000 | 11.11x | about 1.22 MiB |
| 5.0-inch | 1080 x 1080 | 1,166,400 | 20.25x | about 2.22 MiB |
KiB means 1,024 bytes; MiB means 1,048,576 bytes. Pixel-count ratios compare buffer size, not measured refresh rate. Bus clock, transfer overhead, pixel format, update area, and host support determine whether a particular interface is adequate.
Keep Controls Inside the Visible Circle
Lay out the interface against the visible circle, not only the width-by-height matrix. For a circle of diameter D, the inscribed square has side D / sqrt(2). Rounding down gives 169, 321, and 565 pixel units for diameters of 240, 454, and 800 pixel units. This is a geometric starting point, not a guaranteed touch-safe region: allow additional inset for target size, lens masking, alignment tolerance, and pixel-grid placement.
Align Touch and Display Circles
Overlay the display active area, usable touch area, cover-lens clear aperture, and housing opening on common centre lines. For controls near the rim, confirm the supplier's edge-response limits rather than assuming that the sensor outline is its usable touch boundary.
The usable touch area must cover every intended touch target after assembly tolerances are applied. For edge-to-edge interaction, specify coverage across the visible display and agree the required margin with the supplier. Dimension the clear aperture and housing opening so the lens mask hides unwanted borders without clipping the intended image.
The touch controller's coordinate range may differ from the display pixel matrix. Apply the required scaling, rotation, and mirroring, then reject out-of-circle events where appropriate. Verify both the centre and perimeter targets on the final lens in its housing; a centre-only check cannot establish edge accuracy.
Lock the Mechanical Layout
The circular image does not define the outer glass, frame, or flex shape. Obtain the drawing for the exact touch-equipped variant, including any cover lens and adhesive. Record outline dimensions, active-area centre, mounting references, flex exits, connector height and mating clearance, and the supplier's bend-radius limits.
The linked product specifications provide the following comparison. Dimensions are reproduced in the listed axis order; the 1.39-inch page explicitly gives height before width. Do not treat a display-only thickness as the total depth of a custom touch-and-cover assembly.
| Module | Resolution | Listed module outline | Viewing / active area | Listed brightness | Display interface / touch status |
|---|---|---|---|---|---|
| 1.28-inch round TFT | 240 x 240 | 50.2 x 50.2 x 3.99 mm | 32.4 x 32.4 mm active | 320 cd/m2 typical | SPI, capacitive touch |
| 1.39-inch round AMOLED | 454 x 454 | 42.0 H x 42.6 W x 2.227 D mm | 35.41 x 35.41 mm active | 350 cd/m2 typical | MIPI/SPI, capacitive touch |
| 2.76-inch round TFT | 480 x 480 | 76.48 x 73.03 x 2.34 mm | 70.13 x 70.13 mm viewing | Confirm for selected part | MIPI/RGB; confirm touch assembly |
| 3.4-inch round TFT | 800 x 800 | 99.0 x 96.6 x 3.98 mm | 87.6 x 87.6 mm viewing | 350 cd/m2 | MIPI, touch optional |
| 5.0-inch round TFT | 1080 x 1080 | 136.531 x 132.208 mm; thickness not established here | 127.008 x 127.008 mm viewing | 350 cd/m2 | MIPI DSI; touch inclusion unconfirmed |
Active area and viewing area are distinct drawing labels; do not substitute one for the other without confirmation. Brightness values are the product-page listings, not results from a shared test setup or a guarantee through a custom lens. One nit equals one cd/m2 [1].
What the Compact-Module Comparison Shows
The 1.39-inch model has a larger listed active span than the 1.28-inch model: 35.41 mm versus 32.4 mm. Yet its 42.6 mm width is 7.6 mm smaller than the other module's 50.2 mm width. For these two parts, choosing the smaller inch class would not save enclosure width. This comparison comes from the linked specifications, not a physical fit test.
Assuming a centred active area, the average horizontal border is (outline width minus active width) / 2: 8.9 mm for the 1.28-inch module and about 3.6 mm for the 1.39-inch module. The latter's average vertical border is about 3.3 mm because its height is 42.0 mm. These are derived averages, not confirmed edge offsets or free space for screws and gaskets; use the mechanical drawing for those decisions.
Centering Tolerance
Under a simple lateral-shift model, an offset s narrows one border by s and widens the opposite border by s. A hypothetical 0.3 mm offset therefore creates a 0.6 mm side-to-side difference. This is not an allowed production tolerance. Define the actual centring limit from the aperture, image, and touch margins, and specify how the assembly will be located and inspected.
Choose Interfaces Together
Verify display-data and touch-data connections separately. They may share a connector, but a working image does not establish a working touch link.
Pixel Interface
The linked 1.28-inch model uses SPI; the linked 3.4-inch model specifies 3-lane MIPI. These are part-specific interfaces, not universal requirements for those resolutions. Check the host against the selected module's lane configuration, timing, voltage levels, and initialization sequence using the display-interface comparison. MIPI DSI defines a display interface, while D-PHY defines a physical-layer specification used with DSI [2][3].
For an AMOLED-based design, the round AMOLED MIPI setup guide provides integration background; it does not replace the chosen TFT or AMOLED module's initialization data.
Touch Interface
The 1.39-inch listing identifies TMA525B but directs designers to its datasheet for exact electrical and interface details. Confirm the touch bus, address or chip select, logic levels, interrupt and reset pins, and coordinate format from the module pinout and controller documentation. Do not infer them from the display's MIPI/SPI options. If the selected touch connection is I2C, use the I2C-bus specification for its bus-level requirements [4].
- Confirm supply rails, logic levels, power sequencing, and reset timing for the exact assembly.
- Budget memory for the chosen buffering strategy; the pixel table describes one RGB565 buffer, not mandatory total host RAM.
- Route every flex to its matching connector without violating its specified bend limits.
- Use suitable ESD-protected handling, grounding, and packaging for exposed sensitive parts [5].
Design the Cover Glass
Agree the supported cover material, thickness, adhesive, masking, and bonding method with the touch supplier. Microchip's AN2934 explains that increasing cover thickness changes the electric field and reduces touch contact capacitance in mutual-capacitance sensors; its shielding guidance also describes sensitivity trade-offs [6]. This supports checking the complete stack, not assigning a universal glass-thickness limit to these modules.
Do not assume full lamination guarantees even edge response or that every air gap creates a dead zone. Validate the selected construction. Keep masks and mechanical loads within the supplier's restrictions, and check viewing direction and front-surface reflection under the intended lighting.
If behaviour changes only after fitting the lens or tightening the housing, compare that assembly state with the bare-module result before changing firmware thresholds. This is a suggested diagnostic comparison, not proof of a particular root cause.
Plan for Harsh Conditions
Specify required operation with gloves, condensation or spray, and nearby chargers, motors, or radios. For outdoor display selection, check readability separately from wet-touch behaviour; one does not establish the other.
The linked product specifications list operating temperatures of -20 to +70°C for the 1.28-, 2.76-, and 3.4-inch models, and -20 to +60°C for the 1.39- and 5.0-inch models. The 1.39-inch listing gives storage at -30 to +70°C; the 1.28- and 2.76-inch listings give -30 to +80°C. These module ratings do not establish the performance of a separate touch panel, adhesive, or finished product. Validate the complete assembly against the required environment and provide physical controls where the application needs them.
Validate the Assembled Sample
Use a recorded check sequence so a display, touch-link, and mechanical problem are not mistaken for one another:
- Record the module revision, touch variant, lens stack, firmware version, and test conditions.
- Verify rails and reset sequencing. Read identification or status registers where the devices and interfaces support them.
- Display a circular test pattern with centre and perimeter markers; check aperture clipping and alignment.
- Log raw touch coordinates at those markers, then verify scaling, rotation, mirroring, and out-of-circle handling.
- Repeat with the final lens, housing, gasket, and cable routing. Record missed targets, position errors, or unintended events rather than assuming a cause.
- Check required taps, swipes, and long presses under the specified temperature, moisture, glove, and charger conditions, staying within component ratings.
- Compare results with acceptance limits agreed before testing, and retain the logs with the approved assembly revision.
When evaluating a 90, 180, or 270 degree mounting rotation, verify both flex clearance and touch-axis mapping. An orientation change in the image alone is not a complete rotation check.
Matching Checklist
Attach these requirements when you request a quote or approve a sample:
- Use case: finger type, moisture, gestures, must-have physical buttons.
- Round size: inch class, resolution, active or viewing diameter, and minimum physical target size.
- Mechanical: module outline, thickness, flex exits, connector positions, centering tolerance.
- Optical: brightness with test conditions, viewing direction, and reflection through the final stack.
- Interfaces: exact display configuration, touch bus and pinout, voltage levels, reset, and interrupt requirements.
- Cover and bonding: lens thickness, ink border, lamination method, gasket design.
- Environment: temperature, humidity, ESD, vibration, nearby noise sources.
- Firmware: coordinate mapping, round-edge clipping, calibration, update method.
- Supply: driver and touch controller part numbers, lifecycle, second-source or revision policy.
Approve the exact display-and-touch assembly against its drawing and sample results, not just its inch label. Keep the tested lens, mounting, wiring, and firmware configuration tied to that approval.
Matching a round size to a real enclosure?
Send your required viewing diameter, available enclosure space, and touch conditions to request drawings and discuss a compatible assembly.
Get a QuoteReferences
Product values above come from the linked DisplayModule specifications, checked 30 Oct 2026. Confirm the current datasheet and exact variant before design release.
[1] CIE, e-ILV term 17-21-086: nit and candela per square metre. Accessed 30 Oct 2026.
[2] MIPI Alliance, Display Serial Interface overview. Accessed 30 Oct 2026.
[3] MIPI Alliance, D-PHY overview. Accessed 30 Oct 2026.
[4] NXP, UM10204: I2C-bus specification and user manual. Bus-level reference, not a TMA525B pinout. Accessed 30 Oct 2026.
[5] EOS/ESD Association, ESD Fundamentals, Part Three: Basic ESD Control Procedures and Materials. Handling and workstation guidance. Accessed 30 Oct 2026.
[6] Microchip, AN2934: Capacitive Touch Sensor Design Guide, sections 2.3 and 2.4, printed page 39. General cover and shielding principles, not a specification for the modules listed here. Accessed 30 Oct 2026.
더 읽기
A 128x64 monochrome OLED fits up to 168 characters in 6x8 cells, 128 characters in 8x8 cells, or 64 characters in 8x16 cells. That means eight lines of small text or four lines of taller text, with...
A 16x1 character LCD can look misaligned when firmware assumes one continuous row of memory but the module uses two 8-character address blocks. On that layout, the left half starts at DDRAM address...
댓글 남기기
이 사이트는 hCaptcha에 의해 보호되며, hCaptcha의 개인 정보 보호 정책 과 서비스 약관 이 적용됩니다.